Hello everyone. Welcome to today’s post in which I will show you how to insert a busk in your corset. I recently made an 1900s s bend corset and documented the process quite thoroughly with photos so I thought, I could make a separate post about it. You can find my post on how I sewed an s-bend corset here. The pattern I used is from Ralph Pink and basically the pattern in Nora Waugh’s Corsets and Crinolines.
Let’s start:
For my method of inserting the busk, the front panels of the corset are lined. So you need to cut out four pieces instead of two, you can use a lightweight cotton for the lining. I wouldn’t use coutil, I did this for this corset and I was miserable when I had to bind it.
Then you want to finish the raw edge on the side where the second panel would connect. The raw edges at the top and bottom will be enclosed in the binding later, no need to finish them neatly.
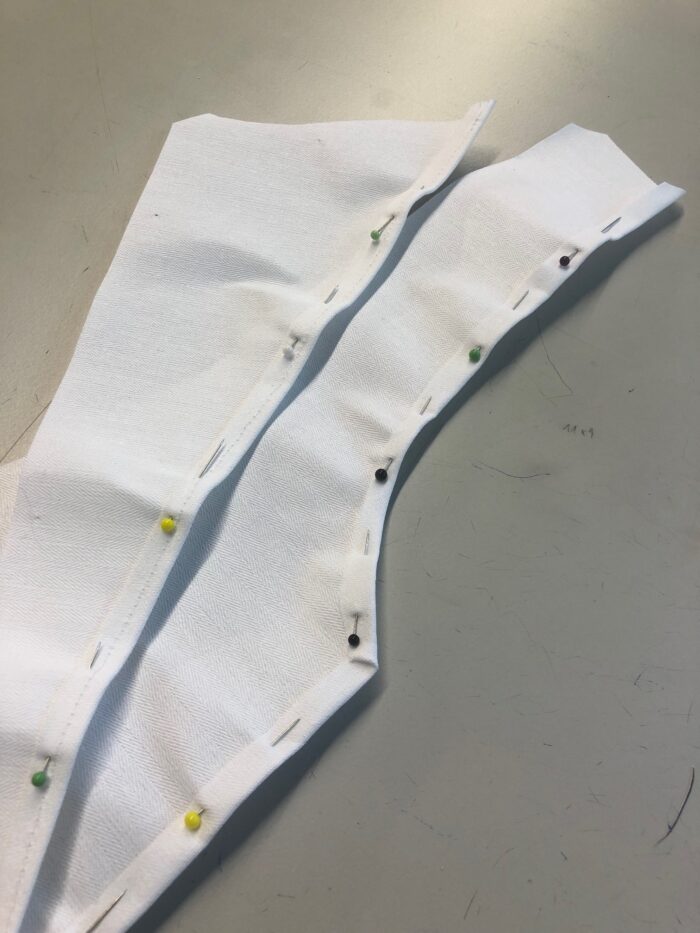
Then simply stitch the panels together at the center front, right sides facing each other.

Go to your ironing board and iron them thoroughly. I find it best to iron the fold into the top layer of coutil. when we’re cutting later, it’s better to cut into the coutil since it’s more durable.
And voilà, your lining is finished.
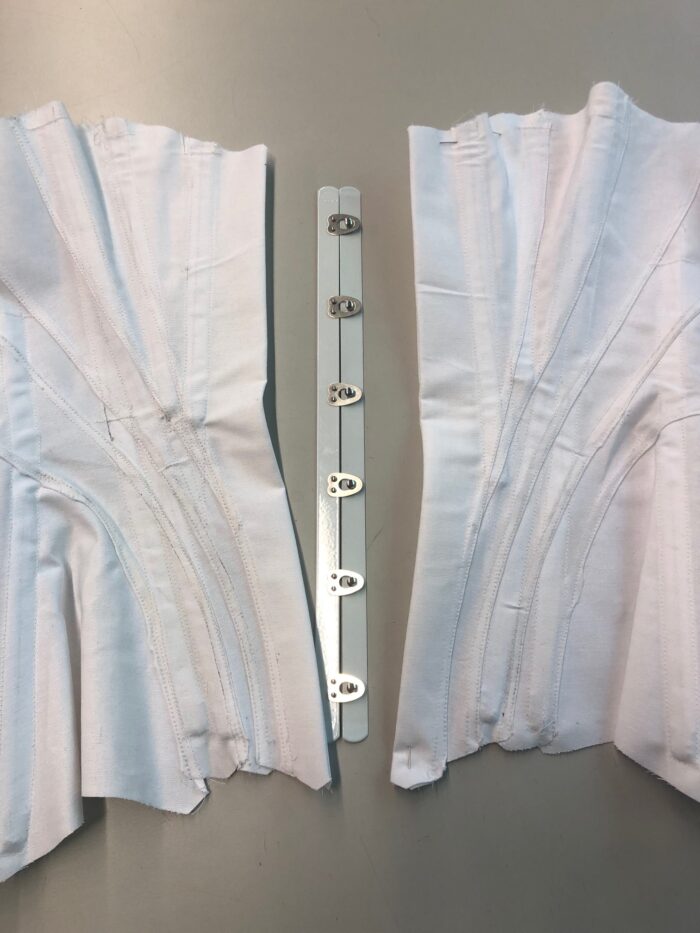
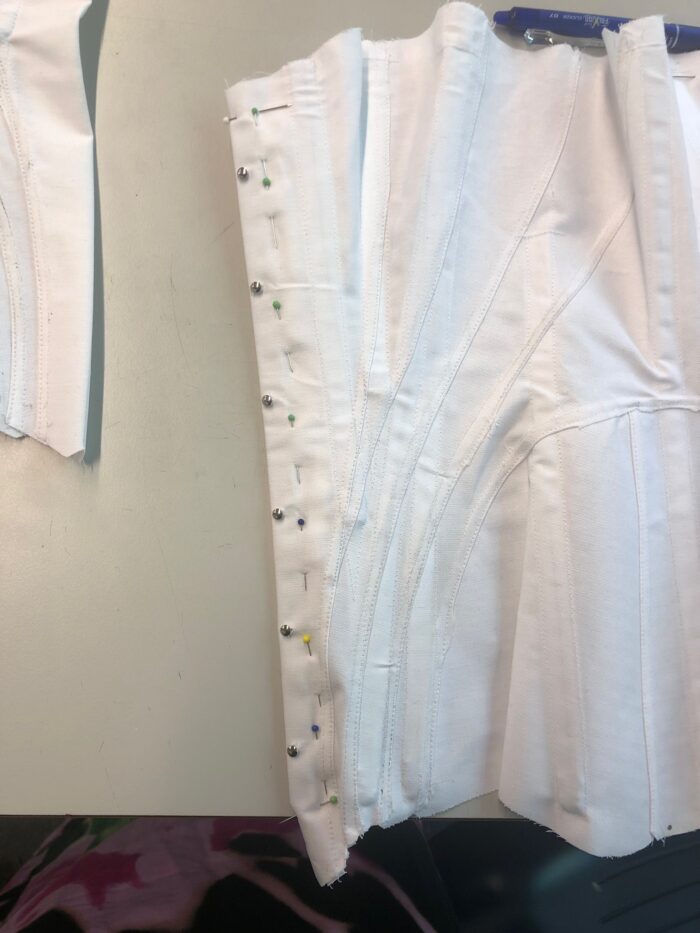
I always start with this side, I don’t know why. Start by positioning your busk between the coutil and the cotton layer. I normally leave the same amount of space under and above the busk, unless the pattern wants something else. When you positioned it, pin it in place. Then mark the knobs on the fabric.
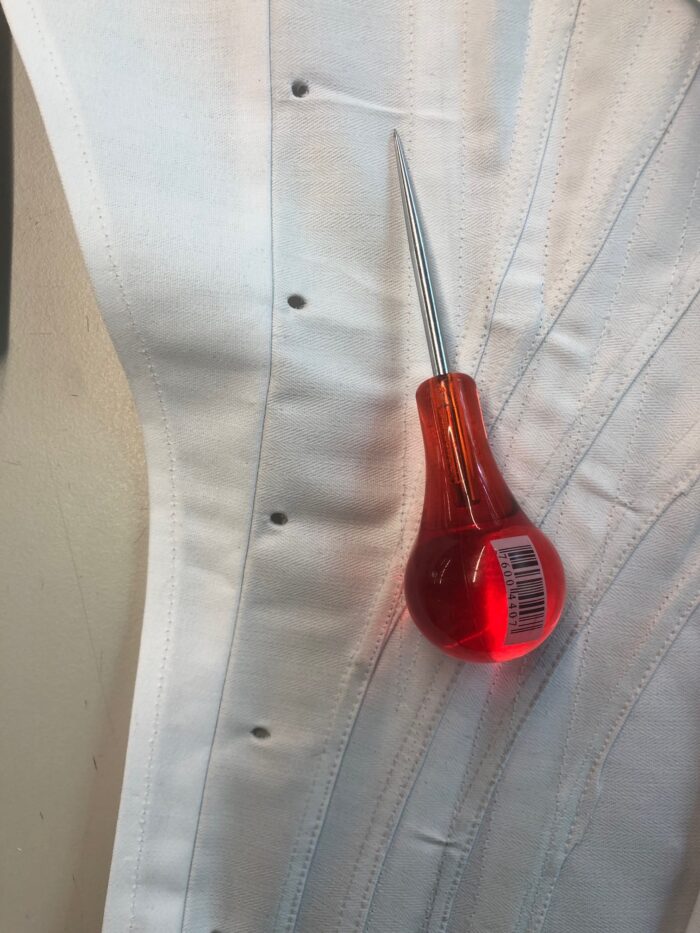
Now we create the wholes. I always use an awl for this step. Push it all the way through or your wholes end up too small. I don’t use Fraycheck in this step but you can, of course.
Then put all the knobs through the wholes and pin the busk piece into place. Sew around the busk as close as possible using a zipper foot.
And that’s it, the first part is done. On to the second:
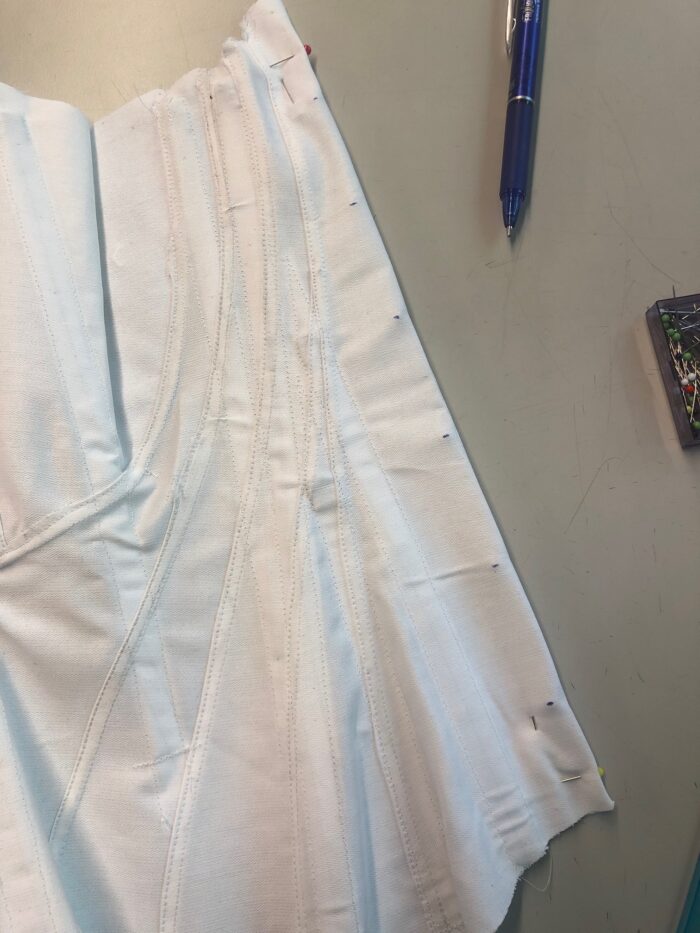
Position the busk piece in the same place as the knob side but this time on the fabric with the hooks going over the edge. Now mark the placement of the hooks.
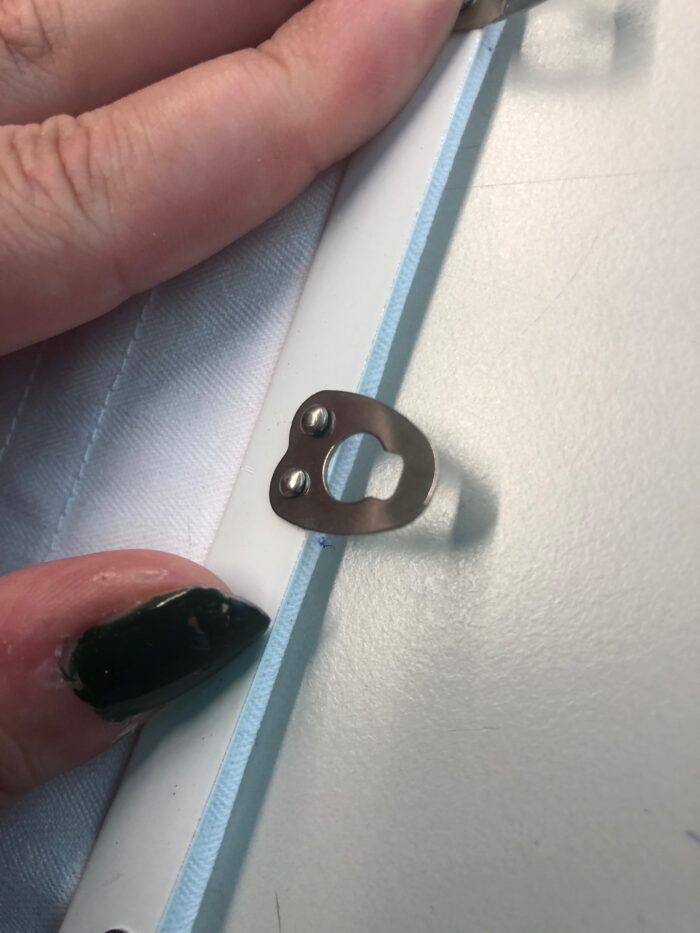
Use a sharp blade to cut the wholes for the hooks in the coutil.

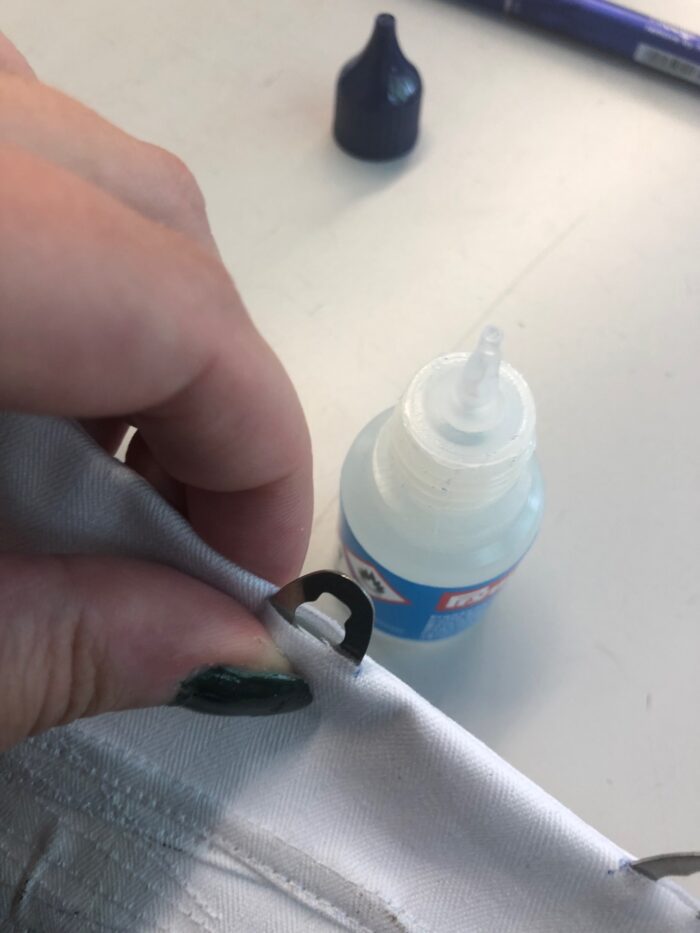
Then I use a first layer of Fraycheck around the wholes. Let it dry a bit and insert the busk piece afterwards. Now I usually add another layer of Fraycheck
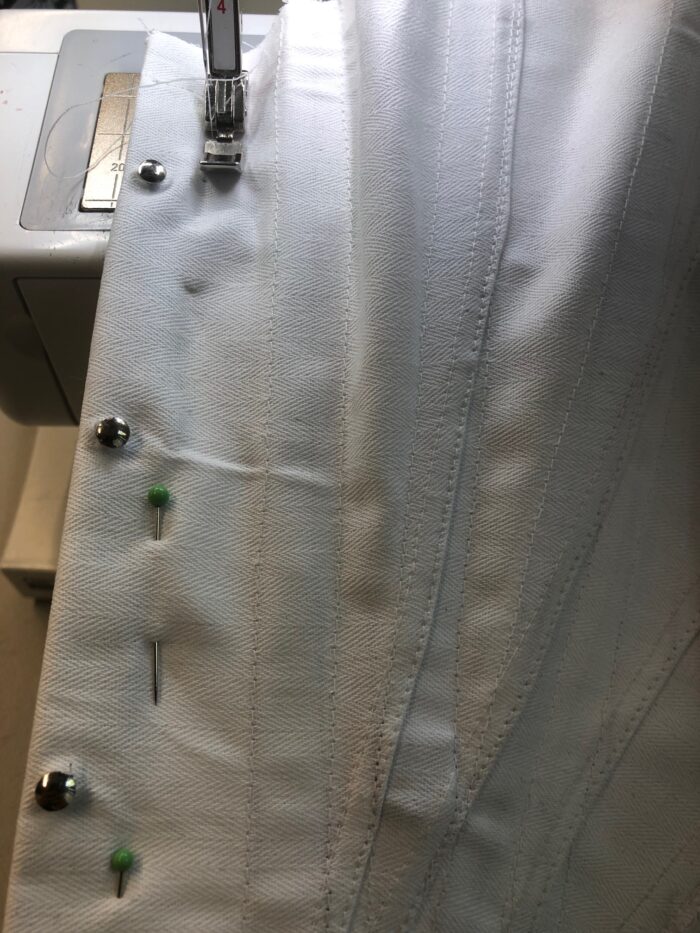
Pin your busk in place and then again sew as close to it as possible around it to secure it. Oh and make sure to put the pins the right way in, not like me, that wasn’t pleasant, but I was too lazy to pin again.
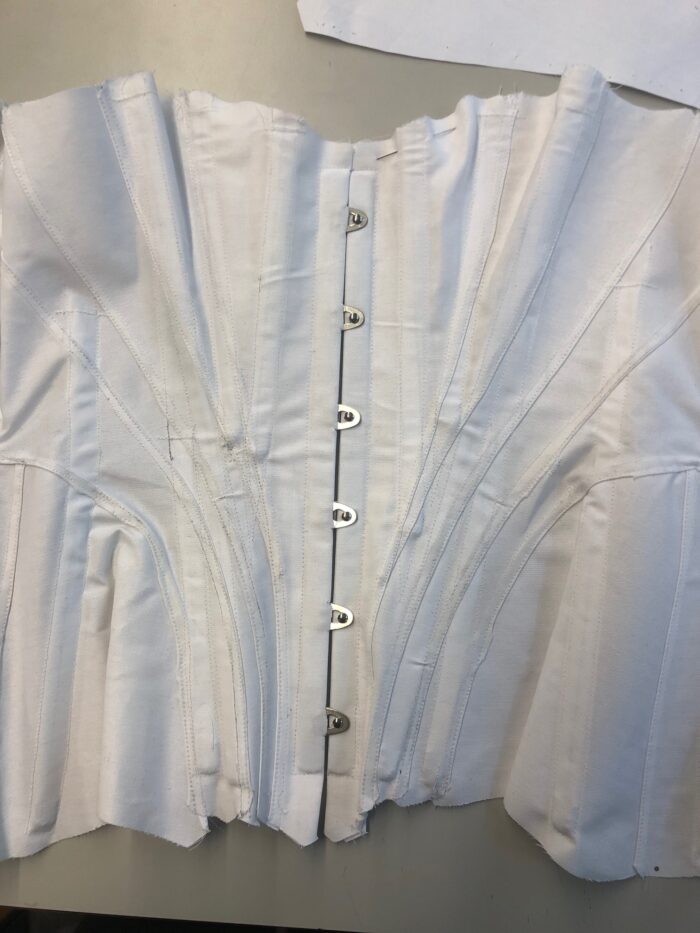
And that is already it. Your busk is in. I admit, my method is quick and a little bit dirty but it works and nothing ever came apart 🙂 So here is the result:
Thanks a lot for reading, I hope this post helped you a bit and you know now how to insert a busk. I hope that you enjoyed the post. Thanks again and I wish you a good one.
Love,
Ella