Hello everyone 🙂 Since I am still struggling with time management, I thought I could try to sew up some patterns, instead of doing everything myself. I do enjoy the process of making my own patterns finding out how things work the most, but it is very time consuming as well. At the moment, the balance shifts towards saving a little time and have fun sewing. So here we are.
I recently made an order from Nehelenia Patterns, I always buy my corsetry supplies there. They are based in Germany, so great for all the EU folks. They have a wide range of corsetry and hat making supplies, but also their own patterns as well as pattern kits where you get all the supplies needed for the patterns as well. And that is, what I wanted to try.
If you prefer to watch how I made this corset, you may be interested in my Youtube Video 🙂

By loading the video, you agree to YouTube's privacy policy.
Learn more
I decided to go with one of their Corset Kits, with Corset Kit NP E309 1910 Corset. I love 1910s fashion and I wanted to make some things for a long time, but without the respective undergarments, I did not want to start and I never got around to making some.
The Corset Kit includes: Herringbone coutil in white, spiral wire boning 6 mm, boning tips for steel boning, twill casing for spiral boning, corset lacing, metal eyelets, 4 suspenders, twill tape, corset busk 30 cm (please let us know should you require a different length) and pattern NP E309.

I ordered on Monday 3rd of June and got my notification right away. The package was sent by DHL and I recieved it quite fast, on Friday 7th. Paying by paypal is possible, which is a plus.
Next to the Corset Kit, I also ordered the following:
– Reed (to make my 15th, 16th and 17th century dreams real),
– Busk for an 1870s/1880s corset (where I want to make the pattern myself),
– and 2 Wooden Busks (I want to remake my 18th century stays with a busk as well as some regency stays).
Everything arrived complete and safe and sound. I started assembling the corset right away. This is what the pattern itself includes:

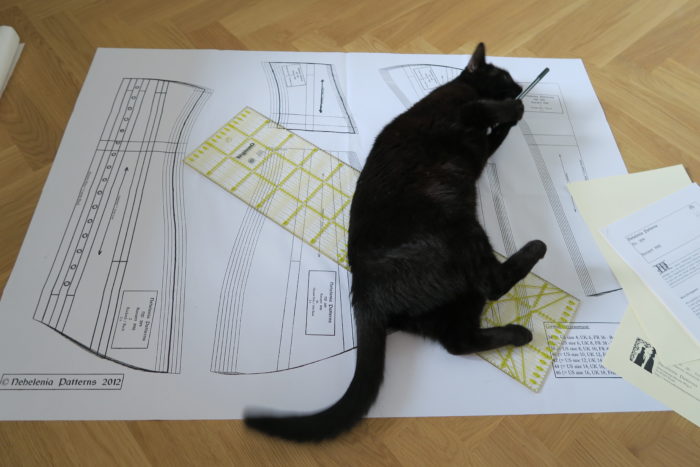
The instructions are clear to me and I like that a tutorial for the way the seams should be done, is included. The whole pattern is on one sheet which is nice. You have to be careful though when tracing, the sizes are not mentioned everywhere. I counted the lines in these cases.

I started by tracing my size and making a mock up. I am apparently a size 42, but I decided to make size 40 for the mock up. I also had a lot of help by Mr. Spinalzo, he seems to be very fond of this pattern and decided to conquer it several times.
After I finally finished tracing all pieces (tracing always takes HOURS…), I cut out all pieces from cotton and marked the boning channels etc. on them.
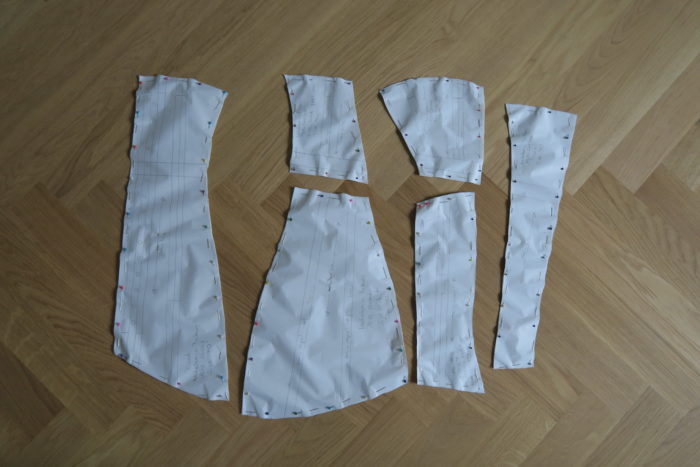
And then I assembled the pieces. I did not insert boning or the busk. Maybe that will bite me later on, but I had the feeling, that it would fit pretty well. You can roast me in the second post if it doesn’t 😉
And that’s it for todays post. I’ll show you how I drafted and made the rest of the 1910 undergarments in my next post. Thanks for reading and I wish you a nice morning, afternoon, evening, whatever time it is at your place right now.