Hello my dear friends, welcome to a new post that hopefully marks a new era of this blog. I had a strong urge to change everything in my life lately and decided, that redoing my sewing room is a great idea, because it was just not practical for filming etc.
The whole process took me about a week, mainly because I have so much stuff, that has to be in this room. I am selling a lot of it but as long as it’s not sold, it stays in the room. Which means, that I had to find space for the things I want to keep first. I will have to work on this room one more time, after I get the last things and have hopefully sold most of the stuff. But enough of this, let’s start with the way the room looked before.
Here is a little sketch of how my room was organized before. It had some advantages, like more space for cutting out, but it was also very impractical and I had no good space to film:

As you can see, the window is placed slightly more to the right, not centered and my wardrobes block a big part of the light. Where my desk was, I never really had good light. The lamp didn’t help either.
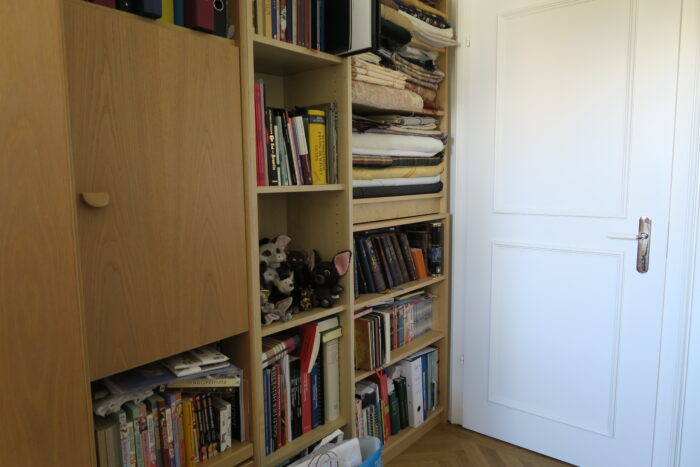
The right wall was completely covered in shelfs. I also stacked two Ikea shelfs on top of each other to save space, wich was both, ugly and dangerous:
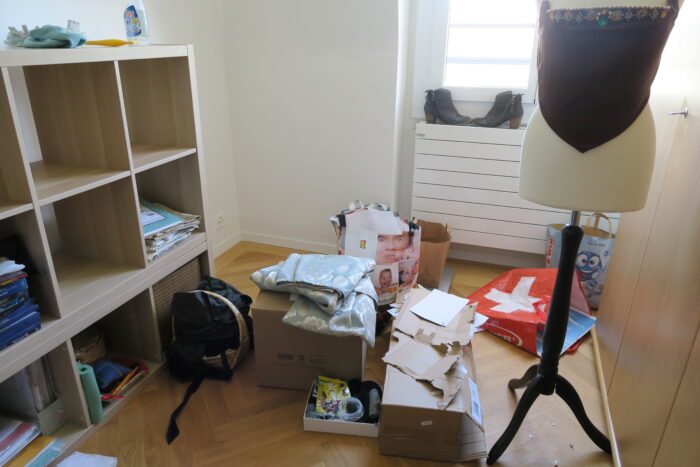
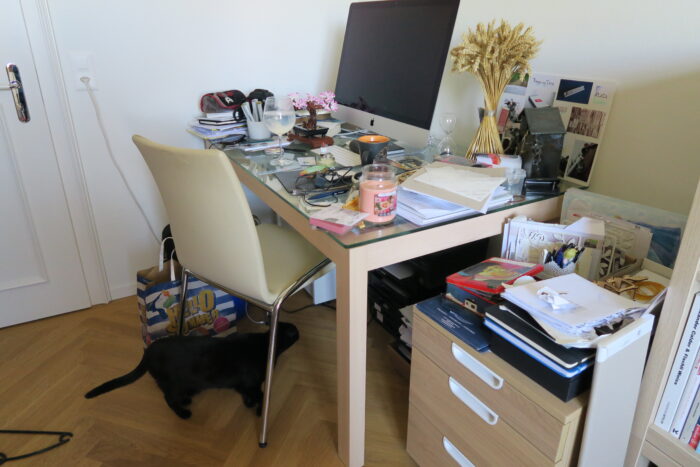
My desk area was always a mess and each time, I forgot to push the chair to the table, I hit it the next time I opened the door. It was very dark in that edge as well.
You see, a lot of things needed to change, even, if I’d loose some cutting space. I still have the bedroom with a lot of floor to cut things out if necessary. So, let’s start redoing my sewing room:
The biggest pain with my old sewing room was that, though I had space for cutting out, I did not have a place to film well. The desk was next to the door and there was almost no light and it was difficult to place the camera. I had to rely on natural light.
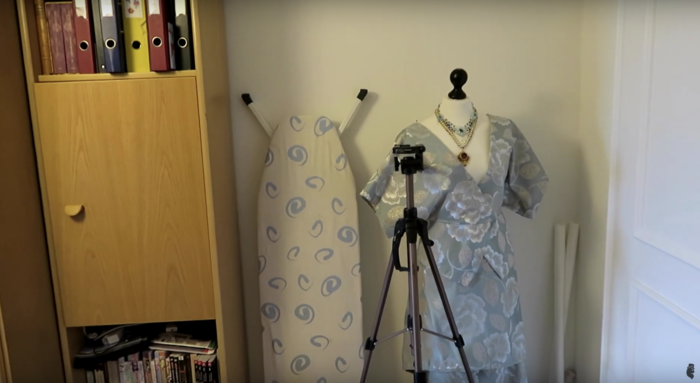
The second pain point, that I could have solved by buying an extension cable that I probably still have to buy, was the ironing place I had. I ironed towards my wardrobe, the iron cable too short to use the whole length of my ironing board and even shorter because the socket was behind the wardrobe. The same problems here, the light situation was not ideal and filming was also difficult.

I decided to use my Kallax as a room divider, that would be the background for the studio and also room to put things on from the back.
I started by emptying my Kallax and putting all things that could break into my bedroom to save them from Mr. Spinalzo. Everything else, I put into our living room, including the Kallax itself, after I cleaned it. Same procedure for all my shelfs. The only two things that are still on their place are my wardrobes and one of the shelves that belongs to the wardrobe. All solid wood, no chance for me to move them alone.

My desk was the worst to empty because I have sooo much stuff on there and in the little corpus beneath… Decluttering will be necessary at one point, the mess is real. But I managed, even found the missing screw for the fourth table leg and fixed it. It is still a shaky piece of furniture, but not as dangerous as before.

I had hoped that the room would look bigger when empty but nope. It is and stays a very tiny room:

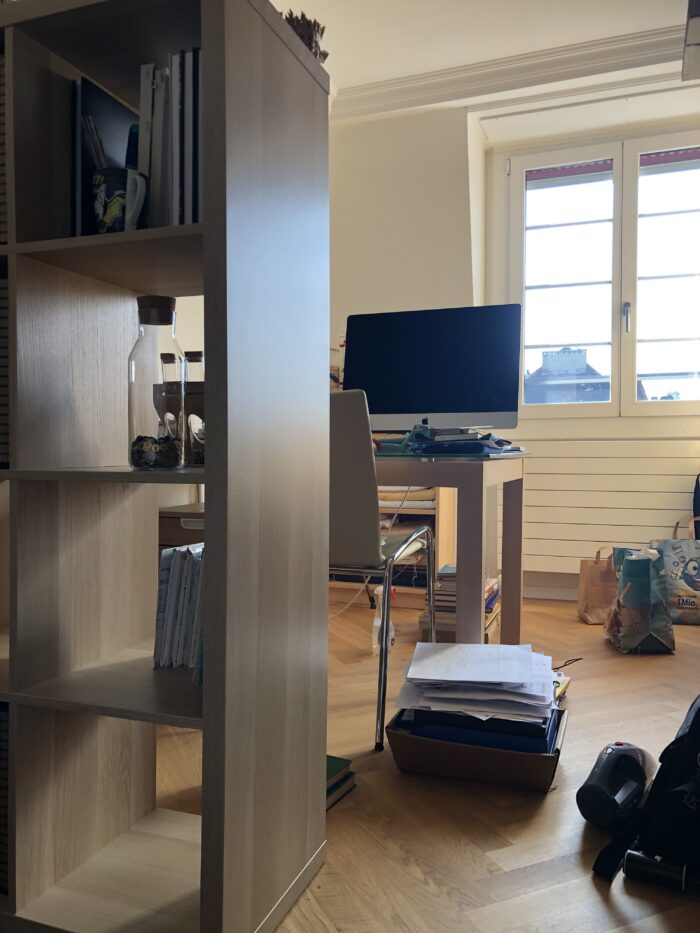
I started filling the room again with my desk, then the book shelves and then my Kallax:
My big book shelf had to move three times, because I could not find the perfect space for it. I took all the books out and put them in again three times, I was sweaty afterwards, but now it has a nice place next to the window (without blocking it), hidden by my wardrobes.
My cutting, ironing and drafting area is pretty small, but it is practical. If I move the ironing board and the corpus, I have a nice free area for drafting, same with removing the corpus and the dressform. The camera can stand next to my Kallax as well as the softbox.

The cutting area is unfortunately smaller then before, but I swallow that pill gladly, because the rest of the room is so match more practical. I can move the corpus, the dressform and the ironing board and then, I have a wall-to-wall cutting area. For bigger things, I will use my bedroom floor, I have more space there.
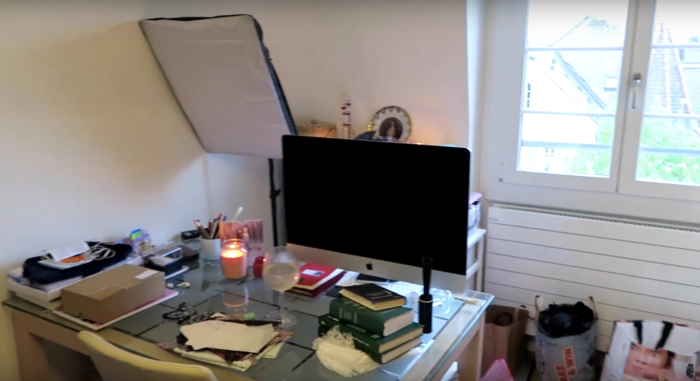
Towards the window, I have a shelf full of fabric and other sewing and camera supplies as well as my soft box and my tripod and camera 🙂
The desk will be both, my office desk as well as my sewing table / filming area. When I want to sew and film, the computer will move to the floor behind the desk and everything on top of it will move as well.
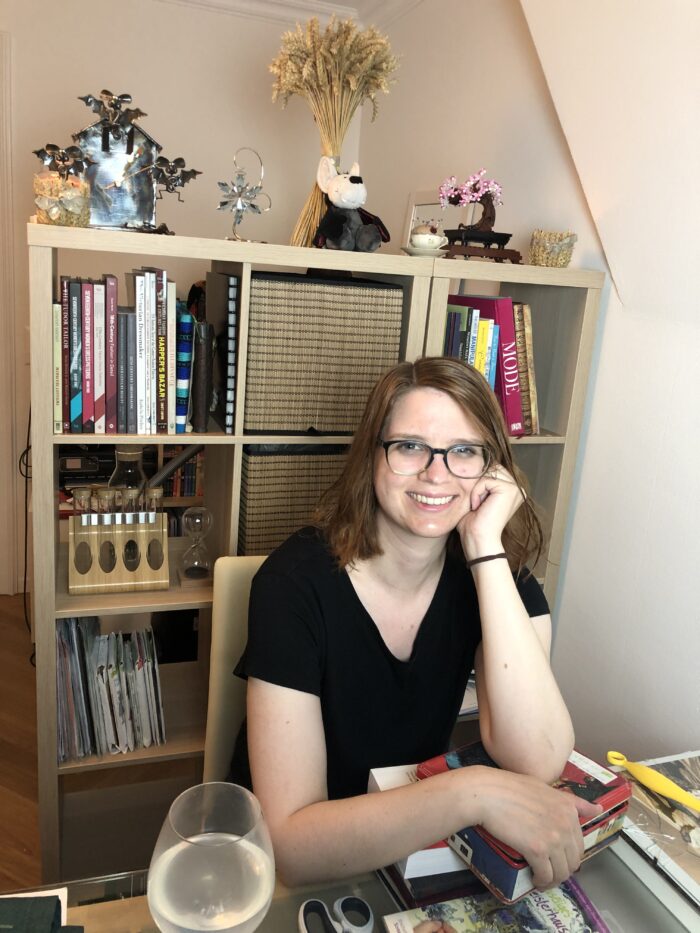
Behind me as a backdrop are my kallax shelves that are filled with my sewing books, fabric, sewing supplies and are decorated on the top. The decorations on top represent all four seasons, I hate nothing more than redecorating, so this is perfect for me: Frozen Ice Star for winter, the lego bonsai for spring, ears of wheat for summer and bats for fall.
I would like to buy a second softbox as well as a ringlight in the future, just to be able to film at any time. What I would also like to change is the table. Since it is a glass table it reflects the light of the softbox. Which is not ideal. So I hope to be able to go to IKEA sometime in June and look for a new table, preferably a wooden one.
I have already finished one project in my new setup which is a 18th century spring dress 🙂 It works well, not much space for cutting out but as I already mentioned, I still have my bedroom floor or the floor in my living room to cut out bigger pieces 🙂
That’s it for today’s post, I hope you enjoyed, thanks a lot for reading and I wish you a good one
Love,
Ella