Hello everyone 🙂 In today’s post I’m showing you how I made the lilac casual Disney dress inspired by Jasmine from “Aladdin”. I based the design on the dresses the japanese brand Secret Honey does for their Disney collection. You can also find several designs for Jasmine’s dresses, but none for her lilac dress.
This dress was a present to a lovely friend of mine who loves Jasmine and the brand. I made it from lilac cotton, shimmering organza, lilac lining fabric, gold and lilac metallic thread as well as Swarovski beads and a trim that I had in my stash and matched the colours perfectly. All fabrics are from buttinette.com.

For the design, I worked off of different elements Secret Honey uses for their dresses but also from pictures of my friend, because I had to somehow fit the dress without her knowing.
I decided to base the bodice off of Annas Ice Skating dress. For the neckline I went with something similar to their Cindarella Live Action Dress as well as their Tale as Old as Time Belle Dress. The sleeves are my own pattern, I used the one from my medieval and fantasy inspired gown.

I drafted the pattern for the bodice directly on my dressform, using the bodice of the Anna dress beneath as a guide. This ist the pattern I came up with:

The original closes with a zipper at the side and also has a lace up detail in the back to adjust the size. I do not like installing zippers so I decided to lace the bodice in the back to close it and install two more lace up details at each side of the back to make it adjustable. So I had to figure out how this would work the best.
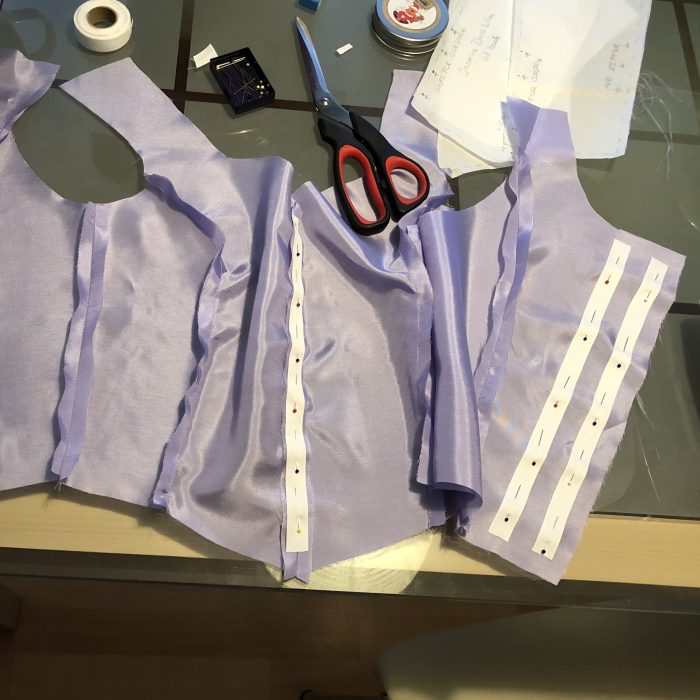
I did two mock ups in total, because there were some things to correct. The first mock up I made simpla to test the size as well as to test whether the sleeve pattern would work with the bodice or not.

The pattern worked really well, but it was far too big even considering that the size would be adjustable. So I made a second mock up after taking every seam in about half a centimeter.
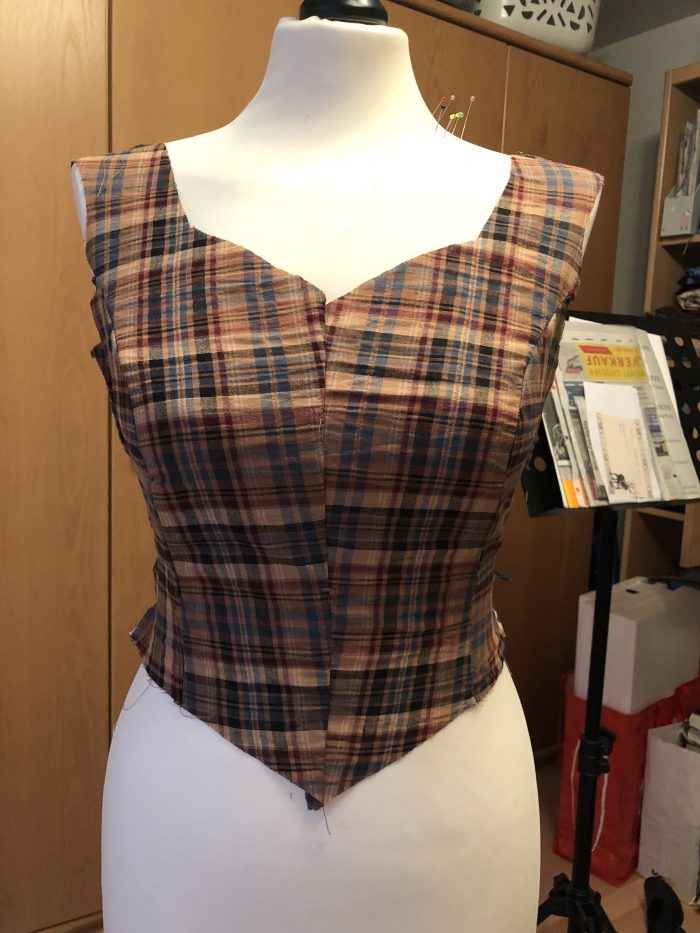
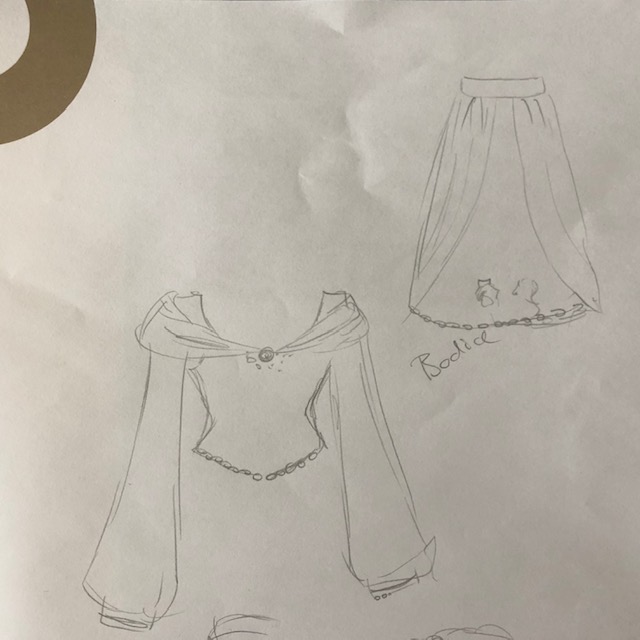
This one fit much better. I tried to make the loops for the lacing at the side back with lace here, but decided that it does not look the way I want it to. So I went with creating loops from ribbon in the end. There were many details I did not decide on in this state. For example what kind of embroidery I wanted to do, what kind of beadwork, where I’d place the trim etc. Here is my original sketch of the dress, just as a reference. Some things changed in the process of making the dress:
So I started making the bodice without the final piece in mind and just went with it. I knew that I wanted embroidery on the bodice center, so I loosely planned the steps to fit what I had in mind but without settling completely on something in the beginning. But first, cutting out all the pieces from the cotton and the lining fabric.

In the meantime I had bought some pattern paper, that I love for tracing from actual sewing patterns <3.
I started with assembling the two center front pieces, then ironed the seam open and started brainstorming for an embroidery design. I googled for arabian embroidery and quickley decided, that this is a bit too elaborate for me. So I started searching for things that worked for Jasmine and well, settled with the most obvious: jasmine flowers. But hey, it would look beautiful, I could do something a little more abstract and maybe also incorporate some elements from arabian embroidery patterns. I found this design and basically made a line drawing out of it, since I wanted to do more subtle embroidery, but I liked how simplified it was and it worked really well for me. This is the design I ended up with:
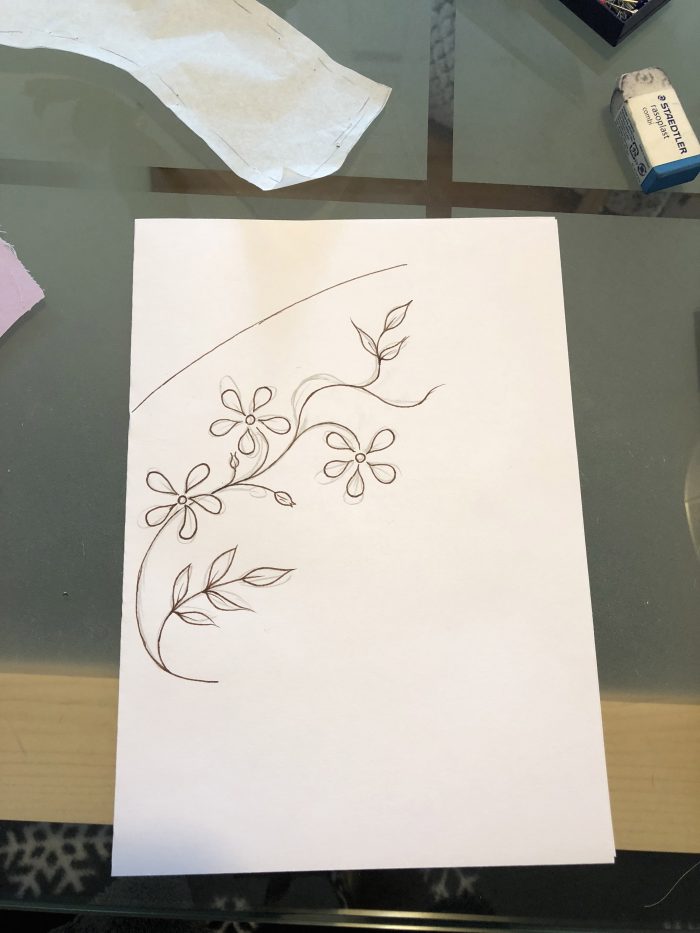
As you can see, I marked the neckline to get the design more or less in the same place on both sides. I transferred the design to the wrong side of the fabric using the old but trusty window method and a pencil.

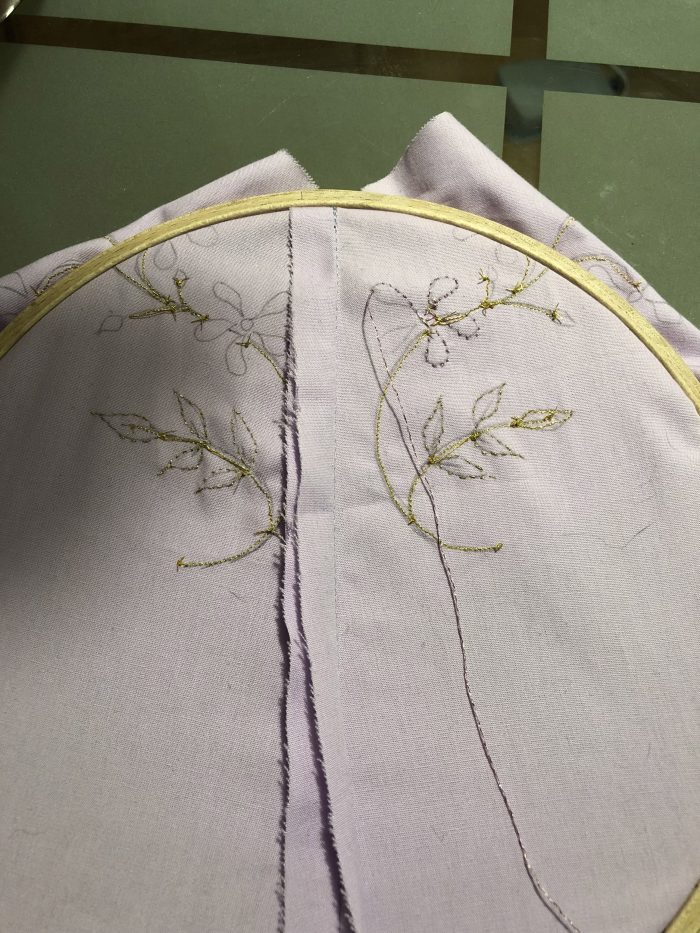
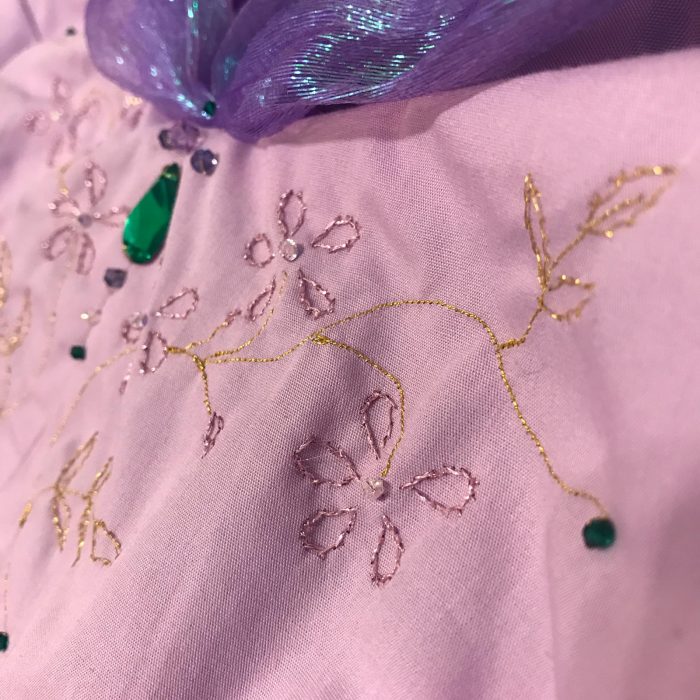
I did the long lines using gold thread on my machine while the leaves (also gold thread) as well as the flowers were done by hand. No idea what technique I used (if any at all…) I just did what seemed logic to me and it ended up looking decent. I need to get my theory down at some point…
Then it was time to prepare the ribbon loops to create the lacing details to adjust the size. I first cut all 16 pieces of ribbon needed. Then I started assembling the bodice, keeping the seams with the loops in mind. Before doing up these seams, I marked the placing of the loops on the bodice piece and then sewed them down about half a centimeter away from the raw edge. Then I sewed the seam with a centimeter of seam allowance. That way the stitchlines from sewing the loops down first were not visible and they also did not move while sewing the seam.
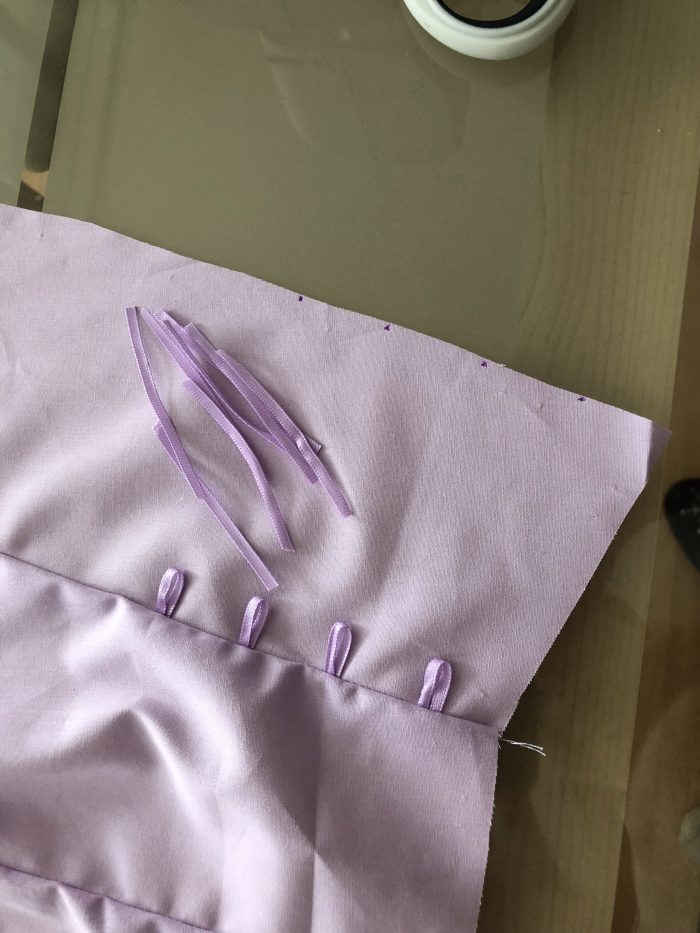
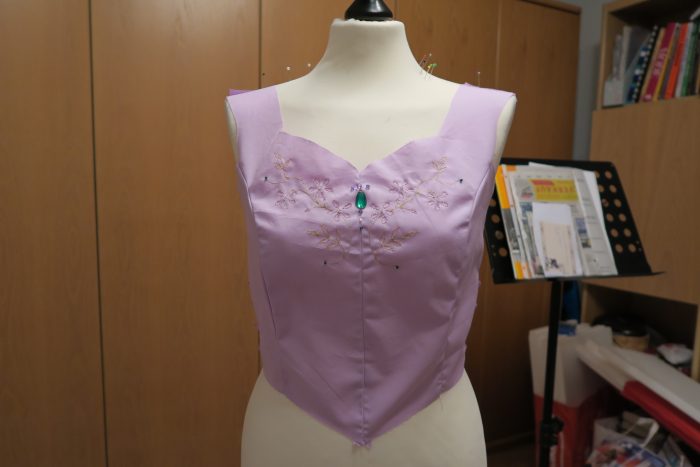
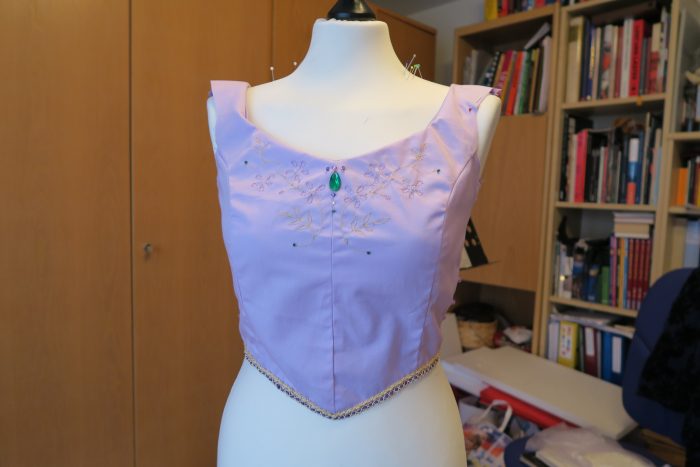
I did this with all four seams and finished the outer shell of the bodice by ironing all seams open and ironing the loops down a bit. Here you see the embroidery in the front. I also embellished it with beads. Except for the big green one, they are all from Swarovski.
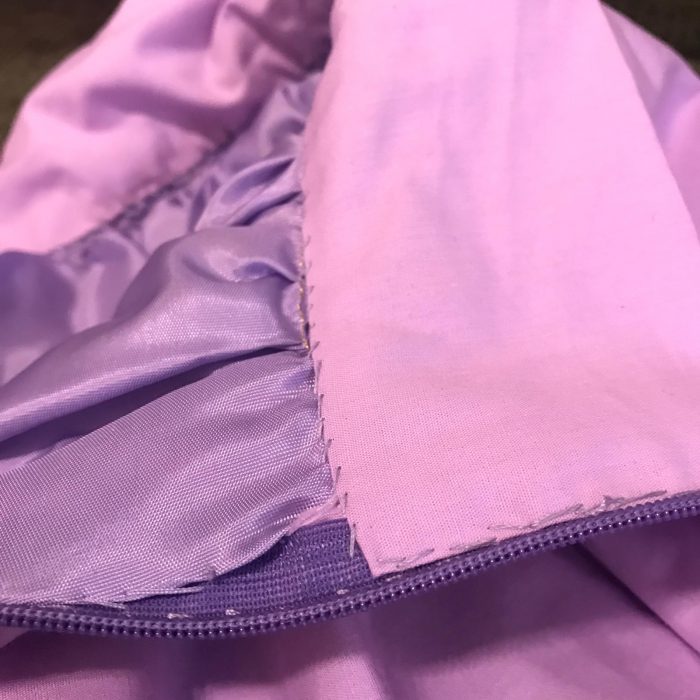
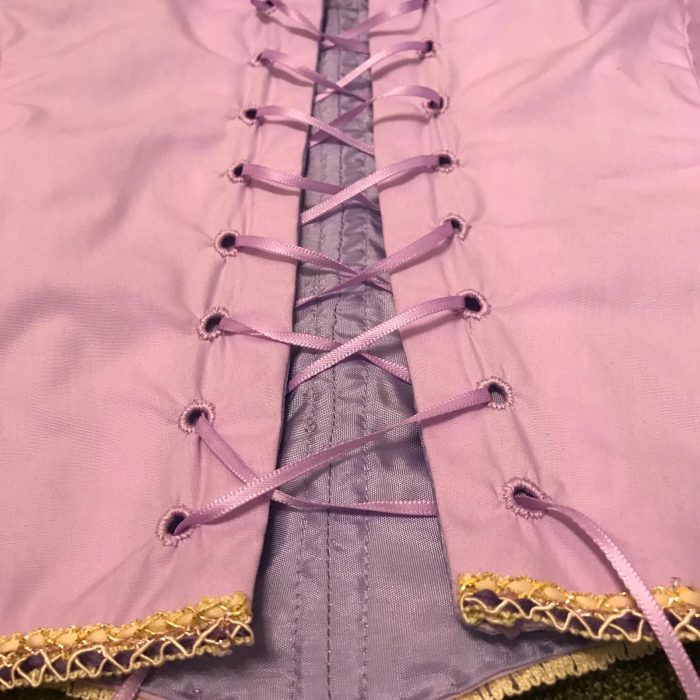
And here is a look at the loops for the lace up detail of the casual Disney dress:
After that, I assembled the lining, ironed all seams open and started to work on the boning channels. Since I wanted the bodice to close by lacing it up in the center back, I needed two bones on each side to prevent creasing in the fabric and support the eyelits. I also decided to use a bone in the center front for the same reason. The bones should not be visible from the outside, so I sewed the channels onto the lining using twill tape:
I pinned the tape to the places I had marked before and then sewed around as close to the edges as possible, leaving the channel open at the top. I inserted plastic boning and then closed the channels.
After that, it was time to assemble the top layer and the lining. I did this by machine and closed all sides except for the arm openings since I still had to set the sleeves and also wanted to use the lining there to finish the raw edges of the sleeves.

The bodice was turned to the right side, I pressed all the sides and then started adding the trim to the bottom. Normally I would understitch, but since the edges of the bodice would all be covered by either the collar or the trim, I skipped this step here.
After finishing sewing down the trim by hand, I marked all the eyelits, punched the wholes and finished them by hand using embroidery thread. In total, there are 18 eyelits, 9 on each side.

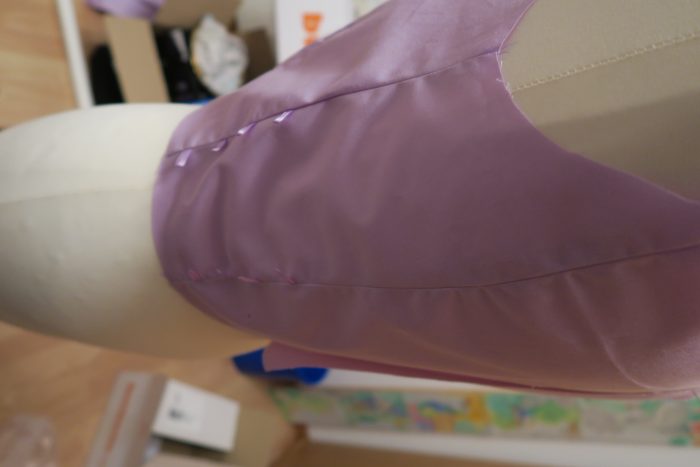
As you may have noticed, I have no pictures of installing the sleeves/collar as well as the making of the skirt. I cut out the two pieces from cotton and then ironed them in half to make the cuffs. After that, I added the trim and then ironed the interfacing onto the other side. I cut the piece of interfacing a bit smaller to have less bulk in the seams. I sewed the cuffs onto the sleeves by machine, finished them by hand on the inside and then sewed the sleeves together using french seams. They were set by hand and then I used the rest of the lining to finish the raw edges.
The collar is a tube, sewn together with french seams and than I arranged around the neckline until I liked it and pinned it. I stitched it down in the front, at the shoulders and in the back to keep it’s movement and volume. I also gathered it at these points and after sewing it on, I decorated the gathers with beads.

The skirt is a simple rectangle skirt with a waistband that closes with a zipper in the back (that I tried to install as nicely as possible by hand…) It is fully lined as well. First I cut out the two rectangles, cutting the lining a bit shorter than the upper layer. Then I hemmed both pieces and gathered them. I sewed them together on the gathered side using basting stitches.
Then I cut out the waistband and attached it by machine on one side, the other side was not attached yet. Then I sewed the back seams up using french seams. I did each layer individually to a certain point that was measured with the zipper. So the lining is not attached to the upper layer. I hope this makes at least a little bit of sense…
Then I sewed the zipper to the upper layer and used the lining to finish it. The last step was to finish sewing on the waistband. It did not work out 100% and looks funny on the inside, but the outside is ok 🙂 And after that, the ensemble was finished!
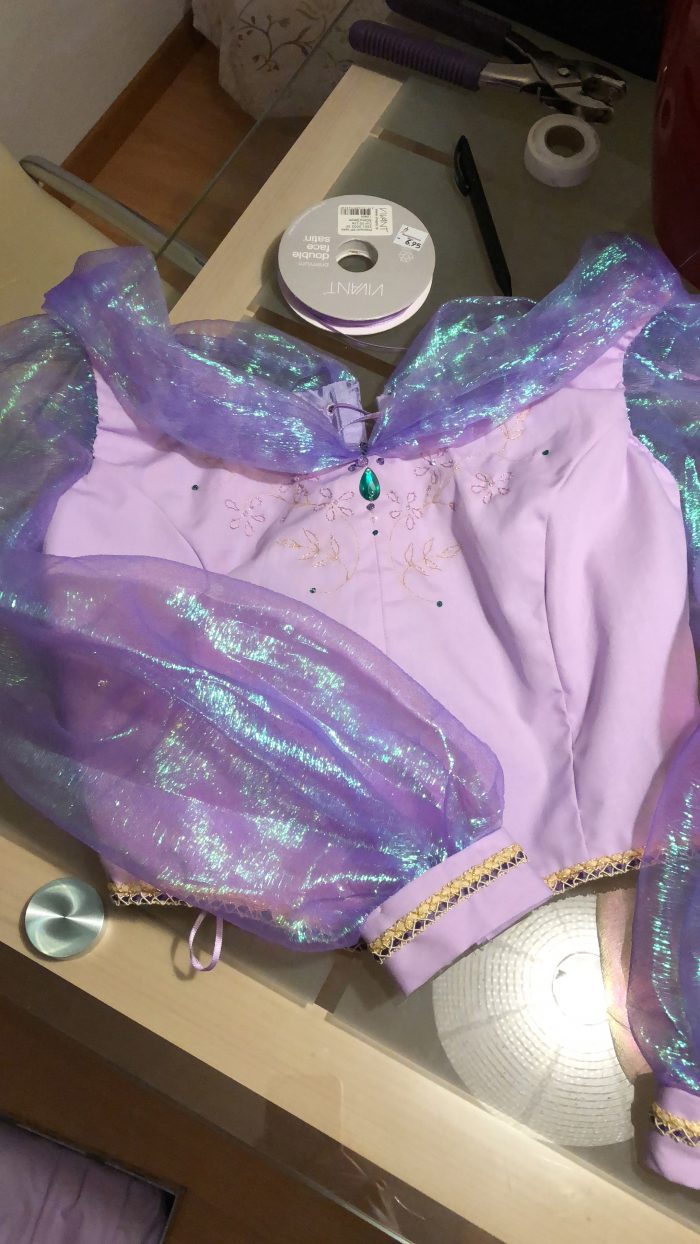
Here is one picture of the skirt and the bodice as well as some detail shots of the bodice and skirt. Credit for the detail shots of the finished garment goes to my friend, I did not take many detail shots myself and only one very bad picture of the entire ensemble.
And here it is, my casual Disney dress inspired by Jasmine’s lilac dress in “Aladdin”:


