Hello everyone and welcome to part 2 of making my 1910 Corset using the Nehelenia Corset Kit including her pattern E309 🙂 I will show you how I assembled the corset, after finishing the mock up in my last post. Since this post will be a bit longer, I decided to make a separate post for the chemise 🙂 So that one is next up.
If you prefer watching videos, I do have one up on my Youtube channel:

By loading the video, you agree to YouTube's privacy policy.
Learn more
If you missed my first post and are interested in the full first part of my review, you can find Part 1 here 🙂 Here is a quick summary:
A quick reminder on what we’re talking about 🙂 I bought one of Nehelenia Patterns Corset Kits, that includes everything you need to finish the corset. This is what was in my kit:

This is what the pattern itself includes:

Not included are the lace to decorate the corset, as well as bias binding for binding the raw edges. But since these are things, most of us will have too much in our sewing room anyways, it does not bother me at all, on the contrary, I like, that the lace is not included because then you can choose yourself and match it to the lace on your chemise etc.
Now, let’s get started!
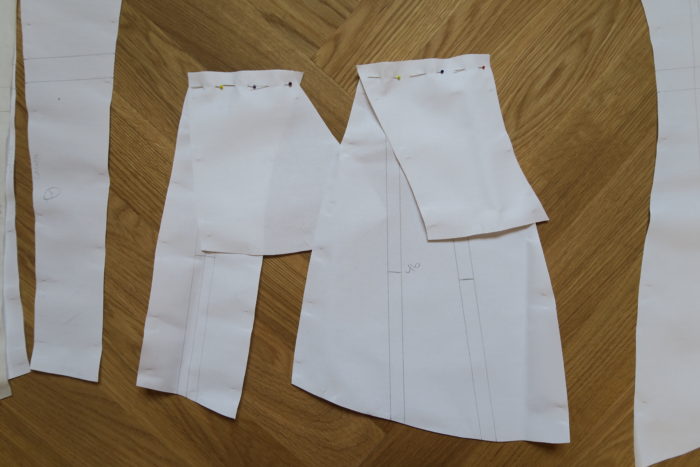
Captain Obvious is here 😉 I started, of course, with cutting out the pattern from coutil and transferring all information onto the wrong side of the fabric (like were the boning channels would be, where the eyelits go etc.):

This process takes a little bit of time… I stopped half-way through and let the corset sit in my sewing room for three weeks before I had the motivation to revisit it…
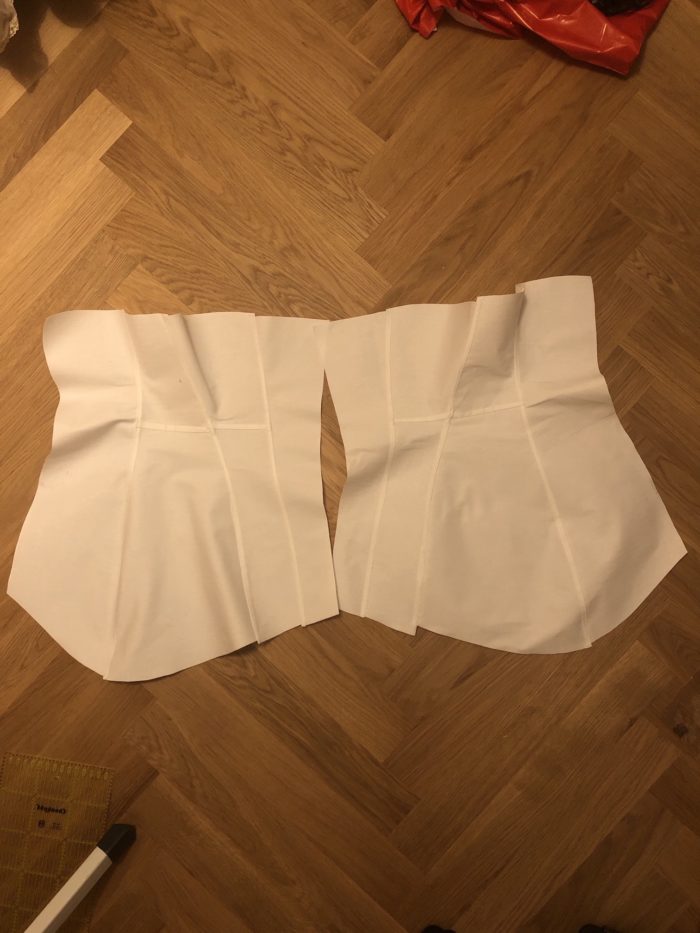
Then, the assembling fun began, starting with the two panels that were cut out in two pieces. This time, I paid a lot more attention while pinning those, so I did not have to open any seams. As you can see, the pieces are pinned together with their wrong sides facing each other, since the seams will be on the outside of the corset:
I noticed, that I did not work 100% precisely when I transferred the boning channels onto the fabric.
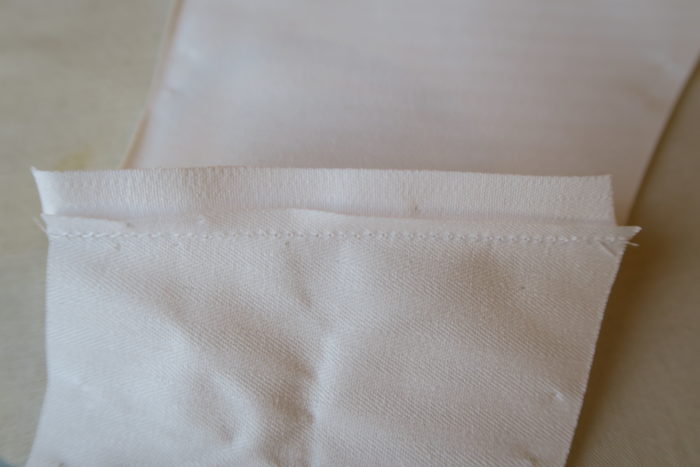
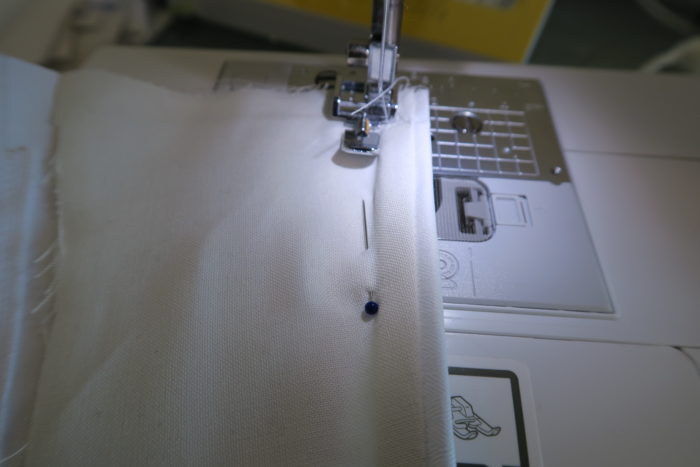
The corset is assembled with flat felled seams. The pattern did not call for a flat felled seam to join the panels in two pieces, but I decided to use one since I did not want to have to finish raw edges. Initially, I wanted to use a french seam, but decided against it, after I used french seams while assembling the mock up. Here’s how I did the flat felled seams:
You sew the two pieces together, wrong sides facing each other. Then, shorten the seam allowance down on one side:
Then iron the seam flat and iron both parts of the seam allowance to the same side, the longer piece overlapping the shorter one. After I ironed it flat, I did fold the remaining longer piece of the seam allowance under, ironed again and pinned it:
Ten sew it down in close to the edge/fold and you have your flat felled seam! All panels were joined using these seams.
It takes a lot of time and coutil is, to be honest, not my favourite fabric to work with. It is very stiff, it was a bit annoying to work with. My fingers were bleeding several times. But hey, finally, I used accurate material 😉
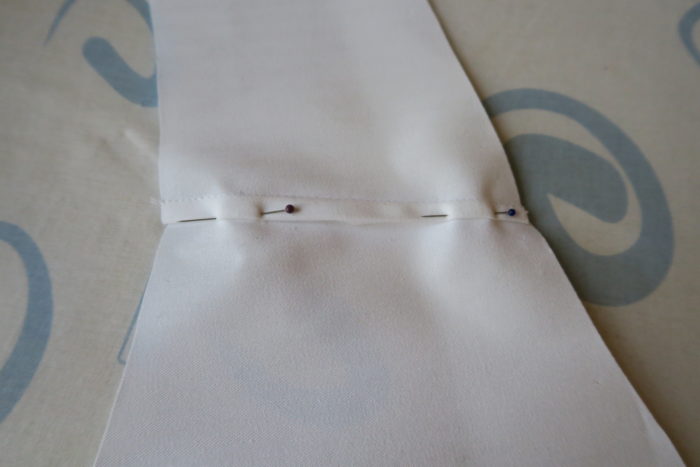
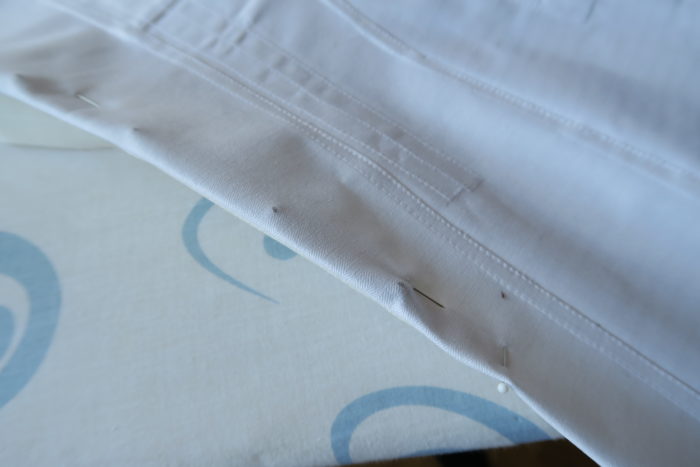
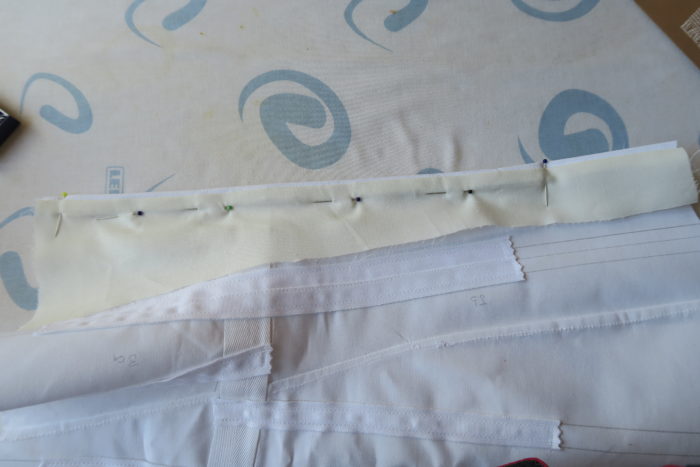
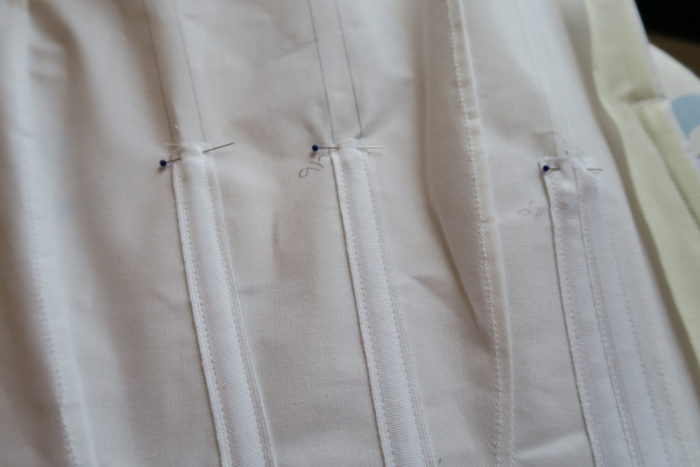
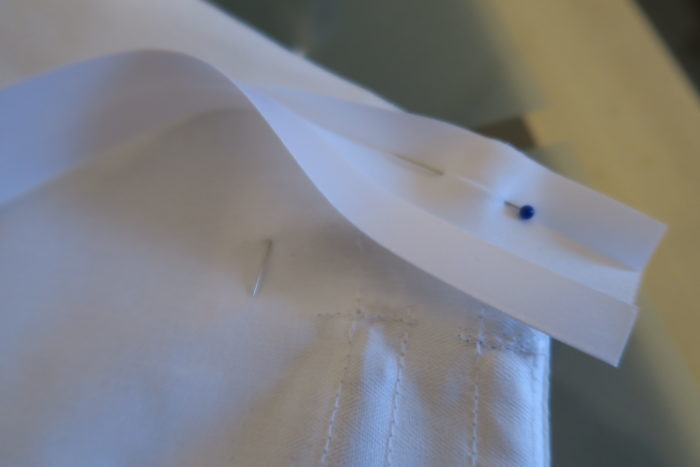
Next, the pattern called for installing the waistband on both sides. You get a decent amount of the twill tape, you really do have enough. Pin the waistband along the markings you made on the fabric. Mine were a bit wonky, I just followed them as good as possible:
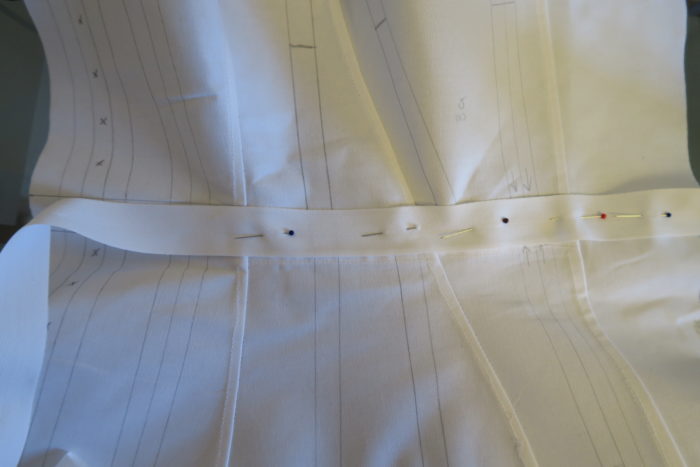
There is no need to sew it down, it will be held in place by the boning channels as well as be secured by the “lining” panels that you use to install the busk and for the backpanel. So just pin it in place and then move on to the next step.
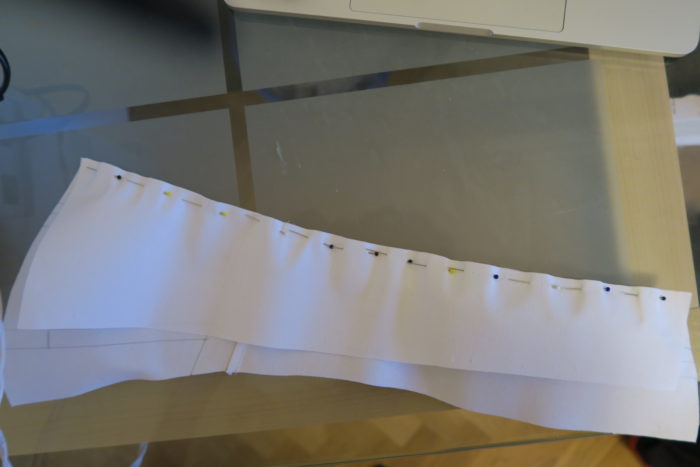
For one half of the corset, I pinned all boning channels first and then sewed them on one after the other. Big mistake, my fingers were bleeding once again. I suggest to pin a channel and then sew it down before you do the next one…
The twill tape provided is much wider than the boning (6mm). Be aware of that while sewing them down, the boning should not be able to move and turn around in the channels.
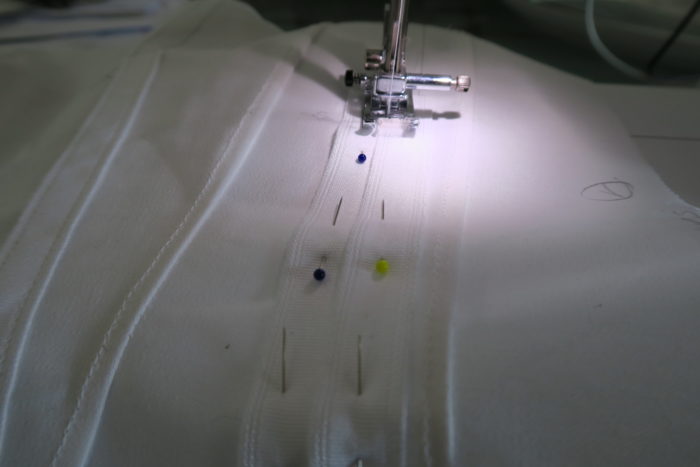
Where two channels were next to each other, I overlapped the tape and sewed the seam in the middle first as shown on the picture above.
I did not think about finishing the raw edges of the channels at this point, because normally, I don’t have to worry about that because I either use two layers to create the channels or the channels are sewn onto the lining and thus not directly on your skin. So, I do have raw edges that might fray since they are out and about… If you also don’t like that, this is the time to think about it and finish the raw edges properly 🙂
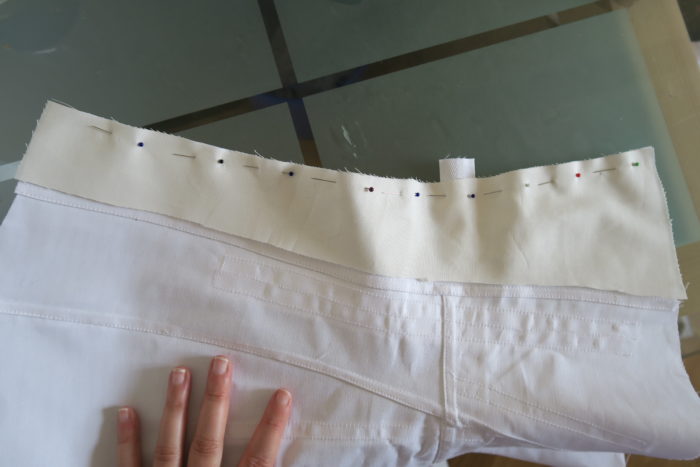
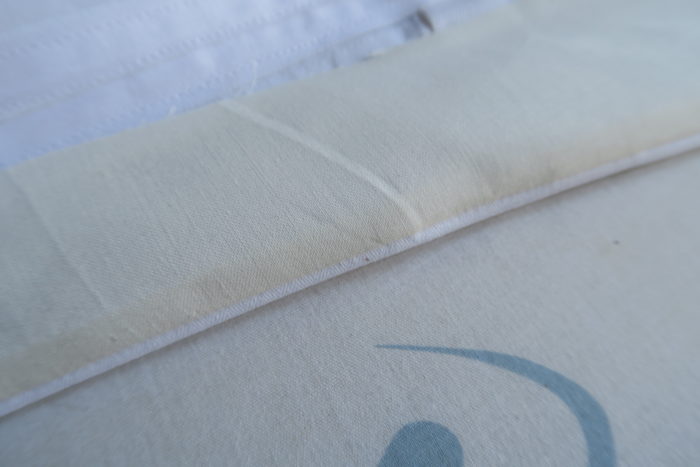
The first thing to do is cut out two pieces of fabric to use as some kind of lining. I simply used the two front panels from my mockup for this to save fabric and because they already have the right shape. Then I pinned it them on and sewed them down:
Then, I ironed the seam. I did not want the lining fabric to show, since it is a slightely different colour, so I made sure to iron the seam flat first and then iron the fold a few milimetres next to the seam, so only the coutil is visible from the outside. Maybe understitching would have worked to, the idea did not come to my mind at that time though:
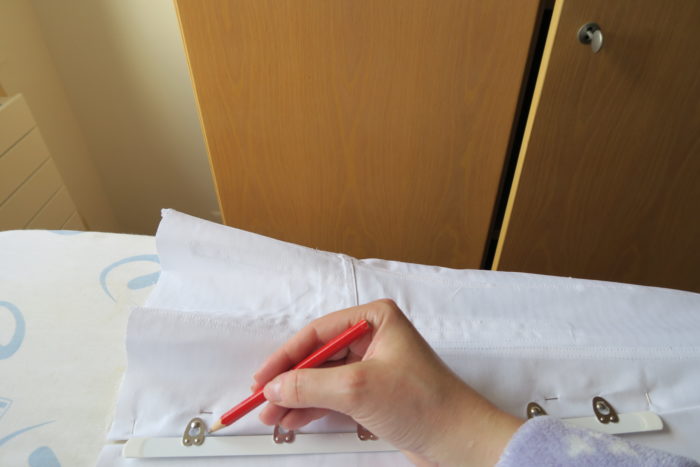
The pattern advices you to start with the side with the knobs first which I did because advice was well needed. I put the busk between the marks on the fabric, pinned it in place and then marked where the nobs were. Be careful about the way you insert it on one side, the knobs are closer together, this side has to be at the bottom.
Then I removed the pins, took the busk piece out and used an ale to poke wholes where the marks were. I did have to repeat this because I was too careful and the knobs did not fit the tiny wholes. Then, I pinned the busk in place again and changed the foot of my machine to the zipper foot and carefully stitched around the busk.
Unfortunately, it is a bit wonky, I had some difficulties. But it does not move, so we’re good apart from the fact, that I do not have a nice and neat seam around it…
The first time, I whip stitched the lining panel down but for the remaining three panels, I just turned the raw edge inwards and did a seam by machine. Later, when I installed the bias binding, it was “sewn down”. Because whip stitches and that fabric were not going well together since it is so tightely woven.
Let’s move on to the other side:
Same process for this side with the lining panel (and I also added the two lining panels for the back at this point). Then, I marked on the fabric, where the loops would be. The pattern recommended to mark the placement before adding the lining panel and not stitch where the loops will be so you have a seam with slits in the right place. Since my lining panel had a different colour that I did not want to be visible (and also, because it sounded like a looooooot of work…), I decided to do it differently and use a knife and fray check instead:

Don’t do this the way I did, please! Not safe. use a proper knife, not only the blade. I was close to insanity at this point, because I worked about six hours on this corset already, which might explain not wanting to spend the time to search for a knife, but don’t!
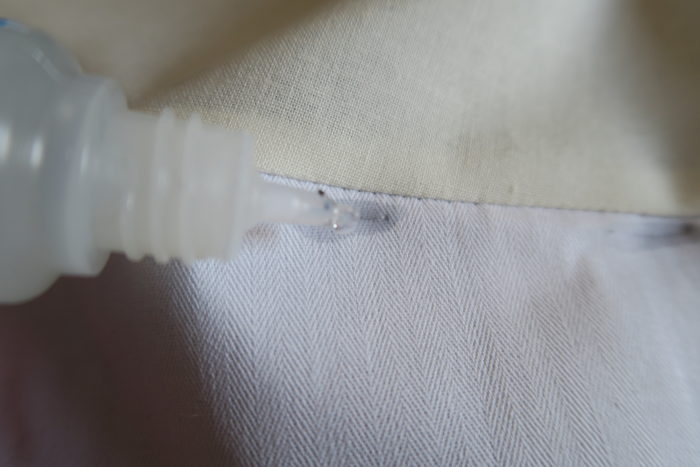
Then I used fray check on both sides and finally took a break to let it dry before inserting the other half of the busk, again, securing it using my zipper foot.
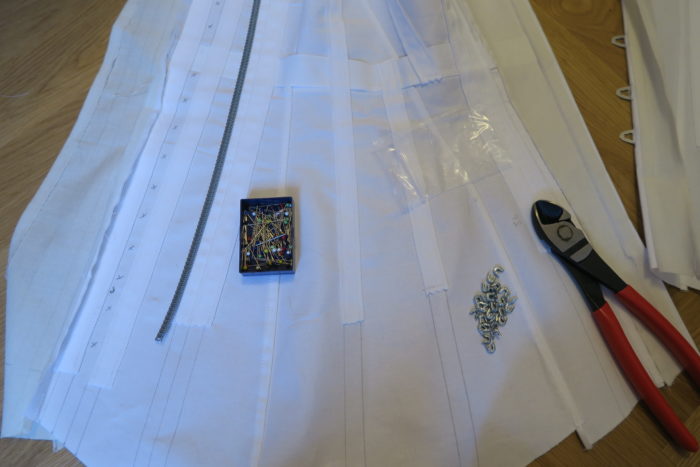
My hands were not destroyed enough that evening, so I decided, after having my break, that I would go on and insert all the boning:
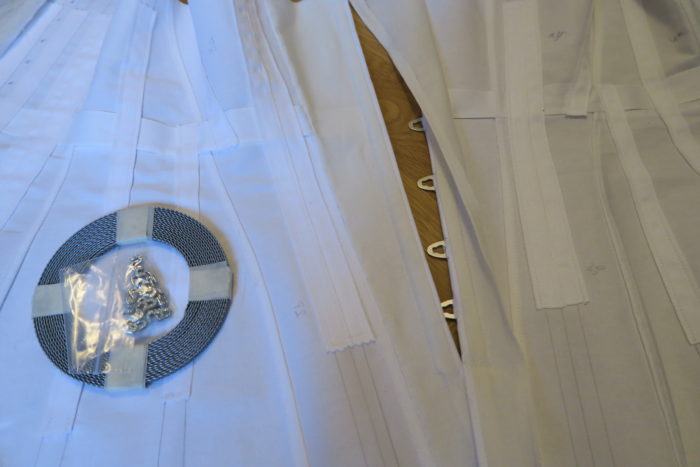
Just measure how much you need, use a wire cutter to cut it to the right length (be careful with feather steel boning, use goggles or something, there are always small pieces of metal that come of somehow), install the end caps for your own security, insert the bone and voilà. You will soon be done.
After inserting all the boning, I called it a day and played minecraft.
New day, new energy, I got up early and decided to close all boning channels. I initially wanted to do that by machine but since I did notpay enough attention, some of the channels were a bit short and I had to somehow close them by hand.
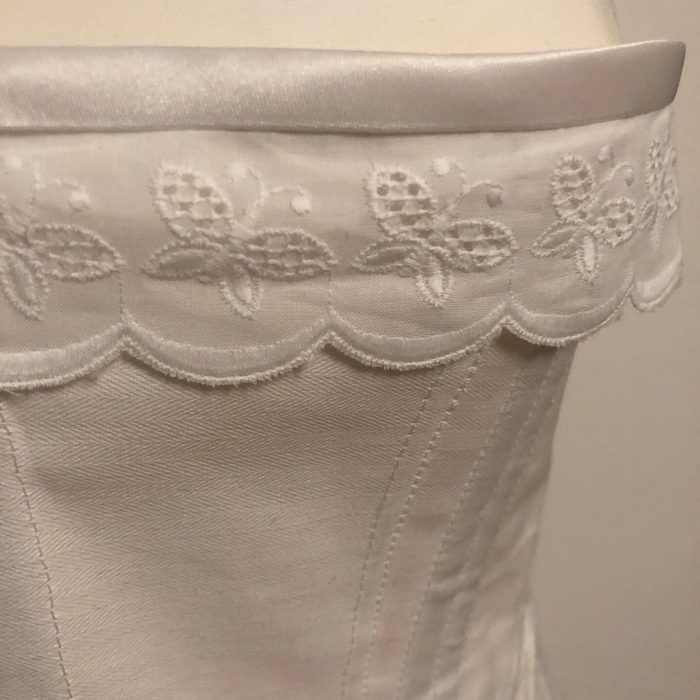
After that, all that was left to do was finishing the raw edges, adding the decorative lace and then doing the eyelits!
I of course pinned on all the binding and forgot, that I should pin the lace on too. So I removed all the pins , cut the lace and then pinned again.
The first seam was done by machine, then I folded the bias binding to the other side and whipstitched it down by hand, so it would look nice and neat from the outside.
In the kit, you get the grommits to do your eyelits. Unfortunately, I did not have the right tool, mine is for smaller grommits… So I was faced with the decision to either wait until the next weekend and by more of the smaller grommits during the week (because I did not have enough of them around) or to do the eyelits by hand.
I decided to do them by hand, a choice I regret very much. My fingers died again, it was really hard to get the needle through the coutil.
I know, there is a proper technique for doing eyelits by hand, i need to learn this for next time. Here, i just used embroidery floss and went in a circle, finishing the raw edges.
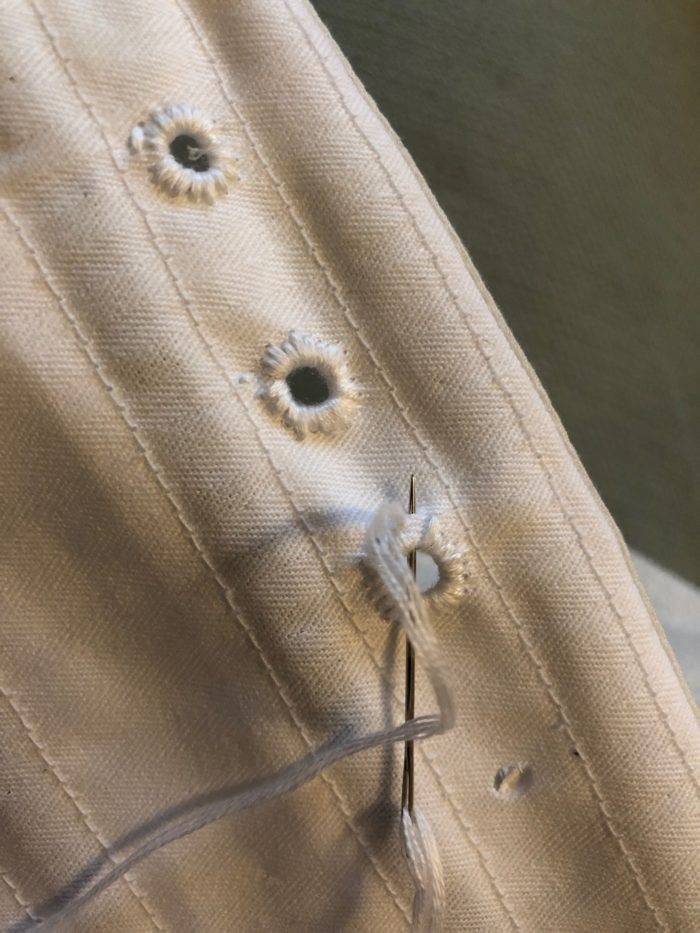
I managed to do all the eyelits that day. I just powered through because I wanted to be done with the corset. I felt my fingers for the next two days though 😛 So, use grommits. It will save your nerves, time and fingers.
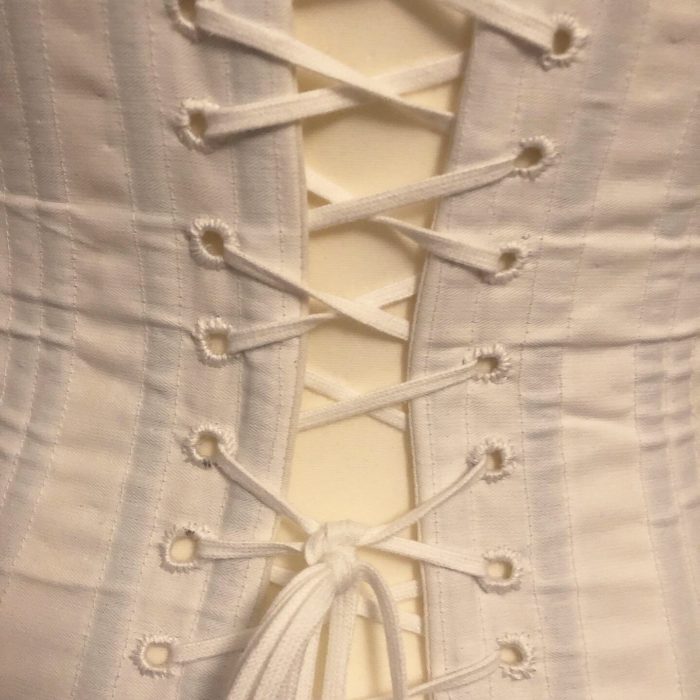
I used one of the corsets I bought to see, how the laces were put in and then did the same thing for this one, starting at the bottom right side, leaving a loop in the middle, then go down again, leaving the second long loop in the middle, and knot the tie at the bottom.

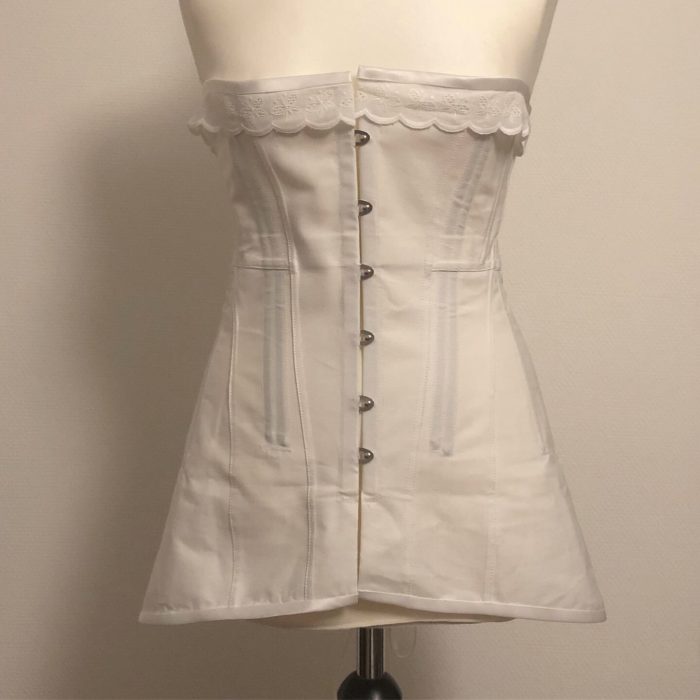
And that finally was all! I think, in total I’ve spent around 20 hours on this corset, around 13 of these 20 on the same weekend. So it was a lot of work, but also a lot of fun and I can’t wait to sew my first 1910 dress and share it with you!
And here are some pictures I took the evening I finished the corset. I don’t have photos where I wear it yet, since the chemise was not finished at that time, but they will follow in the next post!
And that’s it for this post. Thanks a lot for reading, I hope you enjoyed and maybe it helps you a little, should you sew your own 1910 corset! I wish you a nice afternoon, morning, evening, night or whatever time it is at your place!
Love,
Ella