Hello everyone 🙂 In this post I am showing you how I messed up the Chemise for my set of 1910s underwear. Yep, it was a bit of a desaster 😉 But I decided to post it nontheless. After being angry with myself, I can laugh about it… I even finished the video, I actually filmed this mess 😀 If you are interested, here you go:

By loading the video, you agree to YouTube's privacy policy.
Learn more
I do not take responsibility for wasted time 😉 You have been warned. If you are interested in reading how I made the corset to go with the chemise, you can find two posts here:
This project is not my favourite, let’s start with that. I always struggle with patterning chemises and this one was no exception. Also, this is was not patterned after an existing chemise or taken from a picture. I did not want to spend too much time on this, so I took some elements from different corset ads and books and combined them into something simple that looks similar, but was not that much work. So no lace inlays, no ruffles and frills etc. Just a simple thing, designed to not eat too much time.
For this project, I used the following material:
I did not want to sew drawers, that would have been much more complicated and time-consuming and I had a bad feeling about this in the beginning already. And no motivation. So I started to Google chemises of that time, because my books were not that much of a help.
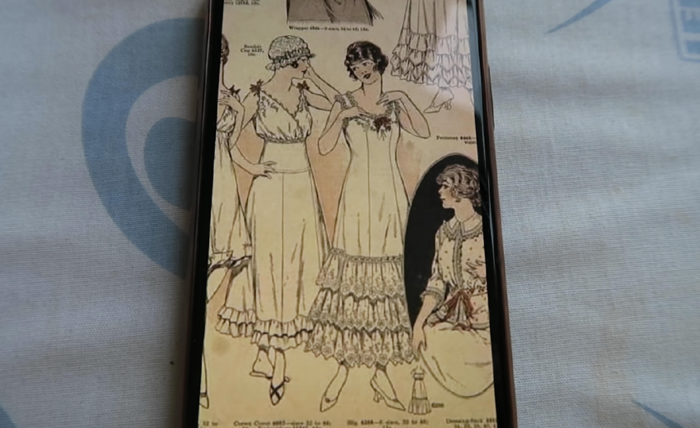
I found this picture, which I rather liked, with the exeption of the work-intensive looking ruffles at the bottom. But I was not sure from what time that picture was, and for the dress I want to make, it seems to be too long and poofy. So I googled on and found this:
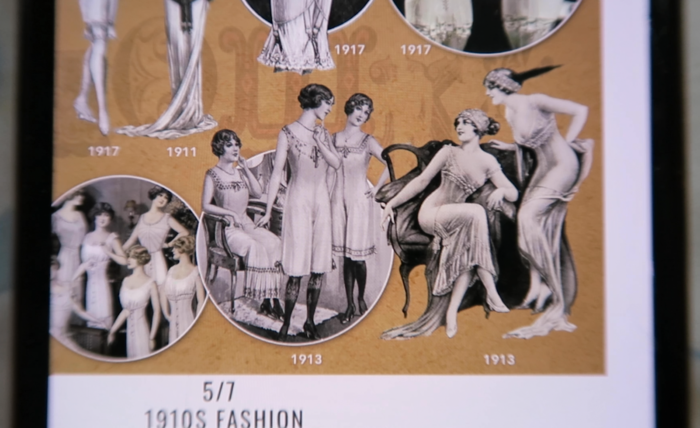
I also googled corset ads from that time and there were many shorter chemises on there as well. So, I decided to sew a short chemise, about knee-length, with not that many embellishments.
I first needed my pattern, of course:

This is what the front looked like. I wanted to lengthen the side panels once I’d transfer everything to paper, using the centre front panel as a guide. Here’s what the back looked like:
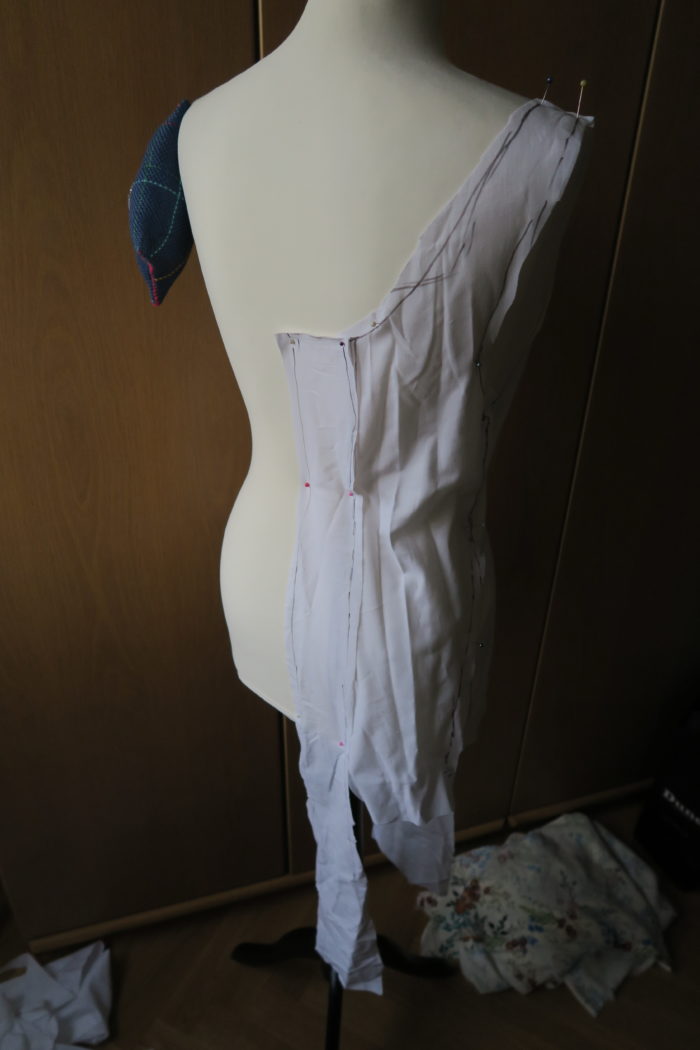
The back is cut low, the dress I’m planning will have a low back as well. I should have ironed the fabric pieces before using them to draft, maybe… 😉 But I was lazy. Do you see the red line here?
I do not really like drafting chemises in the first place but this one was just a huge mess. I had no idea if the length was alright, no hem was anywhere near straight, there’s something like the half of a princess seam on the front side panel but no counterpart on the center front piece… Also, no idea about the size. I could go on, but let’s not.
I decided, once again, to skip the mock up part. Because of reasons, of course. I cut out all pieces from white linnen directly.
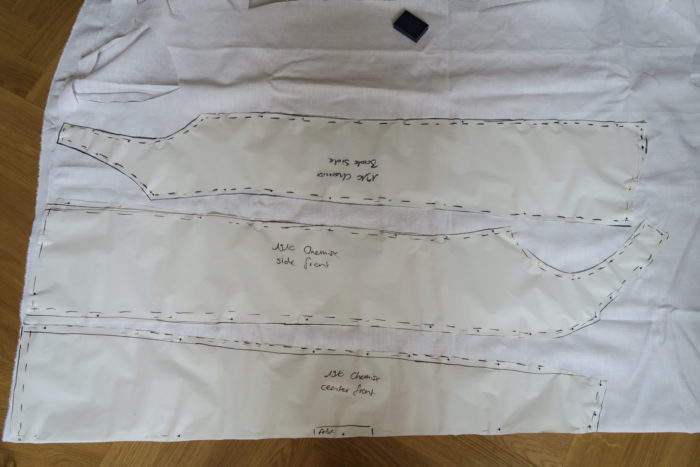
I should have tried it out first though, because, as it turned out, there is not enough space for my booty. So, do a mock up, it helps 😛 But, since my booty would be “corseted” anyways, I decided to ignore the fit issues, it would not be visible.
So, as I already stated, all pieces were cut out from linnen, center front and center back on the fold, the side pieces were cut out twice each.
Assembling was very easy, I used french seams since I do not have an overlocker and did not want to have raw edges directly on my skin. This took quite some time, but in my opinion, it is worth it (but after a mock up and being sure, that the invested time is not wasted… :P).
I had to even out the bottom hem because, the length of a few pieces was off, but it was not as bad as expected.
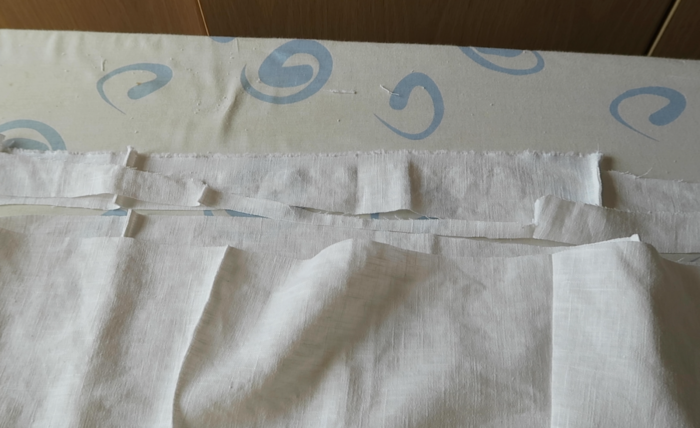
As already stated, I went on with the hem. I really had no motivation at all for this chemise (or for any chemise I ever made… maybe that’s why they all turn out bad…?). I did only fold the fabric up once, so eventhough, I did all of these french seams, I now have raw edges at the bottom. Nice and hidden on this picture, of course:
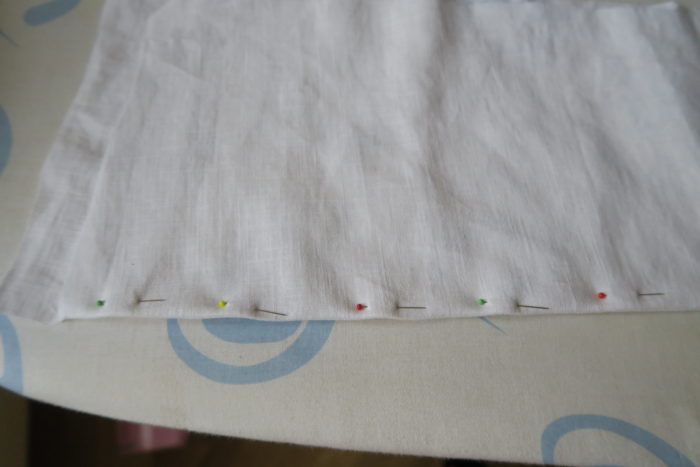
Then I went on binding the armholes. Initially, I wanted to do one side by machine and the second by hand, so the stitches would not be visible from the outside. But, I didn’t. I did all stitches by machine and they are visible now.

The same happened to the binding of the neckline. There, I also decided to save time while attaching the lace. I did not gather it. A very bad decision, as it turned out, but wait for it, after that, I took a decision that was even worse.

So I noticed, that because I did not gather the lace, it was standing up and gaping away from the fabric.
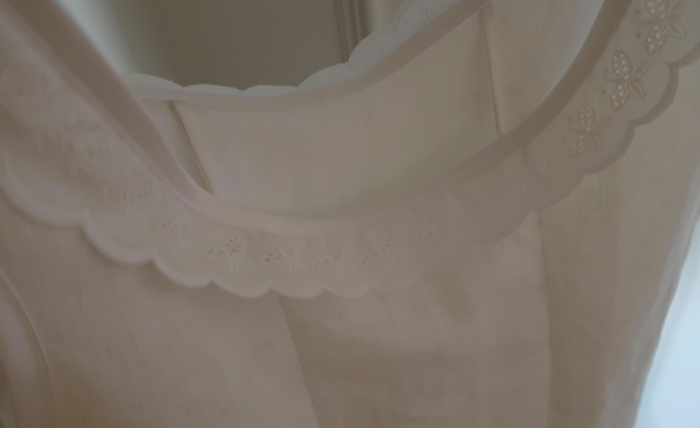
But instead of solving the issue, I, in my all-embracing lazyness/stupidity, decided to use some stitches to keep it down in several places. I don’t think, I have to tell you that this plan did not work out and that I realized shortly after, that thinking before doing something could actually be a valuable step in the process of making things.
But, I wanted to shoot this thing, so we did, you can see the beautiful lace decoration in some of the pictures 😛
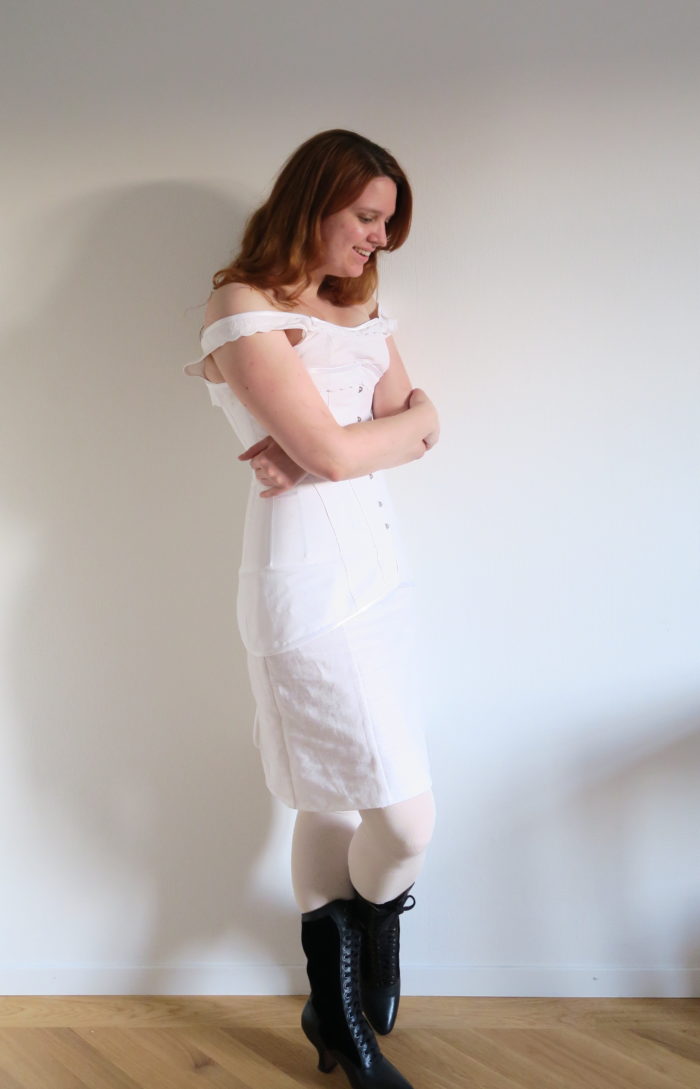
My cat just ran to the window on this picture. Made a nice picture 😀

After this desaster, I decided to buy a chemise pattern, make a universal one, and stop bothering about these creations of hell ^^’ I’ll make everything else and I may try to make one in the future too, but for now, it’s going to be a universal linnen chemise 😀
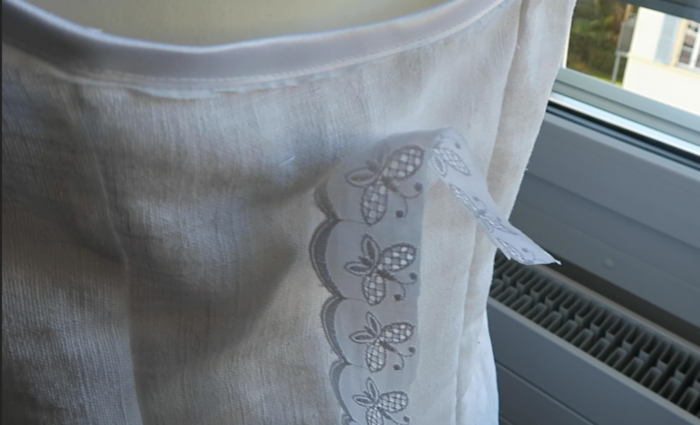
In the end, I decided to simply cut the lace off. And that is the end of this story. I hope, you all would gather your lace anyways 😉
Thanks a lot for reading, I hope you enjoyed it and I wish you a nice afternoon, evening, morning, whatever time it is at your place.
Contact me over Instagram: