Hello everyone! Welcome to a new series of posts in which I am going to show you how I make a tudor gown. I started right away with the kirtle before I made the underthings. Still have to do that, but I wanted to start with something fun. In this post, I show you how I made the tudor kirtle bodice. Let’s go!
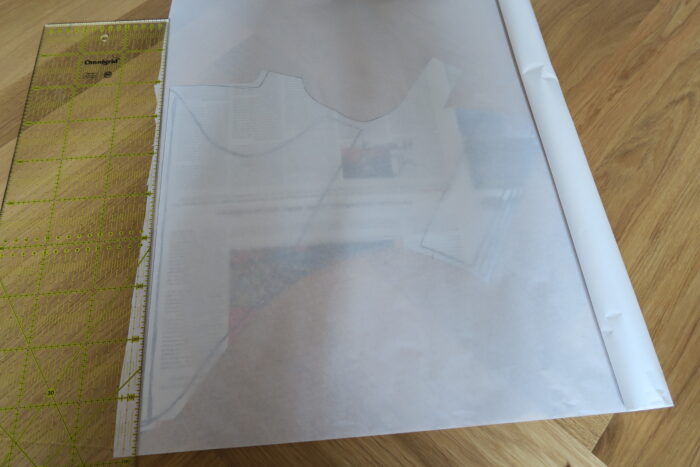
I decided to reuse an old pattern and improve it for my kirtle. In 2016 I created a pair of stays for a renaissance inspired gown. It was originally inspired by tudor kirtles. I made the neckline wider and changed the pointed front. I also added a few centimetres since I have gained weight since 2016.
I used two layers of white cotton and one layer of cotton velvet. I started with the two layers of white cotton as a base. First, I used my stencil and marked the placement of the boning channels and then sewed them all in one go.

Then I used plastic boning to fill the channels, here and there I had to do some bricolage and tear out a plastic stick or two, because I wasn’t careful enough with the markings of the boning channels. Here’s the aftermath:

After inserting all bones, I closed the boning channels. I was not too careful with where the channels end, so I had to open some a bit to have room for stuffing the bust part.

After I had stuffed the bodice and closed the edges, I tried it on and did not like the look of it. So I decided to remove the padding.
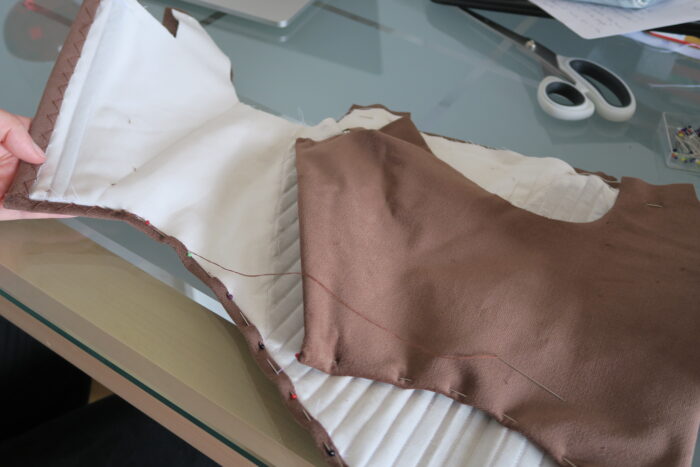
I then cut the fashion fabric, a brown cotton velvet I had in my stash for a long time already. I added a centimetre everywhere since I would “bind” the base layer with the fashion fabric.

Then I joined the boned layer with my fashion fabric by binding the boned layer with my fashion fabric. I did not have a lot of fabric to work with I should have added some more.

I used a herringbone stitch to join the two layers. It worked well, I only really didn’t have enough fabric to bind in one place. I might line the bodice later to solve that issue, we’ll see.
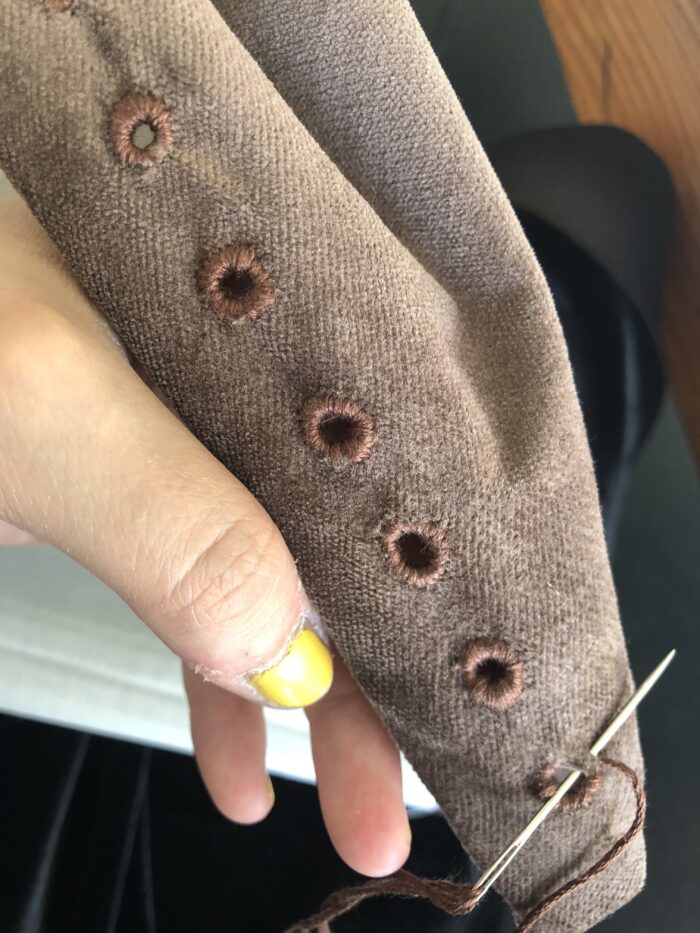
I sewed all eyelits by hand using embroidery floss after punching the wholes with an ale:
After that, the tudor kirtle bodice was technically finished but there’s still my favourite part left to do: decorating it with beads, sequins and everything else I fancy! I started with a row of pearls, pretty much still historically accurate:

Then I decided to go all in and started to play around with different beads, some leaves, stars etc.

I ended up with a design that is by no means historically accurate, but it was so much fun to do! Most of the beads and things I used are either from Buttinette or the Bastelzentrum Bern.

And with that, the bodice is finished. I adde some gold lacing in the back and when I tried it on, it is still a bit small for me. I am struggling a bit with my weight at the moment due to depression and over and under eating phases. Let’s see, where I’m at at the end of that phase. It will be ok, it doesn’t really matter if I can close it or not since it won’t be seen anyways.
And this is it for today’s post. I hope you enjoyed and I thank you all for reading and wish you a good one!
Love
Ella