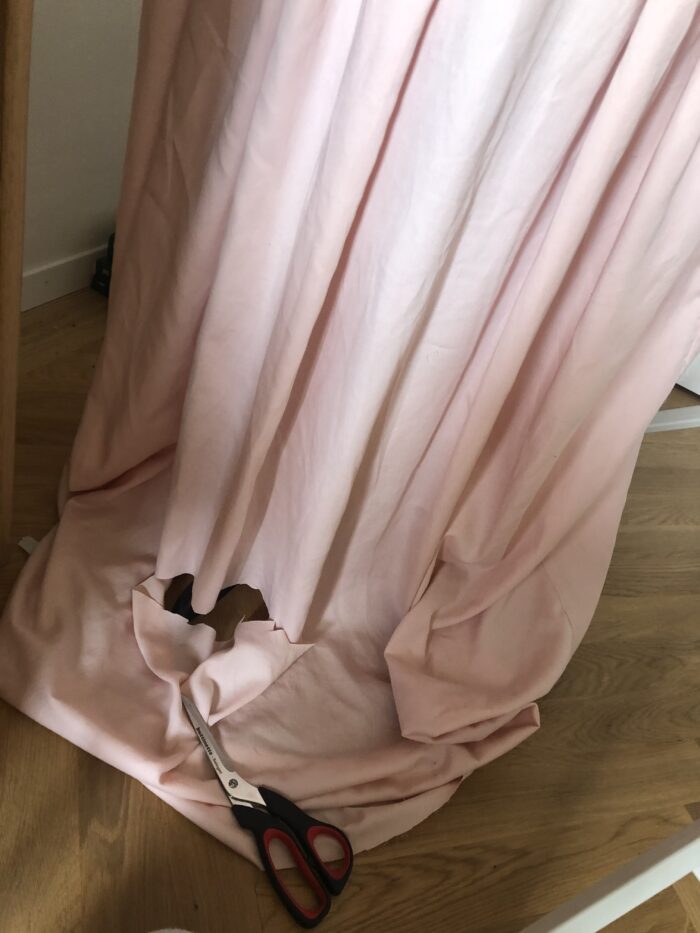
I decided on a whim to sew another 18th century dress for springtime, because I love how everything is blooming and green outside, I wanted to wear flowers as well and because I love sewing 18th century dresses. I went shopping in some thrift stores with a friend of mine and found the perfect fabric for this project: a dusty rose bedsheet and a rose and stripe one. The roses were just on one side, so I did not have a lot of fabric to work with. Like always… I mean, when did I ever have enough fabric. I always need the stress and challenge of wondering during the whole project, if I can even finish it with the little amount of fabric I have.
As I said, the fabric I used was harvested from two thrifted bedsheets:
A lot of people also buy duvet covers from IKEA, that are not too pricey to use them as fabric. The rest I had around, so this project cost me only around CHF 20 + around 30 hours of my time (because sparkly is never sparkly enough).
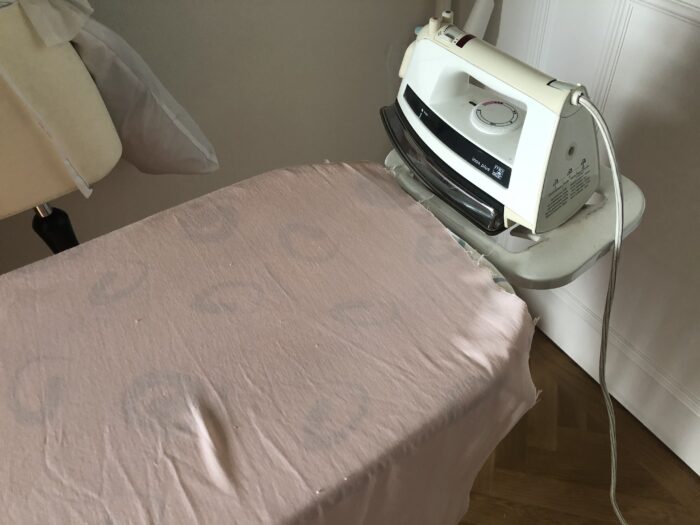
I started by washing and ironing the fabric, something I normally skip, but since I did not know, if they were pre-washed or how long they had been sitting on the shelf, this time I did it:
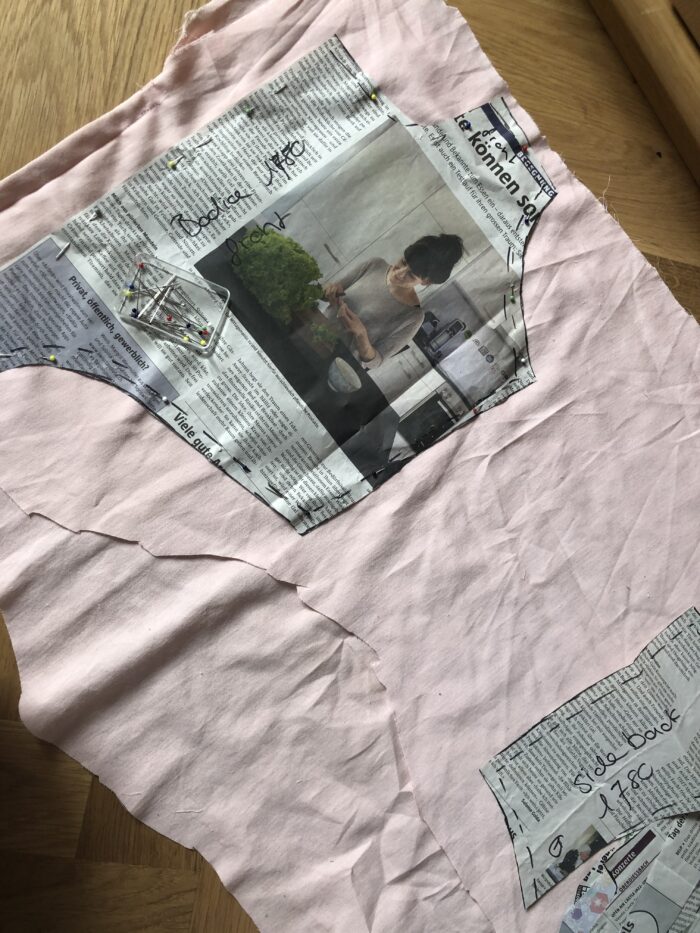
I reused my old pattern from 2017 with a few tweaks: I made the pieces longer at the waist, I added the center back seam and also optimised the two pointy ends in the front and back a bit. You can read about the process of drafting the pattern in my 2017 blogpost and about the sewing process in my second post from 2017.The pattern is downloadable here: Bodice Pattern 18th Century Gown. This is the old pattern:

I started with some guesstimating: the skirt pleats. I normally wing things like these, no measurements just my eyes… Who else is a guesstimater?
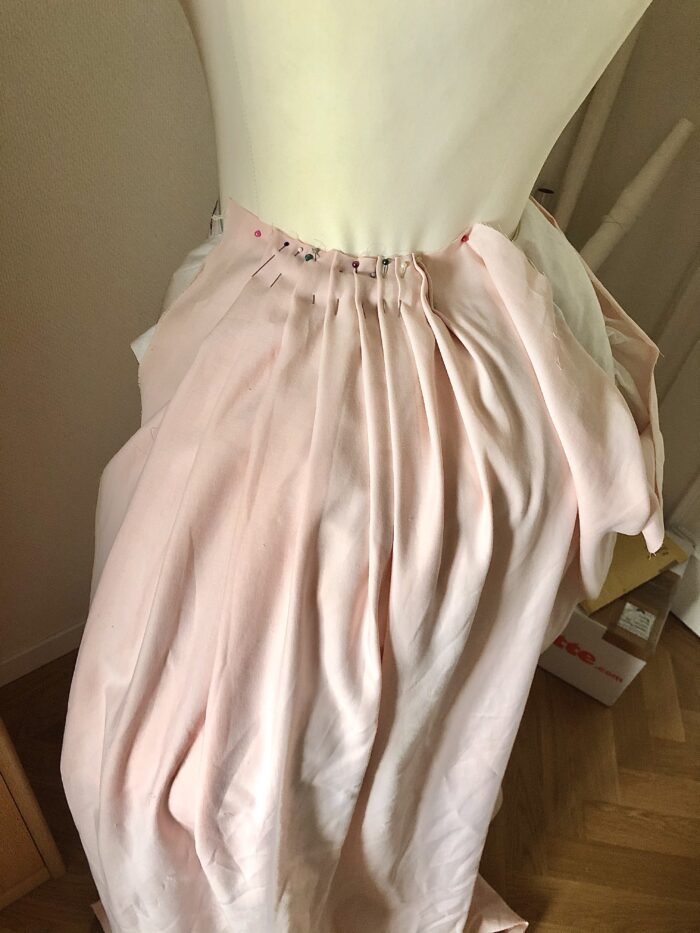
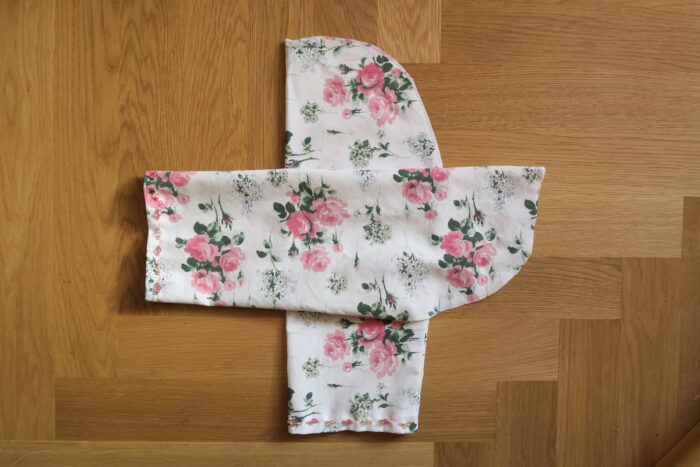
In the front, I have to bigger pleats to keep the skirt flat and in the back, I worked with several tiny pleats on both sides to give it more volume. Speaking of more volume: I also made a brandnew bumpad before:

Just two rectangles on the fold, then sew two sides, turn it around, fill it, stitch the top close and add bias binding as the waistband. Very simple. I thought, that this time, my dress should have much more volume. Keep that in mind for later 😛
After pleating on my dressform, I stitched the pleats in place and sewed the two sides together using french seams, stopping around 20 centimetres before the waist so I can overlap the panels when closing the skirt with the ties:
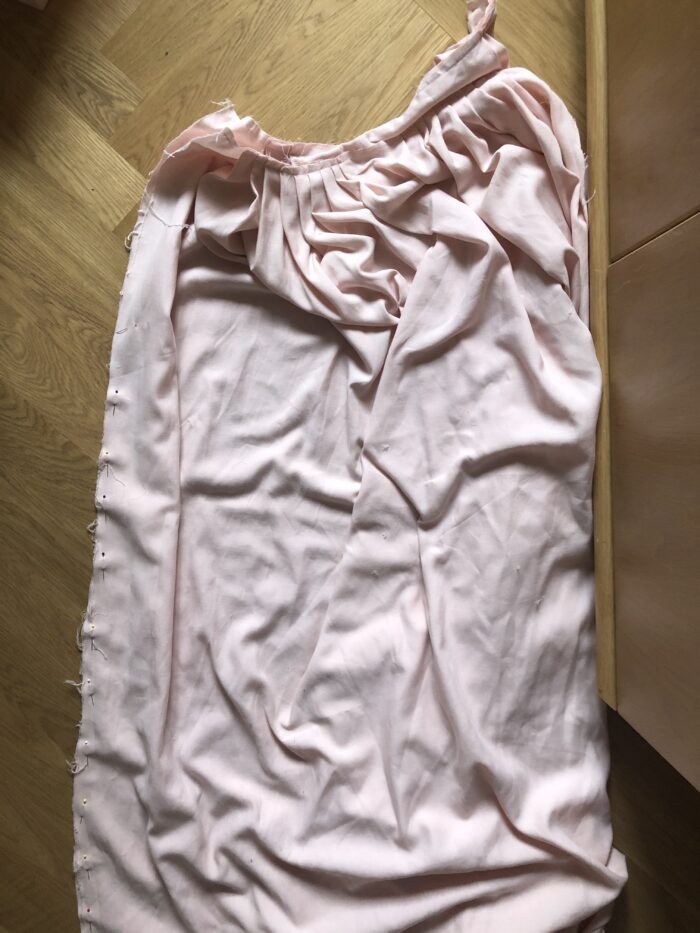
I created a waistband and ties, the same way you’d create bias binding and sewed it on. Then, I put the skirt on my dressform and started cutting some of length off:
I didn’t hem it at that point, but I wanted the longer pieces to be gone. Then, I started with the bodice lining.
I cut out all bodice pieces from both, the dusty rose and the rose covered fabric, the sleeves just from the rose fabric. I made a mistake there, I cut all pieces out twice, but since the print is directional, it is upside down now on half of the panels…
Then I assembled the lining first, just stitched with half a centimetre of seam allowance.

I ironed everything thoroughly and then proceeded with adding boning. This prevents the fabric of the bodice from puckering and building folds, when you wear it. I always add two bones in the front, two at the sides and one down the center back to keep my bodice straight and without big folds.

I have to admit, I was lazy and sewed on some bias binding as boning channels, because it was laying around. I’d recommend twill tape for that instead, bias binding is a bit stretchy which you don’t want for boning channels.

Then I inserted the boning:
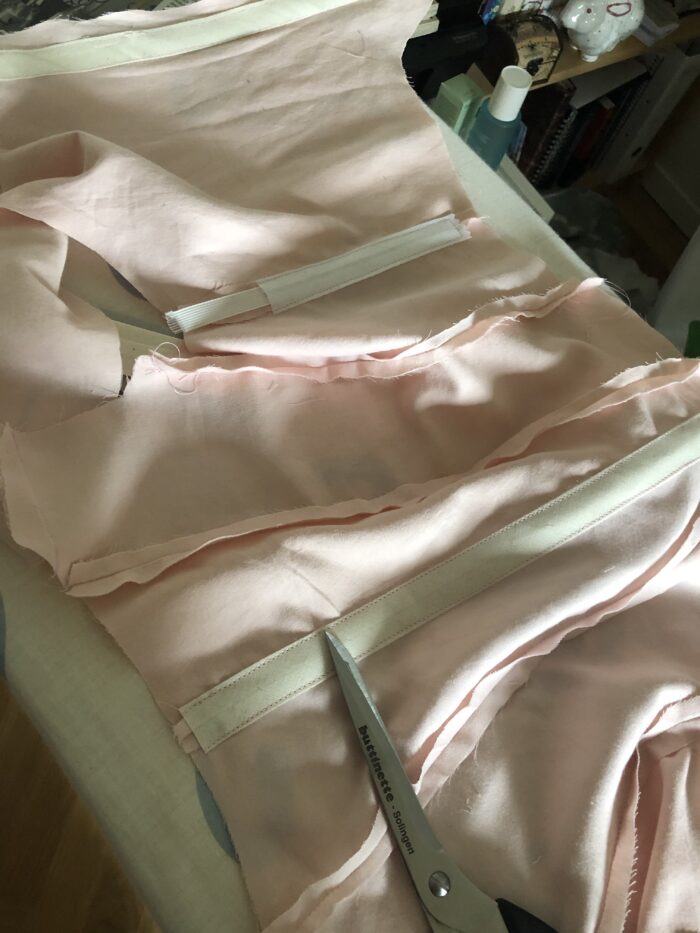
I used plastic boning, I didn’t want to use feather steal for this bodice. After inserting it, I closed the boning channels and the lining was done:

Then I also assembled the upper layer of my bodice:

Thank god, I did a thorough job for the sleeves in 2017, because otherwise, this would have cost me an additional hour or two of work… I hate sleeves. And setting sleeves.
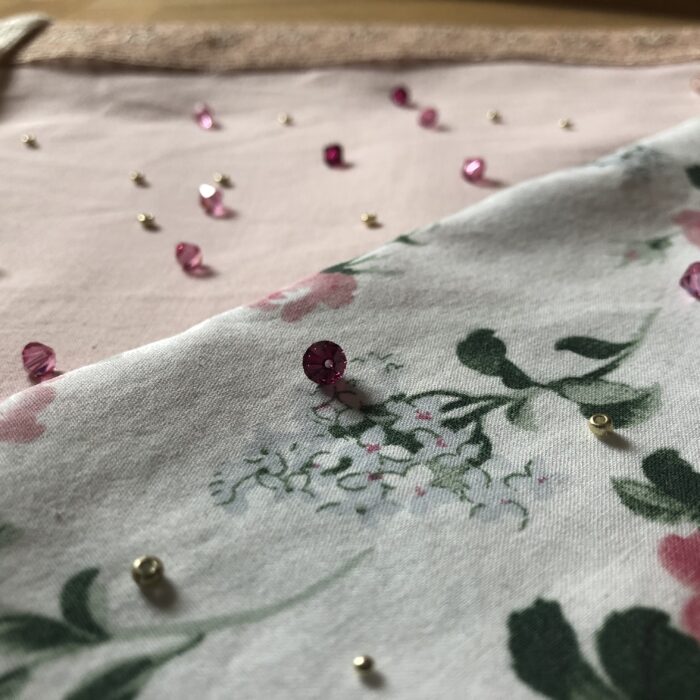
I had to do something for my nerves after sewing the sleeves onto the bodice layer so I decided to put about 8 hours of beading time into this thing:
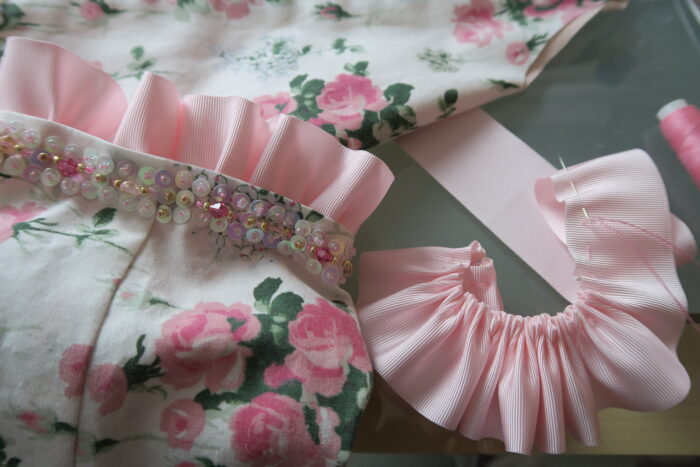
I also added ruffles, but just for the sleeves, the neckline wouldn’t be wide enough anymore and I think it would also have been too much.
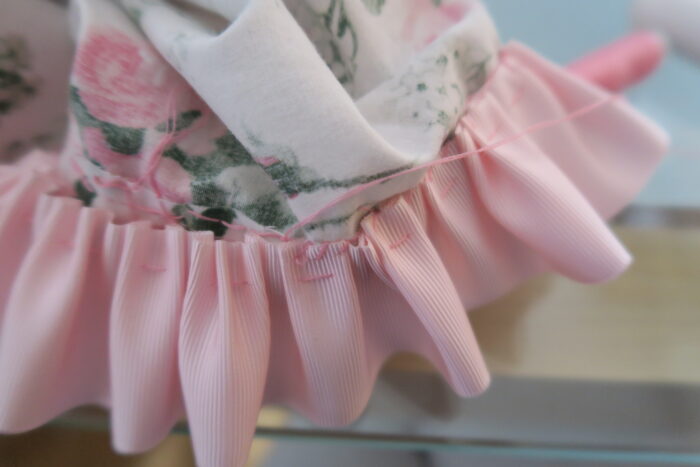
All in all, I am very happy with those sleeves.
I pinned the right sides together and sewed along the sides and the top of the bodice, leaving it open at the waistline:

Then I turned it right sides out and whipstitched the lining in place at the armholes to finish them nicely.
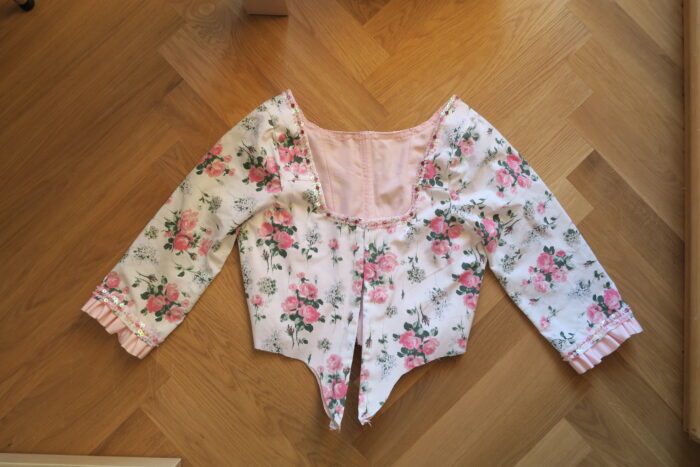
And with that, the bodice was finished. Here are a few details:


After that, only the skirt for the overdress was left to do. It was at that point, that it ocurred to me, that I did not have enough fabric. Certainely not for my new improved voluminous butt. So I decided to try and see, if it’s enough for just my old small bumpad and it was barely enough, so I went with this solution:

I pleated the skirt like before, by guesstimating and then sewed them in place. I also hemmed the sides of the skirt by machine. Then, I pinned it to the bodice lining and stitched it in place by hand to have more control:
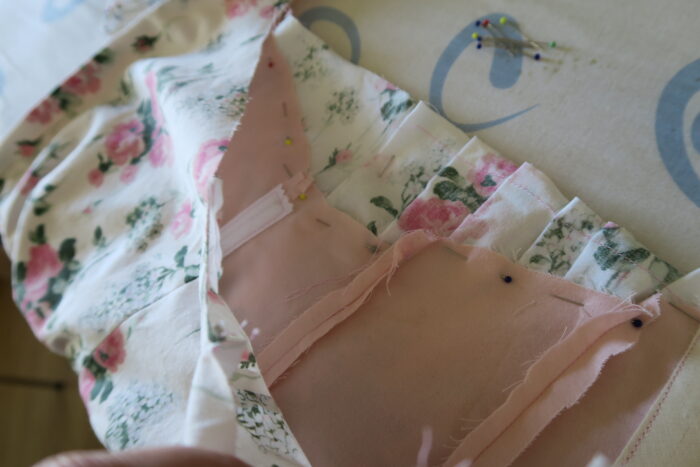
After that I sewed the fashion fabric down by hand as well. Unfortunately, the whipstitches are slightly visible, because I should have done it the other way round and sew the skirt to the fashion fabric first. But anyways, the skirt was on and all left to do were the two hems. Again, I cut the overskirt using my dressform and eyes and then I did both hems by machine.
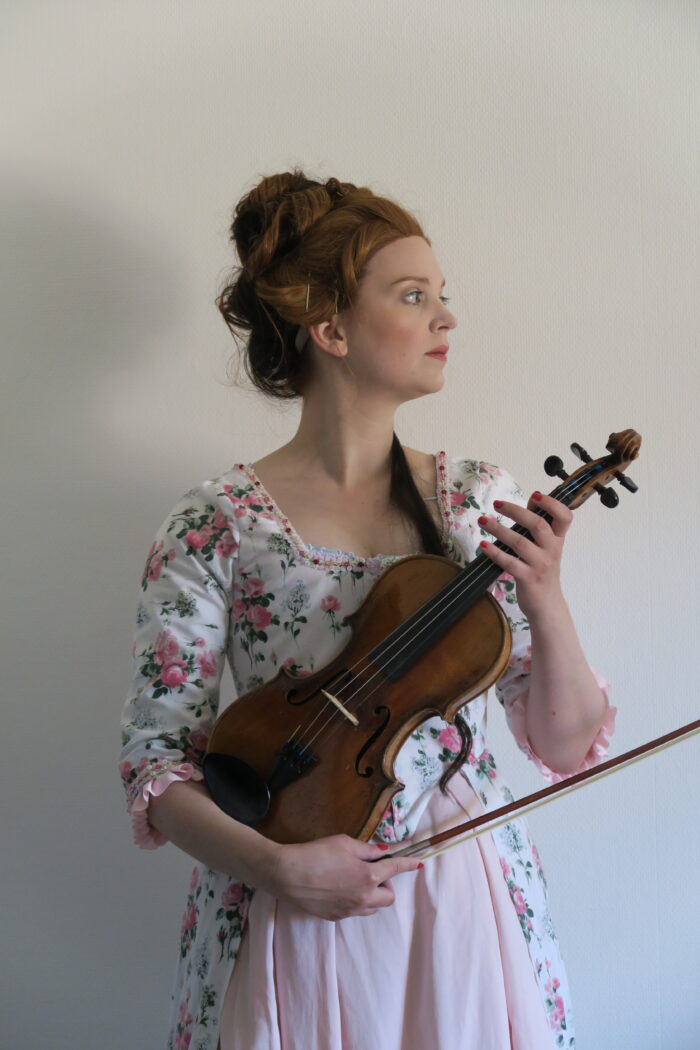
And that was it. I didn’t sew on any kind of closure, I wanted to close the dress by using pins. Here are some pictures of the dress in action in a university garden:


And with my violin:
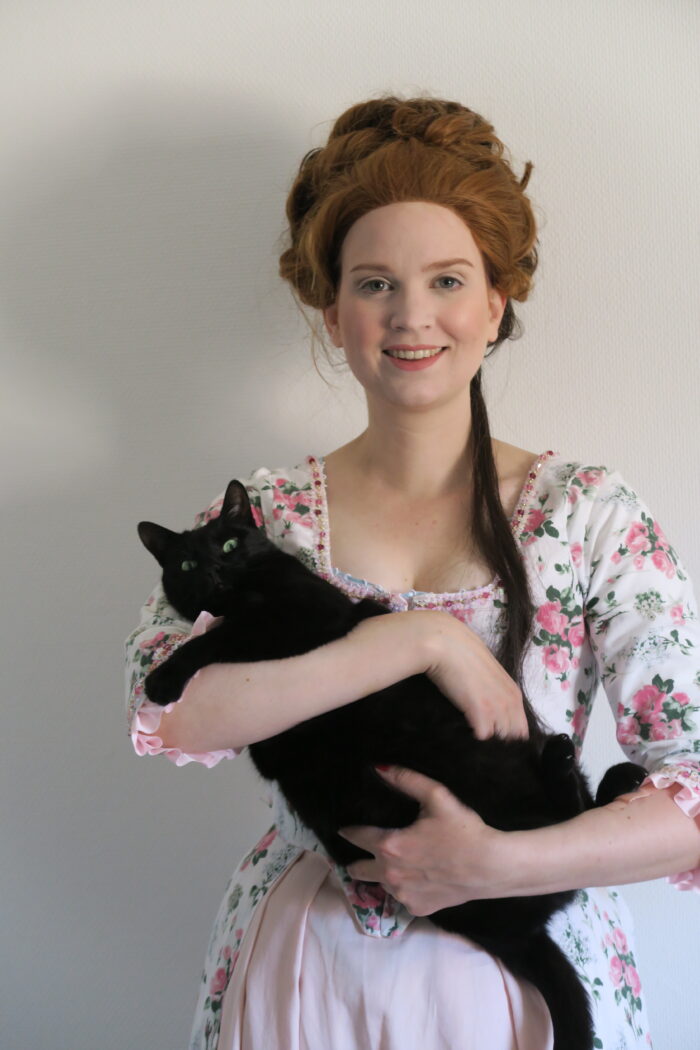
And with Mr. Spinalzio, of course:
Thanks a lot for reading I hope you enjoyed and I wish you a good one.
Love
Ella