Hello everyone and welcome to this (unfortunately not last) post on my renaissance inspired costume. I didn’t realise how much work was still left. I decided to split it, as I did not have much time to work on it either. So this is about finishing the coat and the dress (apart from the sleeves) and making some matching jewellery. The next and (really) last post will deal with making the sleeves, show the entire ensemble and some more beading :).
All fabric for this project was bought on buttinette.com. The sequins are from a local craftstore and the beads as well as the beautiful rose pendant are from Bastelzentrum Bern. The trim is from Spitzen und Borten and the clasp is from Etsy, but I really don’t remember the seller.
Here are the other posts I wrote on this costume, should you want to have a look on them:
Now without further ado, let’s start part 4!

I startet with hemming the shorter sides of the two grey velvet panels that will create a sort of “sleeves”. The fabric always curled and it was really difficult. So I decided to iron it but chose a too high heat level and therefore destroyed a part of the fabric. I then decided to only hem the shorter sides and drape the fabric nicely. A good decision for my patience… It was wearing thin.
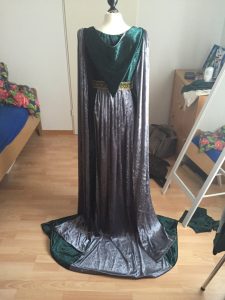
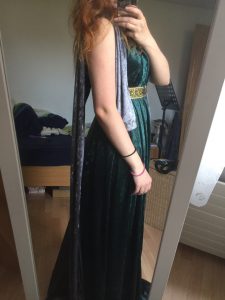
I pinned the two panels in place and draped them the way I wanted. I really love the way it looks from the back. It balances everything.
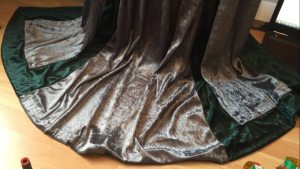
The next step was securing everything in place. I sewed the panels directly on my dressform onto the coat bodice. It was a bit tricky but I was afraid that I could not achieve the same look without the dressform. After that I secured the panels on the skirt as well and also used a few stitches to hide the raw edges.
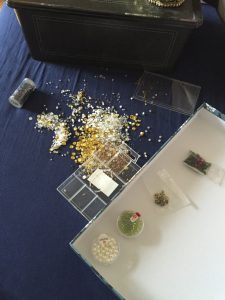
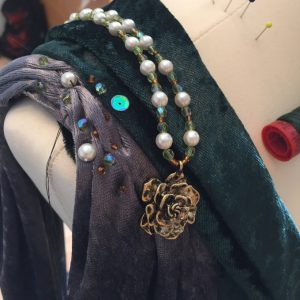
I took a break from handsewing and went on with making the accessories (necklace and a tassel for the hood). I first shed my beads and sequins all over my bed and had to sort them out for far too long. I didn’t want to throw them away, these are beads that I can use for almost every fabric.
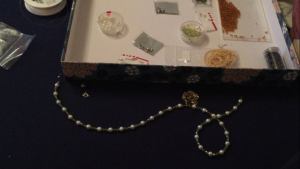
After that I made my necklace and the tassel. I bought a beautiful rose in a local shop and incorporated it in the design. The tassel repeats the golden bouillon wire used on the dress as well as the golden beads and the white pearls from the necklace.
Then I started beading the coat. I used the same beads and pearls that I used for the necklace and also some leftover sequins, that I used on the dress. I went with a random pattern and just spread the design over the shoulders. I really like the outcome.
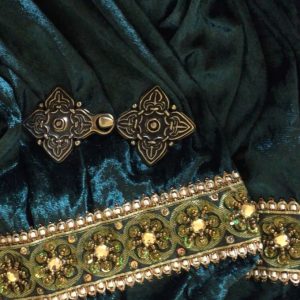
After trying it on, I did all the remaining seams (arm openings, hood) and added hooks and eyes as well as a clasp to close it. I bought it on etsy. It seems to be inspired by vikings and germanic elements… Not the most suitable clasp but I loved the design so much that I really don’t care. I think, I never talked about my inspiration for this ensemble… It’s inspired by italian renaissance fashion from the 1480ies and 90ies. I saw a movie costume that I’ll link in my next post (I can’t find it at the moment) and went on from there, getting inspiration from paintings etc. It isn’t historically accurate, only inspired by all elements I liked.
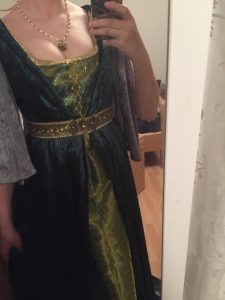
Not the best picture but this is, what it is probably going to look like. There are a few things I’d do different for a next time. I’m not that happy with the collar for example, one side of it looks really odd, I hope, I can correct it a bit. But I’m still in love with colour and design. Here you can see how the coat looks worn with the dress. I did the backseam and added hooks and eyes to close it and now it is close to completion.
And that unfortunately is all the progress on my renaissance inspired costume I can share with you. Not much but I’m so happy that I could finally finish one part of the ensemble. Thanks a lot for reading, I hope you enjoyed 🤗
