Hello everyone 😀 Today, I show you how I assembled the kimono jacket that goes with my 1913 evening gown, that I am working on at the moment. If you are interested in any other part of this costume or the patterning process for the kimono jacket, you find everything below:
If you prefer to watch a video, I have also filmed the whole process, you can find the video on my Youtube channel 🙂

By loading the video, you agree to YouTube's privacy policy.
Learn more
Oh, and I have uploaded this pattern for download. If you would like to download it, you can do that here: https://tailoredbymrspinalzo.com/sewing-patterns/kimono-jacket-1913-evening-gown/
A quick reminder, here is my reference dress:

If you go directly to the museums page, you can zoom in pretty well, the pictures are really good quality.

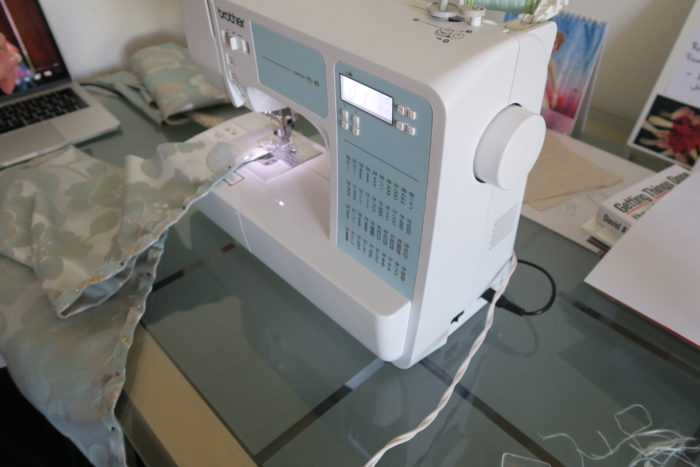
First, all pieces had to be cut out, all markings on the pattern had to be transferred and the pieces ironed, because I forgot to iron the fabric:

I have quite a bit of fabric left, no huge pieces, more like several pieces of half a meter of fabric… So you will probably see this fabric again for another project 😉
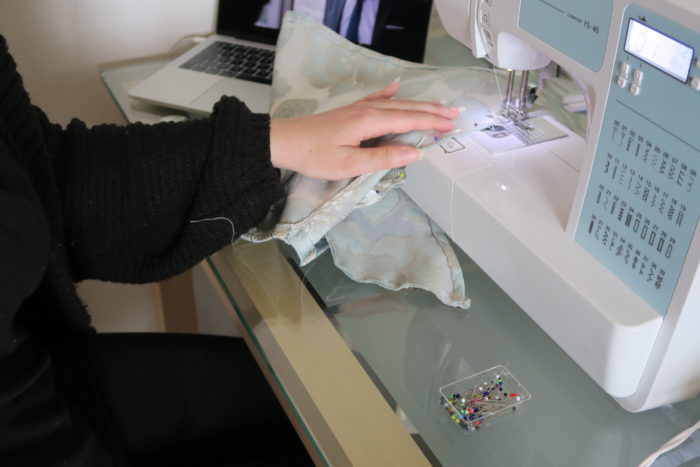
After sewing up four mock ups, I was pretty confident in putting this jacket together 🙂 I started with all the hems, the sleeve hems, the hems of the waist piece as well as the neckline hems.

I started by turning the sides inwards, around cm. I did not measure this, I did this by eye, and I did also not iron at this stage. Then, the hems were sewn down by machine. Since the hems of the sleeves are curved, the seam allowance was clipped before sewing.
After that, the hems were ironed and turned inwards one more time.
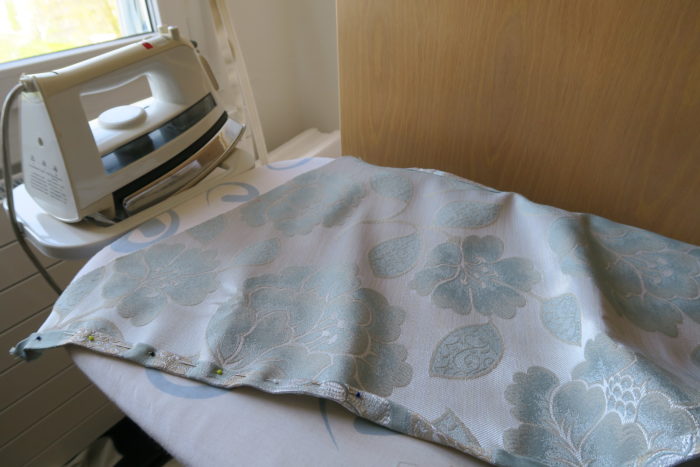
The second time, I used a herringbone stitch to sew the hem down because I did not want to have visible stitches from the outside. For the sleeve hems, I did again clip the seam allowance to have a nice and clean hem from the outside before they were sewn down.

I did the same for the three sides of the waist piece that had to be hemmed, btw. I just don’t have many pictures 🙂
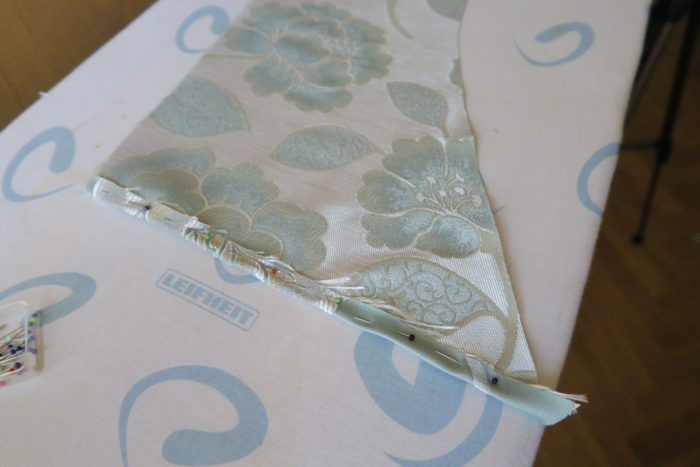
Then it was time to start assembling the pieces. I started with the underarm seams, they were sewn with a 0.5 cm seam allowance.
About 2 cm before the end of the seam, I started sewing towards the edge which will make it easier to sew the pieces onto the waist part and prevent strange folds or puckering where the seams meet.
After finishing the arm seams, both upper bodice pieces were sewn to the waist piece. I started pinning them together from the front to the back. I did take a look at the corset cover before because I wanted the same side to overlap the other. So I started with the piece, that will be beneath in the back, pinned it onto the waistband, lining up the front pieces and then sewed them together.
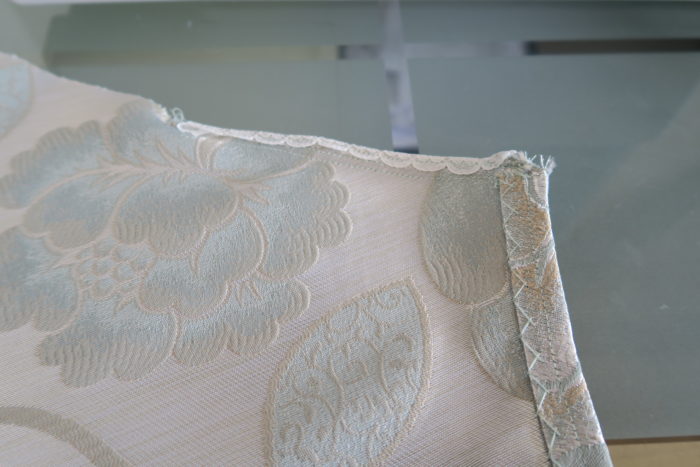
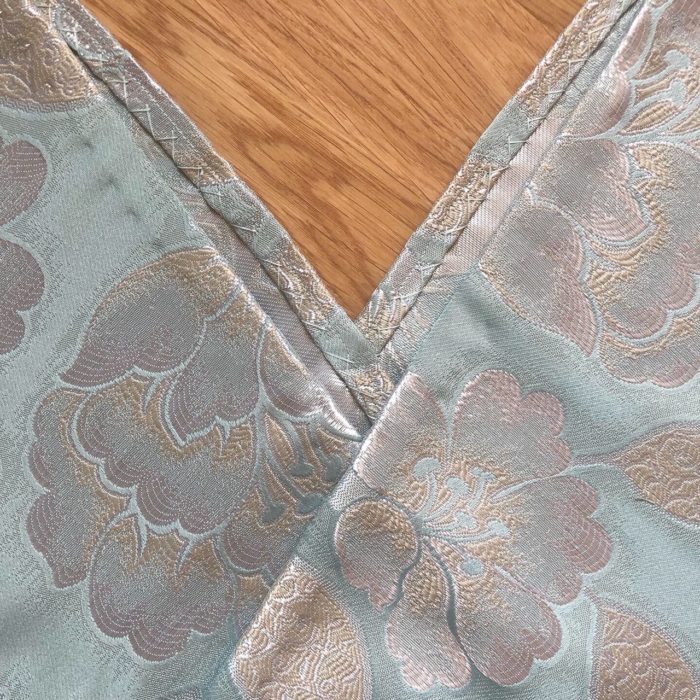
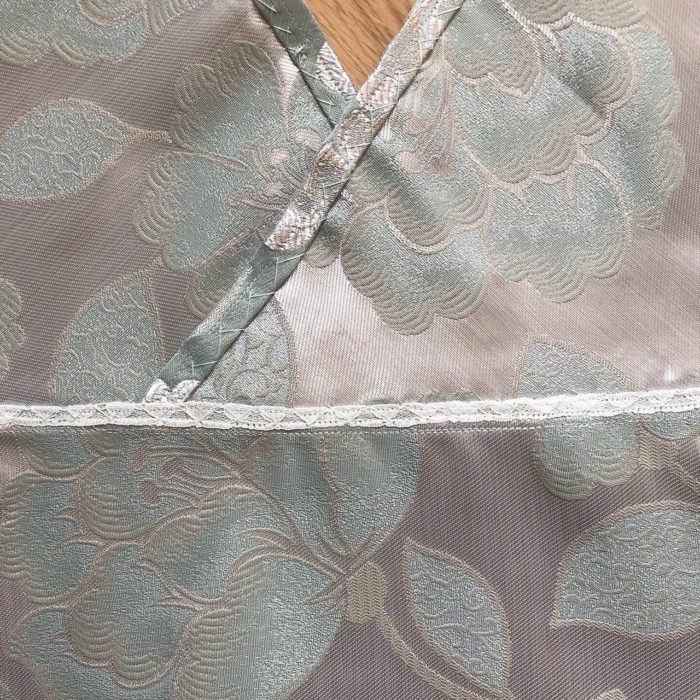
As you can see on the picture above, I have already finished the raw edges of the underarm seam, so let me explain, how I finished all raw edges:
I finished all seams by using lace to bind them. I initially wanted to use bias binding, but thought, that it might add bulk in the end and I did not want that. So I used a lace that I thought I’d never use to decorate something anyways, since it was decorated with hearts… I don’t like hearts… So, perfect!

The lace was sewn on using my machine, first one side, then the other, since it was hard to get both sides at the same time due to the scallops. After that, I ironed the seam to one side and stitched it down using herringbone stitches.
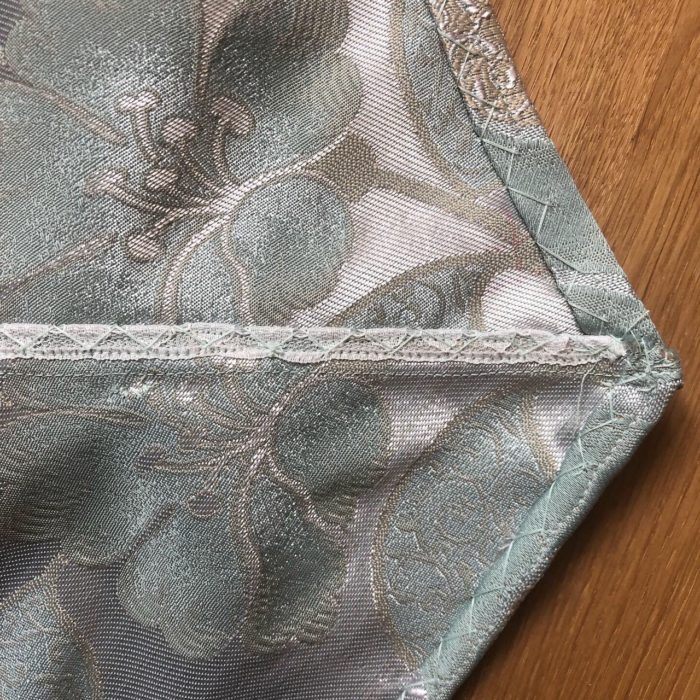
I finished the edges of the waist piece and the edges at the waist seam on the go, I did this spontaneously and not really planned… What I did was: I cut off the edge of the seam allowance and then used whip stitches, until I thought that it would not fray anymore… #professional.
How to close the jacket in the end was one of the open questions. I initially wanted to use hooks and eyes, but when I tried to place them, I decided to use snaps instead because I feared a part of the hook or eye at the outer edge would be visible. It would not matter, actually, because there’s a sash over it anyways, but you know…


I may replace them, though. I bought these snaps in Lidl, because I did not have any smaller ones left and nothing else was open… But they do open easily. So, maybe, I will replace them once the stores are open again.
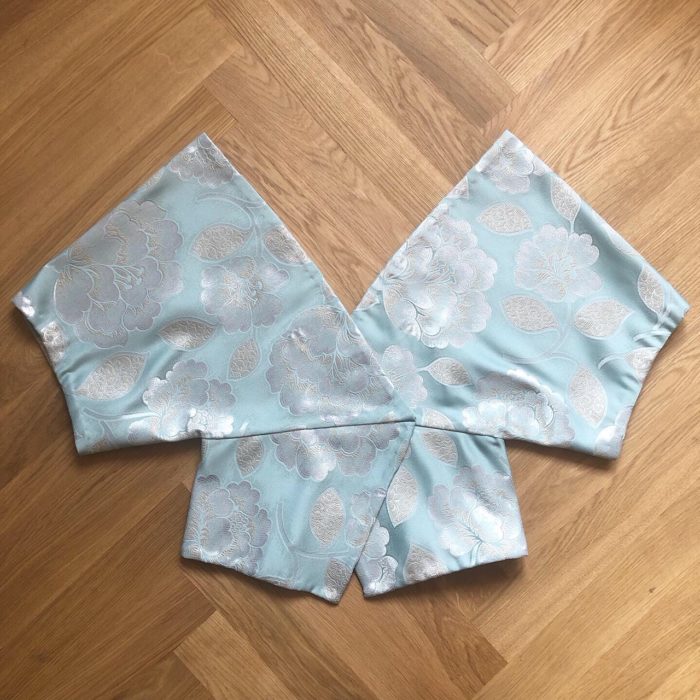
And here it is 😀 The finished kimono jacket in all it’s glory. I have to say, I do love it… I usually tend to talk my work down, maybe you have noticed already 😉 But I love this, with it’s flaws!
I still need to come up with a way to attach the jacket to the corset cover, as well as the corset cover to the chemise, to keep everything in place… But I’ll do that once the outfit is complete. For now, that’s it:
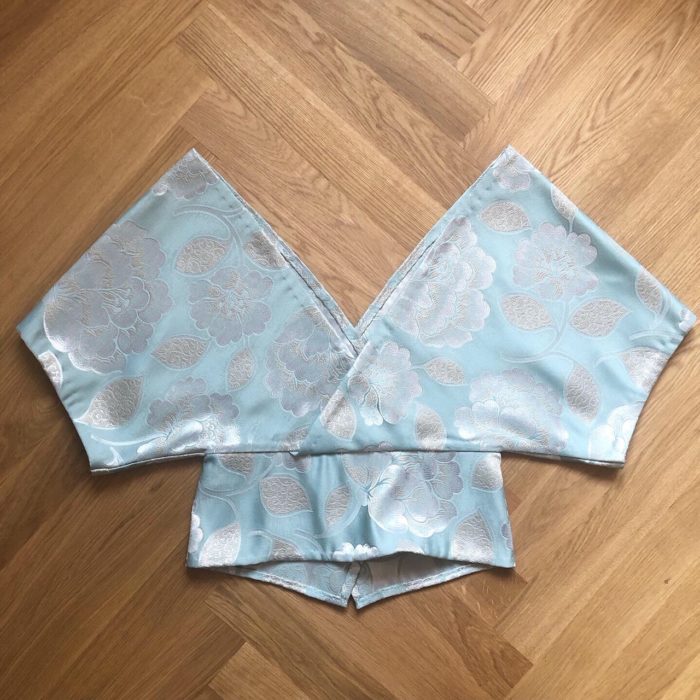
Here are some detail shots 🙂
And that’s it. Thanks a lot for reading, I hope you enjoyed 🙂 I wish you a great day, afternoon, evening, whatever time it is at your place.
Love
Ella