Hello everyone 😀 Today, I show you how I made my beaded butterfly for my 1913 evening gown, that I am working on at the moment. It took a lot of time, but it adds a lot to the costume in my opinion and gives it my own twist, it changes the vibe of the dress for me. It took far too much time, but it was well worth it.
If you are interested in any other part of this costume or the patterning process for the kimono jacket, you find everything below:
Let’s start at the beginning with the original dress’ beading.
I have to say, I was not really fond of the beadwork on the original dress. It looks as if it should be a bow or something, but I do not really like it, it does not look balanced to me.
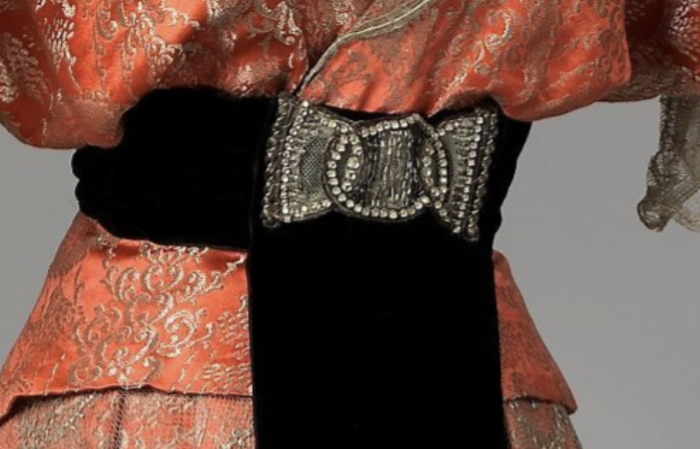
It’s just not as elegant as the rest of the whole dress. So, I decided to do my own design and after a bit of thinking, I had the idea to do a beaded butterfly. So I started googling for inspiration and I found a butterfly, that matches the dress really well, a Blue Mountain Swallowtail.
Of course, I did have a few beads that I wanted to use around, but they would never be enough for my ambitious plans… So I visited Bastelzentrum Bern and bought more beads… Because more sparkles are always better. Going to the Bastelzentrum is always dangerous. I normally double my stash…
Here’s what I used in the end:
First things first, I sketched the butterfly and tried to figure out, what beads I wanted to use where. Also on the picture, a very nice example for how beautiful German is… We have words like butterfly, papillon and then the German Schmetterling. I have the highest of respect for those, who were or are able to make poetry out of the German language.
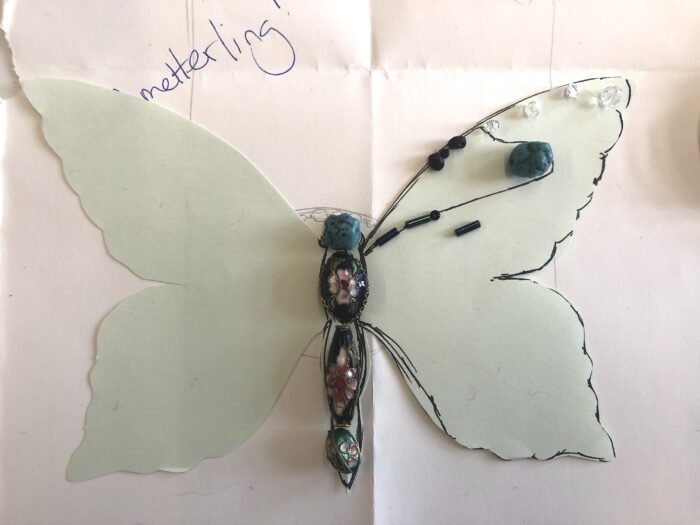
I incorporated some of the beads, that I bought in Hong Kong for the butterflie’s body. The rest are beads, pearls, and swarovski crystals. I love those, eventhough they are pricey, they sparkle so beautifully.
I transferred the butterfly onto blue cotton velvet using chalk and then started with the body, sewing down each bead by hand and securing them two or three times. Then, I outlined the left wing as well as the line on the wing alternating oil-slick coloured pen beads and little black beads.
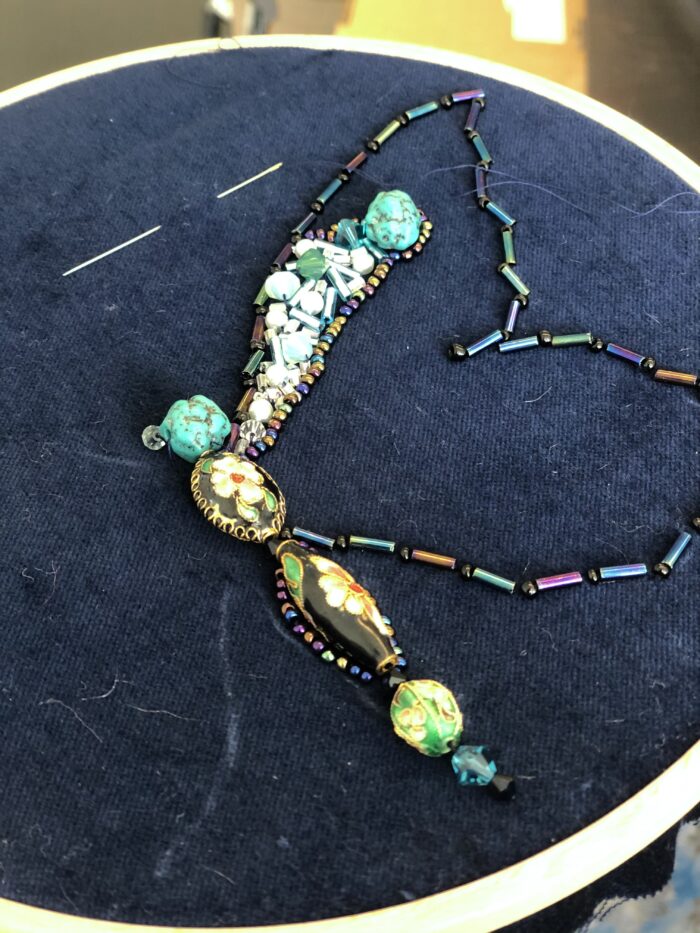
I started to fill in this little part of the wing first, I thought, it would be easier and make me feel like I accomplished something. But I have to say, it was that first little part that made me realize what my patience would have to go through…With a few exceptions, all beads were sewn on individually because I like to suffer… And have as much control over the placement as possible.
I tried to create a transition from transparent, to light blue to navy and then black to imitate the Blue Mountain Swallowtail’s Wings. There are also some transparent crystals placed between the navy and black beads to create the white dots on the butterfly’s wings.
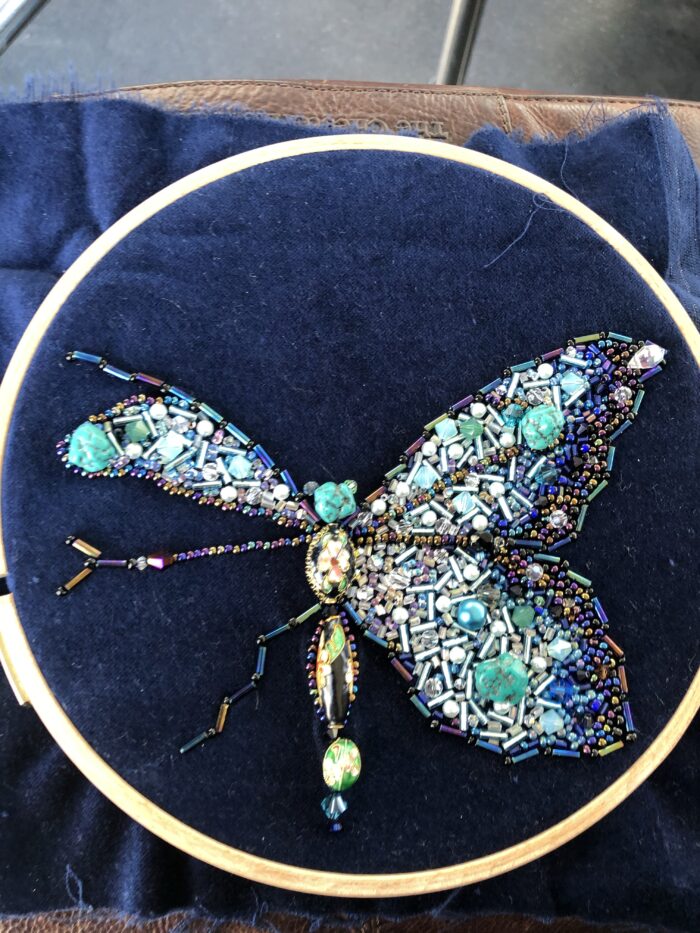
As you can see, the butterfly was bigger than my embroidery circle thing and the second part was much more difficult to do, because the farbic wasen’t as gespannt as the when I did the left wing.
I worked four days on the beaded butterfly, in total around 26 hours. It was a lot, but I am very happy with the outcome, though it is not completely symmetrical, however, I think each wing should be allowed to be unique 😛
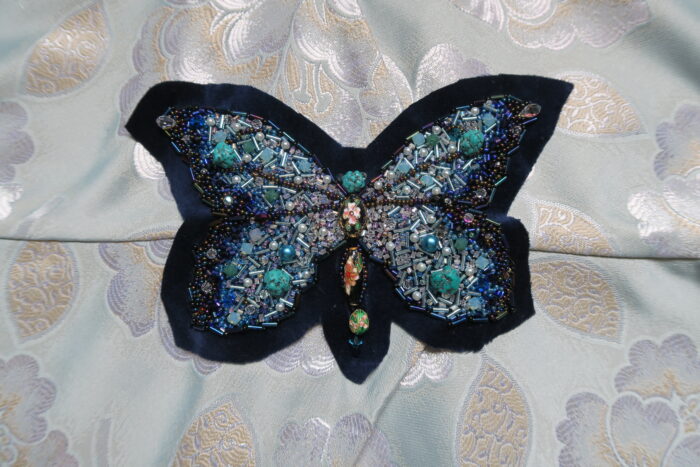
And here are a few detail shots of my beaded butterfly 🙂
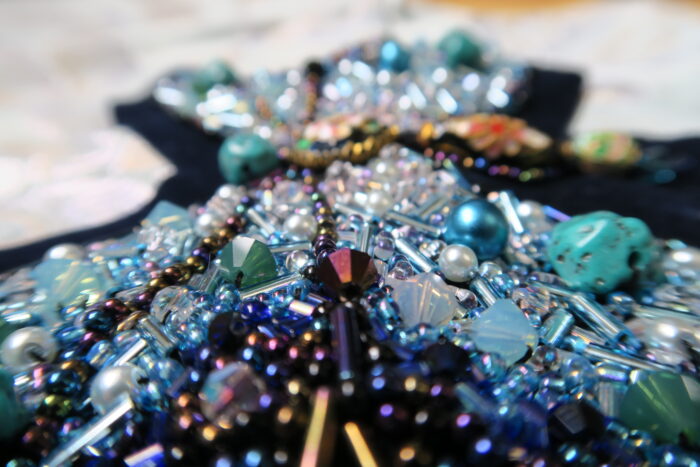
Looks like a passage throug the sea for me. Or a river…
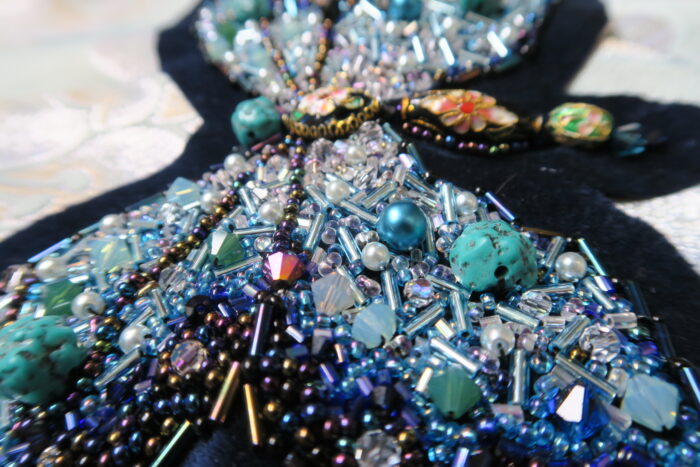
And that’s it for today’s blogpost 🙂 I hope you enjoyed it, thanks a lot for reading and have a nice day, evening, morning, whatever time it is right-now at your place.
Love,
Ella
Contact me over Instagram: