In my last post, I showed you how I assembled the skirt for my 1913 evening gown. If you are interested in my previous posts on this project, you can find them here:
If you prefer to watch a video, I have also filmed the whole process, you can find the video on my Youtube channel 🙂

By loading the video, you agree to YouTube's privacy policy.
Learn more
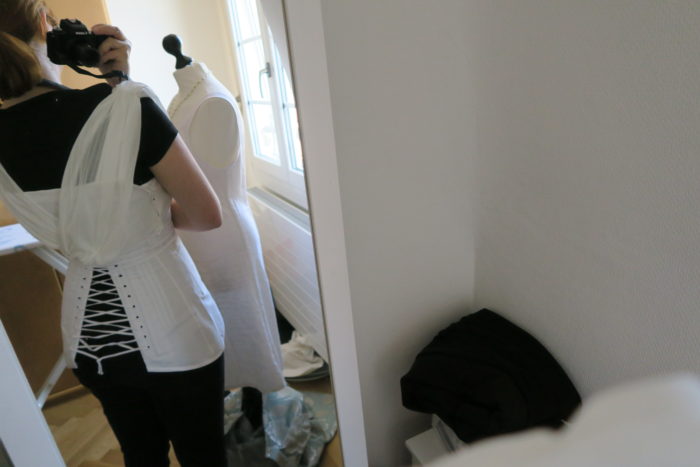
In this post we will focus on drafting and assembling the corset cover that is visible underneath my reference dress and keeps it modest.
Here is what we are working with:

If you go directly to the museums page, you can zoom in pretty well, the pictures are of good quality.

I started by trying to figure out how the Corset Cover could work best. the draped neckline reminds me a lot of Rey’s costume in Star Wars.
So I decided to work off of this idea to get the right look. Here’s my sketch:
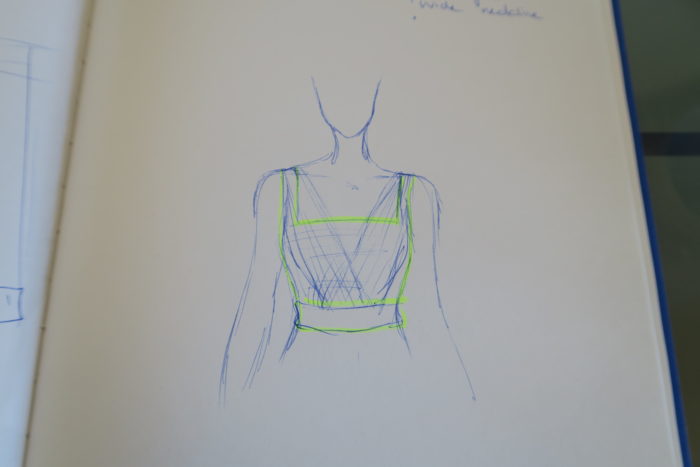
The yellow marked parts are the base layer of the corset cover and will be made from either white linen or cotton. Over that, everything else will be draped using the cotton silk I have chosen in the beginning.
I started by taking the mock up I made for testing the skirt pattern apart since I decided to reuse the fabric to drape the corset cover and also for the mock up. Then I started draping, here is what I ended up with:
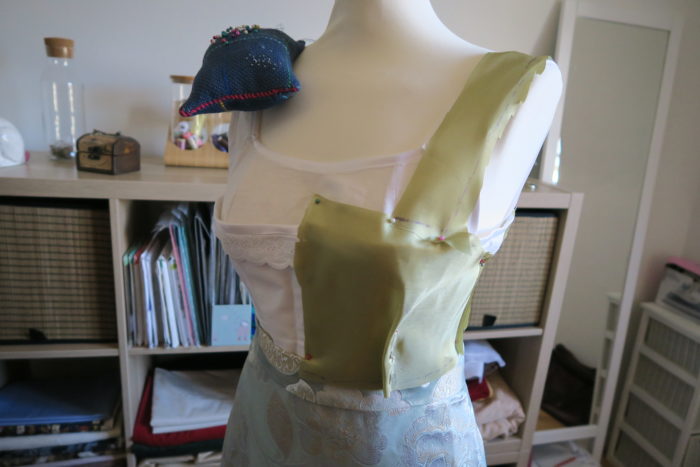
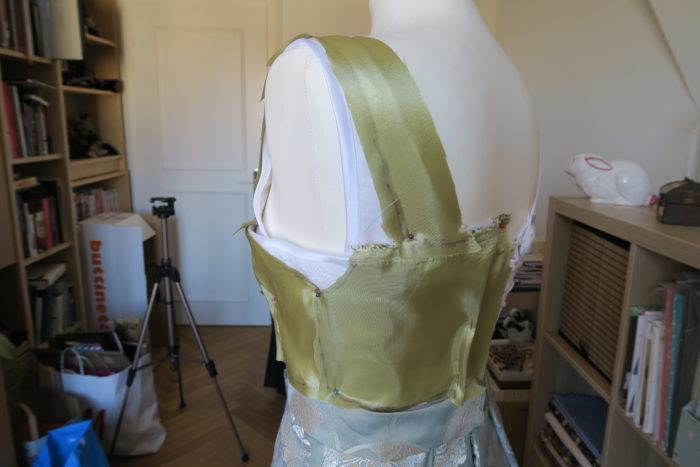
The shift will be covered by the draped neckline in the end. And the back:
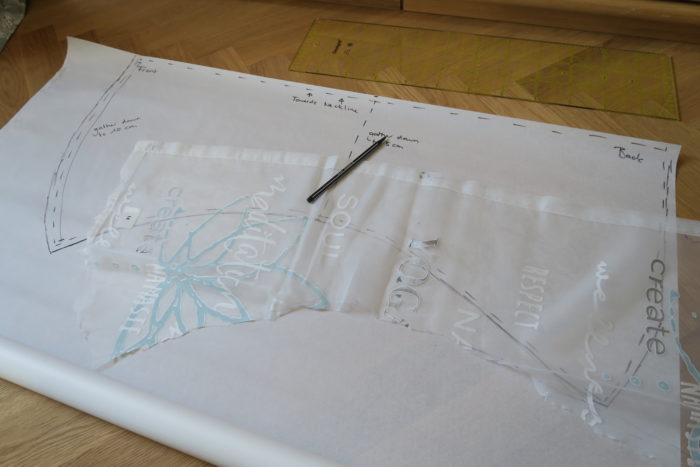
After cleaning up the pieces, I started draping the neckline. I did not drape the pieces that will cover the front, back and strap of the base at this moment, I wantet to do that a bit later since I feared (once again) that I would not have enough fabric. So maybe, I’d have to cheat a bit.

And this is the back:
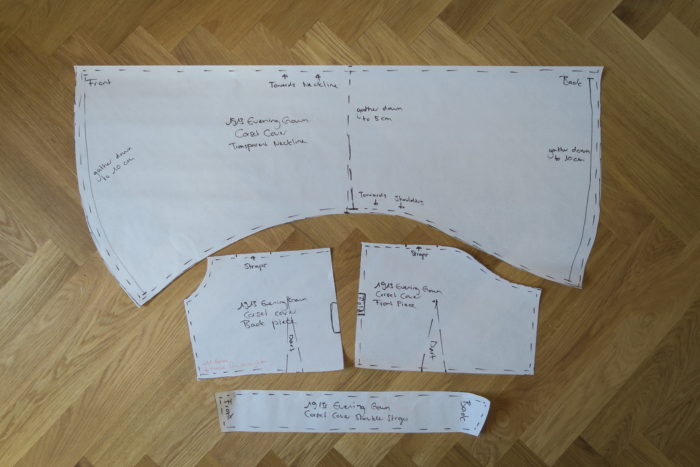
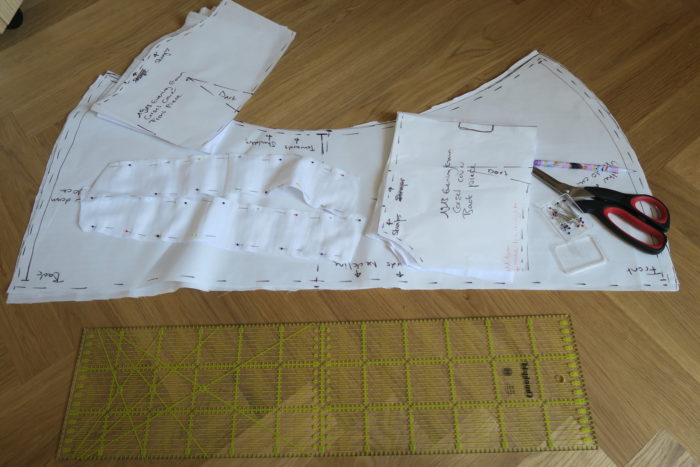
Then I transferred all pieces to pattern paper, evened them out, added seam allowance and wrote down everything I thought might be necessary:
Here is the finished first try of the pattern:
After that, I cut out all pieces from green taffeta to do a mock up.
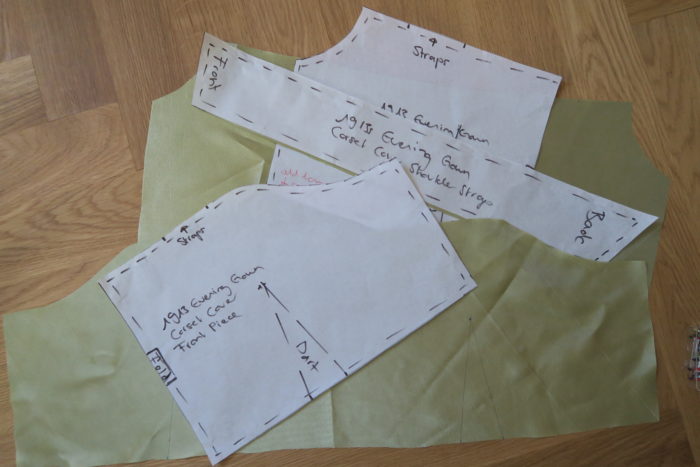
The mock up ended up being far too big. The darts were next to my bust, not in the right place, there was far too much fabric at the side, the straps were too centered. Many things to change:
I cut off a centimeter for each side seam, I also cut off a centimeter from the center of the front panel to move the darts to the right place.
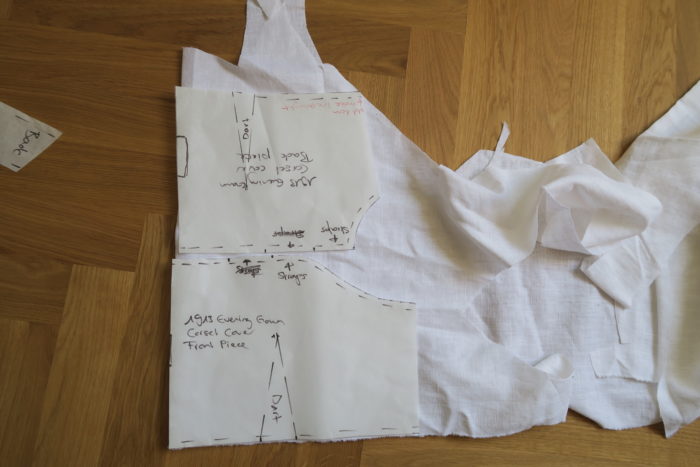
After that, I decided to go on without a second mock up. I had a piece of linnen around that fit the pieces, so I changed my plan and used linnen instead of cotton for the base layer.
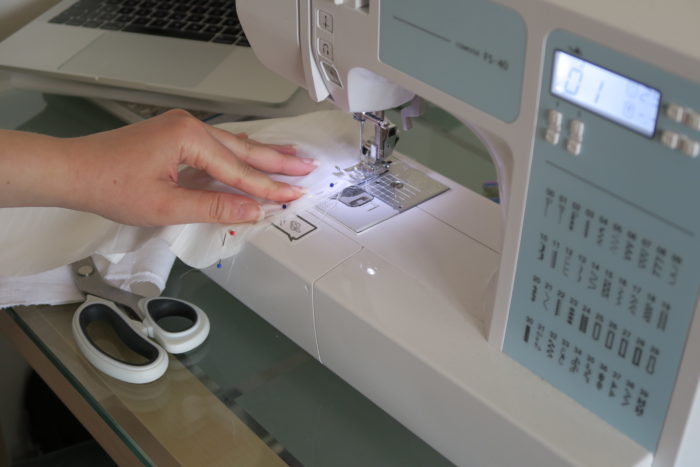
I started by sewing the two layers for the straps together.
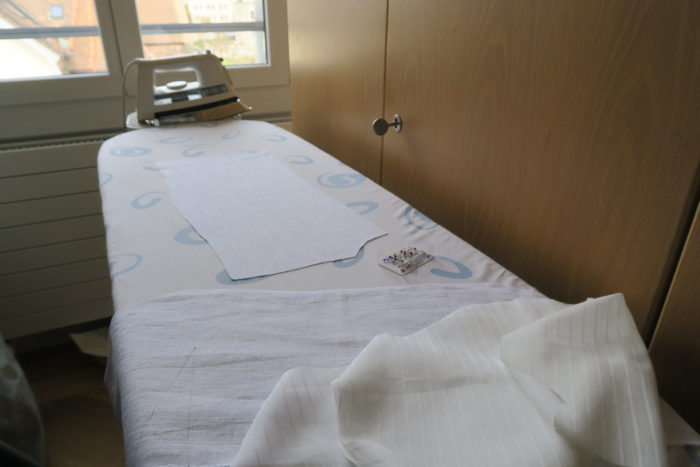
Then I ironed all pieces for the bodice because I forgot to iron the fabric before cutting out the pattern 😉 So, I had to do it afterwards, it did not really affect the way it looked in the end, but I really need to remind myself to do this before cutting out my pattern.
I started by sewing all the darts and I did the same thing here that I did for the darts on the skirt, I ironed and pinned them and then followed the line until about 1cm before the end of my marking. And there I started to “round” the stitching line. I do this when I do not want to have “an edge” at the end of the darts, if you know what I mean…

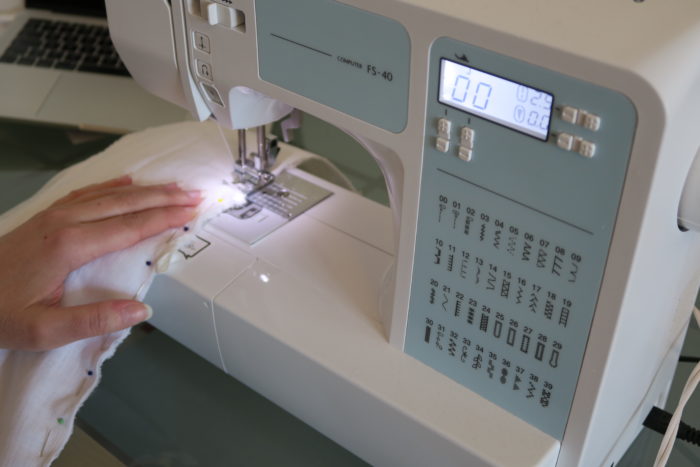
After that, it was time to join the panels of the two layers. I did that with a normal seam, using half a centimetre of seam allowance.
Also, I noticed when ironing all the darts and seams, that I would not be able to just sew the two layers together. The toplayer was cut out of a semi transparent cotton silk, so the seam allowance would be visible (as it is when you look at the straps, but I did not correct it there since they would be covered in the end.
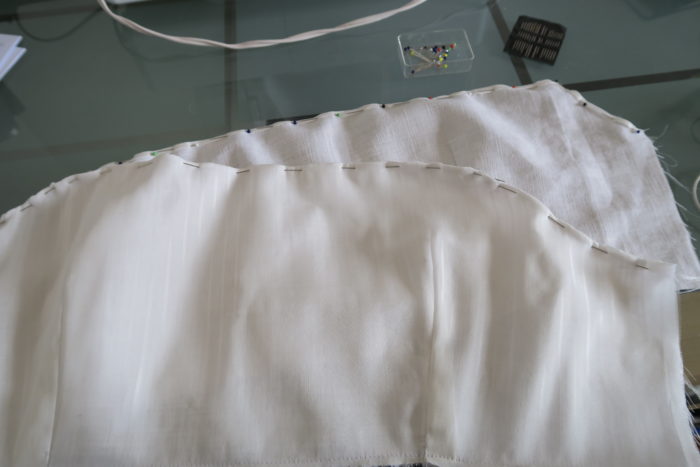
So I decided to trim off the seam allowance for the base layer, “wrap” the silk layer around the raw edges of the base layer and then sew it down using whipstitches. Before that, I stitched the two layers together at the bottom by machine. These stitches will eventually be covered by the waistband.
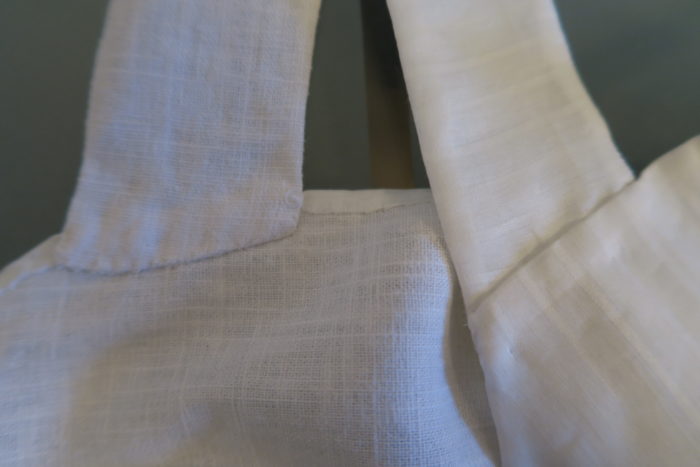
For the straps, I also used half a centimetre of seam allowance to join the two layers. Then I noticed the problem with the semi-transparent fabric and decided to trim the seam allowance a bit. The straps won’t be visible but I am a perfectionist, so I wanted to at least save what was possible.

The ends where joined using slip stitches.
Since I could not sandwitch the straps between the two layers of the bodice anymore, I just whipstitched them down. I had to open everything, of course, because I also do not take second looks at my own patterns and sewed them on the wrong way. So I opened everything while grumpily watching “Versailles” on Netflix and invested the time of another episode into whipstitching the straps to the base layer.
At least it looks neat in the end 😉
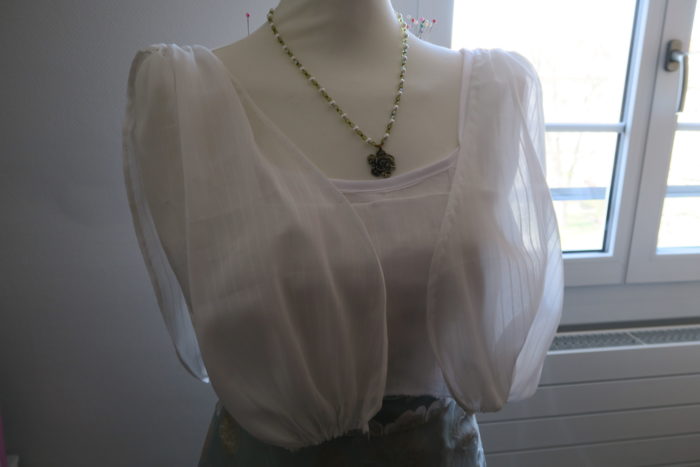
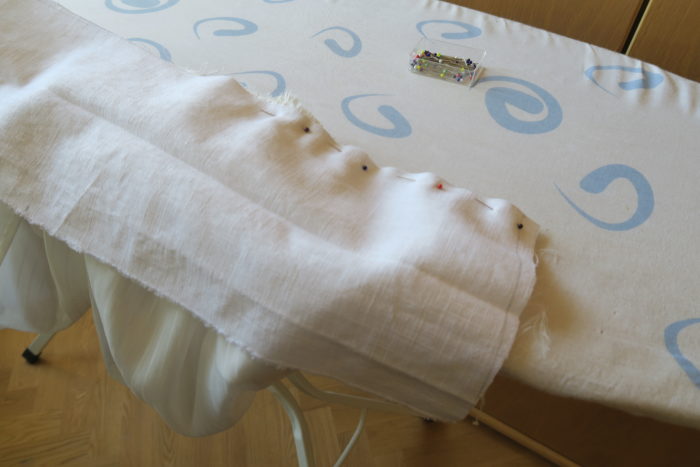
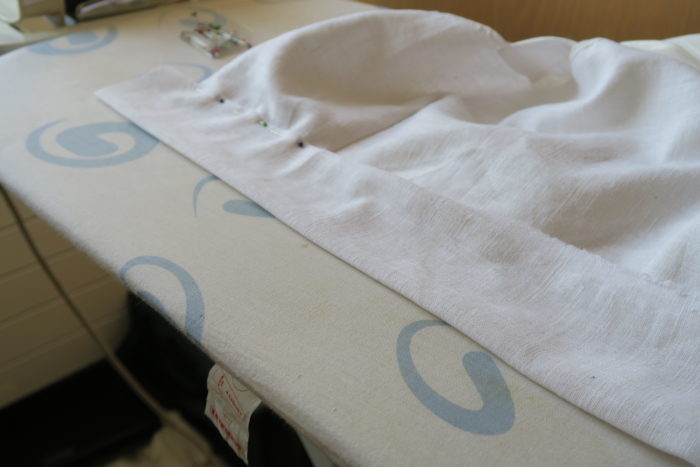
Then I tackled the centre piece of the whole thing, the gathered neckline. I started by doing rolled hems on both sides of both pieces. Then I gathered the pieces. The ends were gathered down to 10cm each, where the piece would be attached to the straps, it was gathered down to 5 centimetres.
Then, I pinned the straps to the bodice on my dressform to then try it on and correct the pieces where necessary, so they would lie mostly flat when worn in the end.
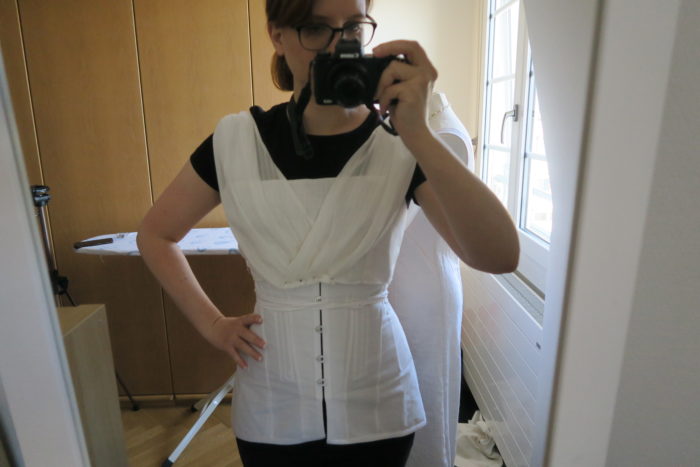
Doing that for the back was a bit tricky and I had to sacrifice a few drops of blood that luckily did not stain my corset cover 😛
After that, used a few basting stitches to keep the layers in place.
Last but not least, I needed a waistband. First, I wanted to make one that narrows towards my waist, but when measuring, I made a mistake (did not take into account, that it would be folded :P) and corrected it. Now, the waistband is straight.
Then I pinned it on.
It was sewn down, using 1 centimetre of seam allowance to cover the stitches from before.
I pressed everything and then pinned it do the other side and sewed it down using whipstitches.
There was a lot of handsewing involved in this little thing,
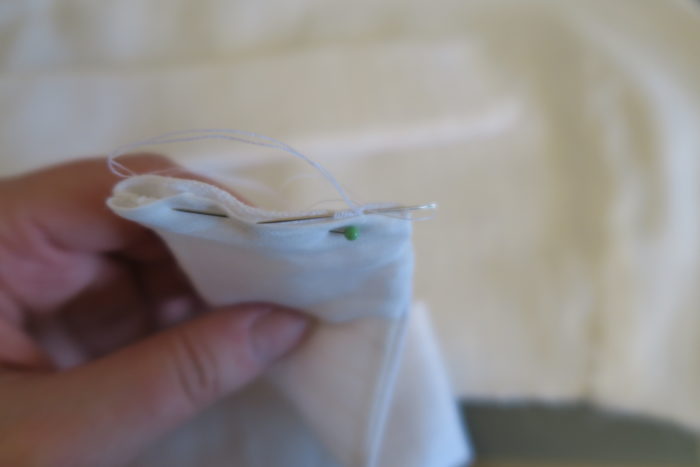
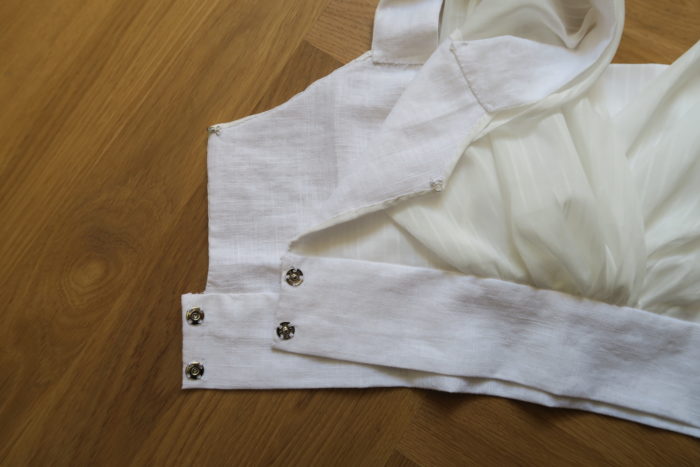
After the waistband was finished, I closed the open side seams by using whip stitches. Then, I attached two snaps to the waistband as well as a hook and an eye at the top of the bodice beneath my arm. Here are my beautiful stitches, I hate doing snaps and I hate doing hooks and eyes 😛
And that is it!
Thanks a lot for reading, I hope you enjoyed and I wish you a great time, stay safe, and hopefully until next time 🙂 Love, Ella
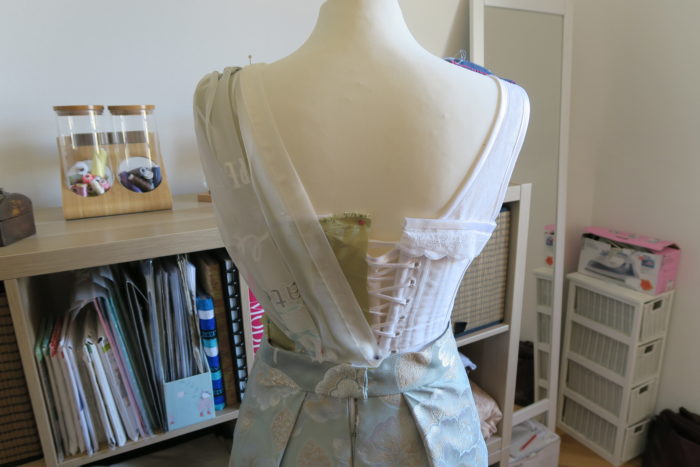
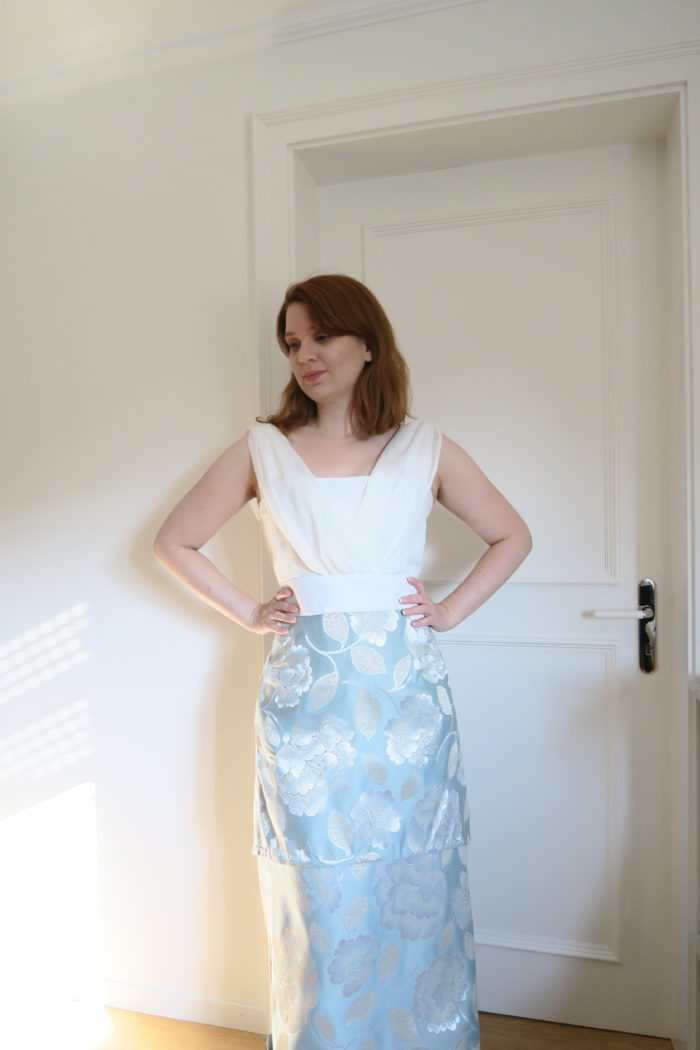
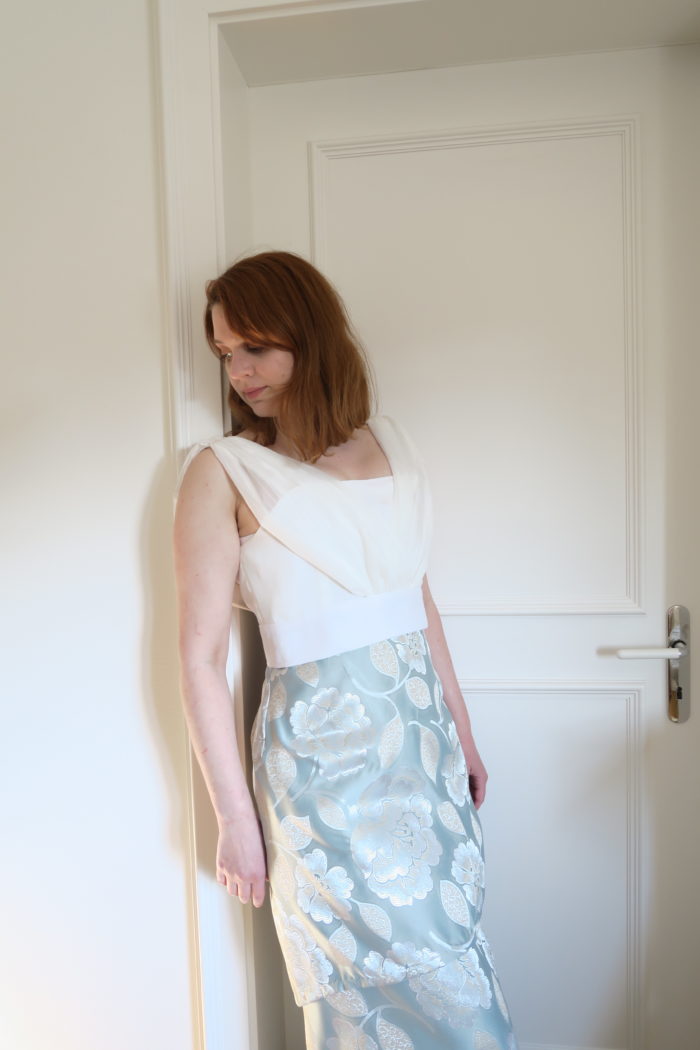
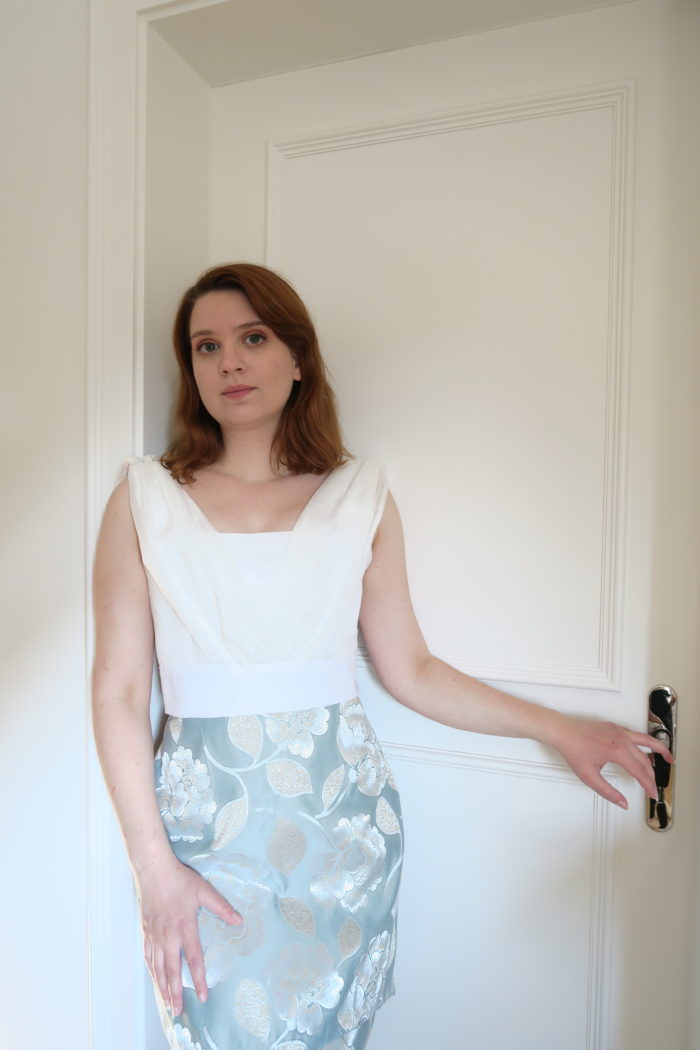
Here are some pictures of the finished corset cover:
