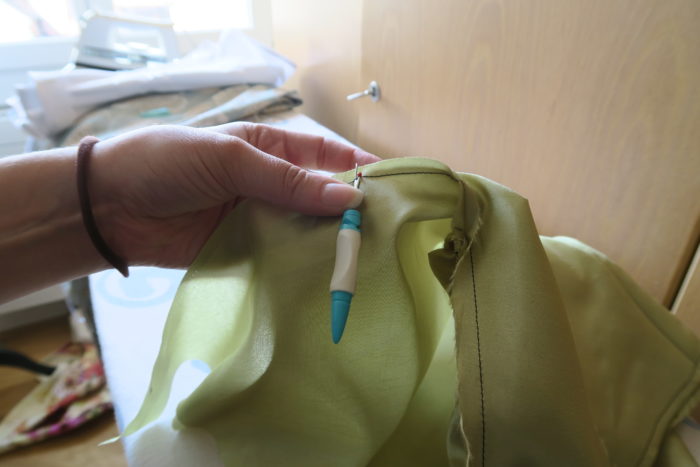
Hello everyone 😀 Finally, I am starting with the jacket of my 1913 project which will pull the whole costume together in the end. I love this jacket, it is wonderful, I love the kimono sleeves, I love the cut of it, it’s perfect and I can’t wait to start. If you are interested in the other parts of this costume, you can find them here:
If you prefer to watch a video, I have also filmed the whole process, you can find the video on my Youtube channel 🙂

By loading the video, you agree to YouTube's privacy policy.
Learn more
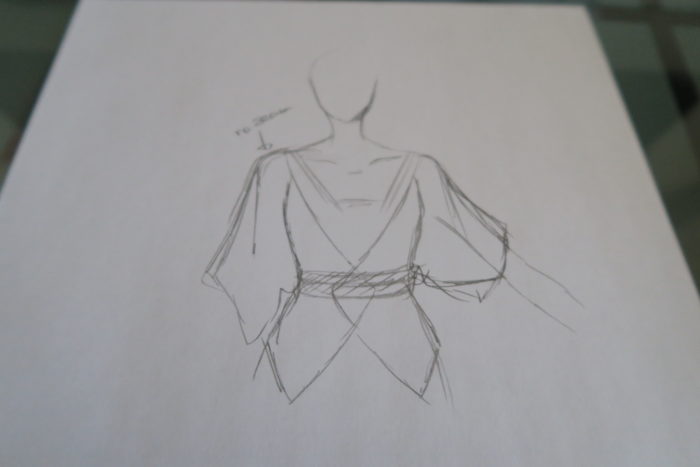
A quick reminder here is my reference dress, that’s the goal:

If you go directly to the museums page, you can zoom in pretty well, the pictures are of good quality.

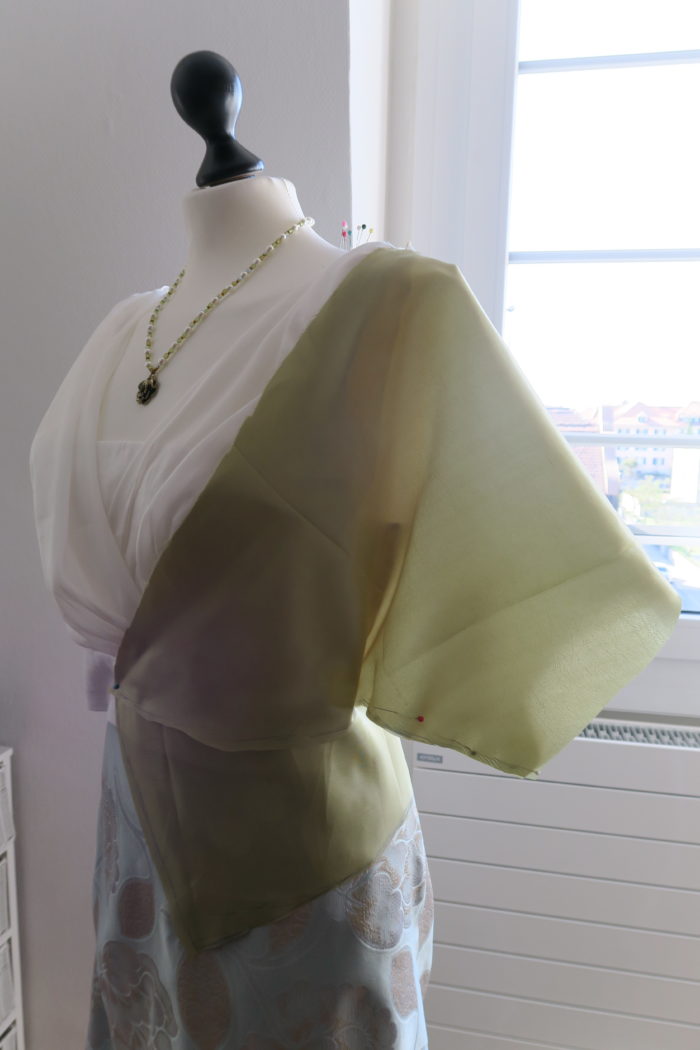
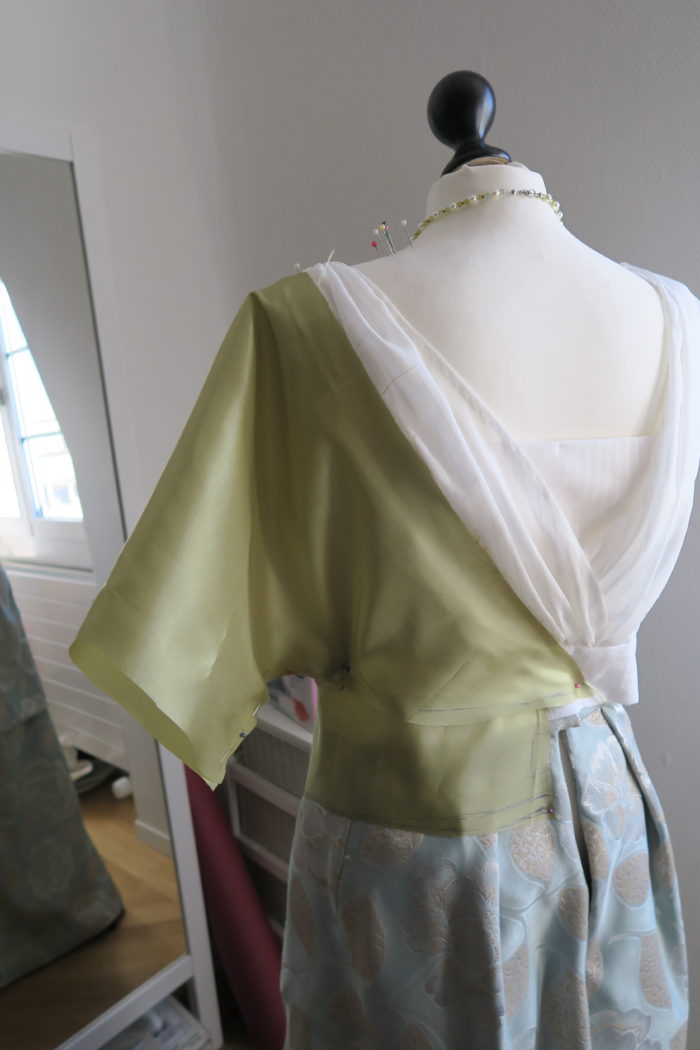
As already stated, I loooove this jacket! It is so beautiful, so finding out, how to get it to lie that flat without folds was what I was looking forward too the most!
The fotos on the page of the museum unfortunately only show a tiny bit of the sides. But I am pretty sure, that there is neither a shoulder seam, nor a side seam. The only seam that is visible, isthe under arm seam. My guess is, that the bodice is made from three parts and has a waistseam… That guess comes from my inability to come up with another solution for the waistband piece to lay that flat and perfect 😉
So I decided to go with the two pattern pieces plan. The top part would be made from two identical pieces, that overlap each other in the back, have an underarm seam and are attached to the waistband piece with a seam that would lie on my natural waist and be hidden by the sash later on.
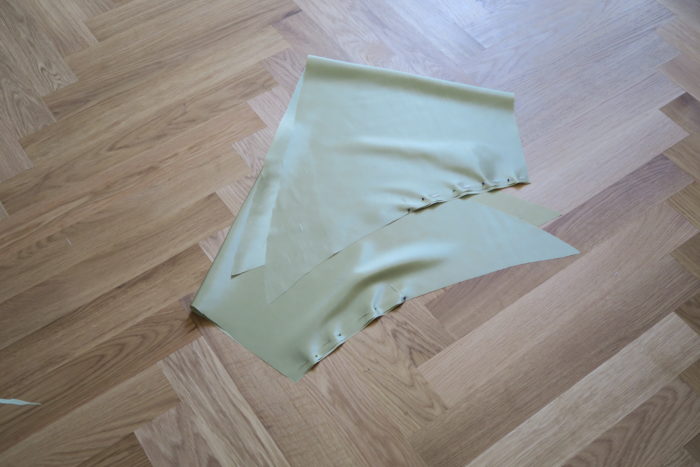
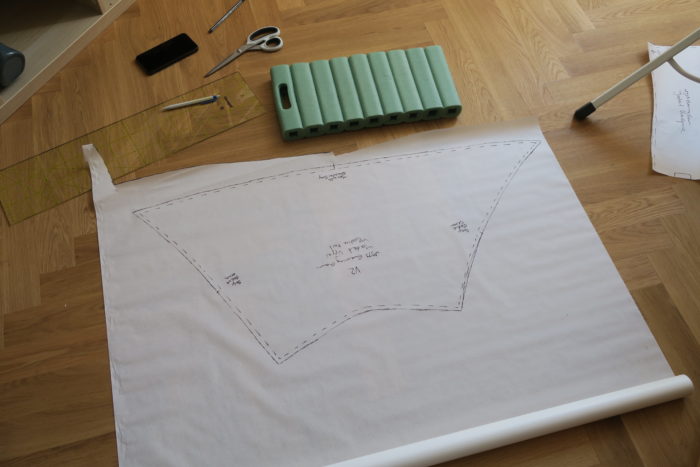
The project started out really well, I did the usual, draping without a plan:
Worked out pretty well on my dressform, I was expecting the draping process to be more difficult, but it was going quite well:
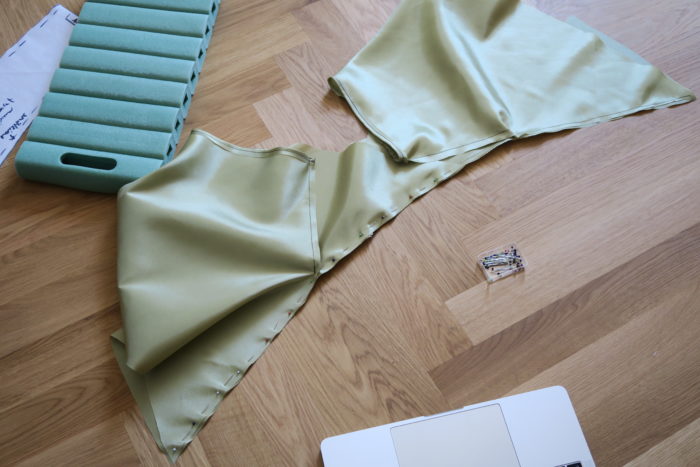
What I ended up with looks very different from what my expectation was… That is why I love to drape stuff, I just could not come up with a pattern like this…
So I was confused quite a bit when putting it together the first time. I started with the underarm seams, which is not ideal, I should have done the hems first. So, another advantage of doing mock ups, you can slowly find the right way to put things together 😛
I also did not curve the underarm seam this time as well. Which was leading to puckering and folds when sewing the two bodice pieces to the waist piece.
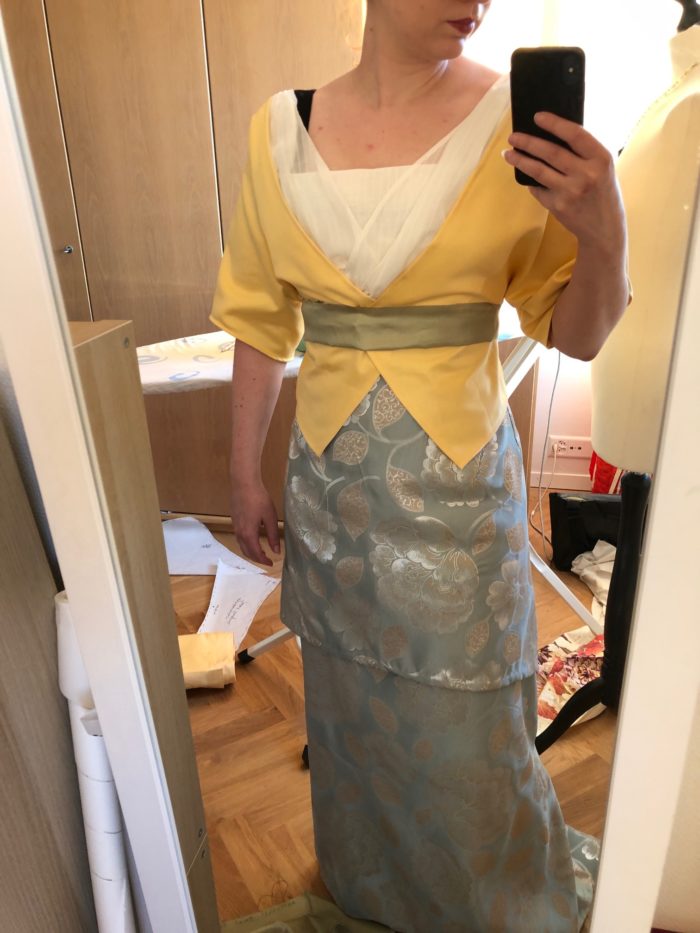
I did not do any hems, just tried to get this pattern together a first time, hoping it would look good. Unfortunately, on my body, it was quite the mess 😛 Here’s a picture of it.
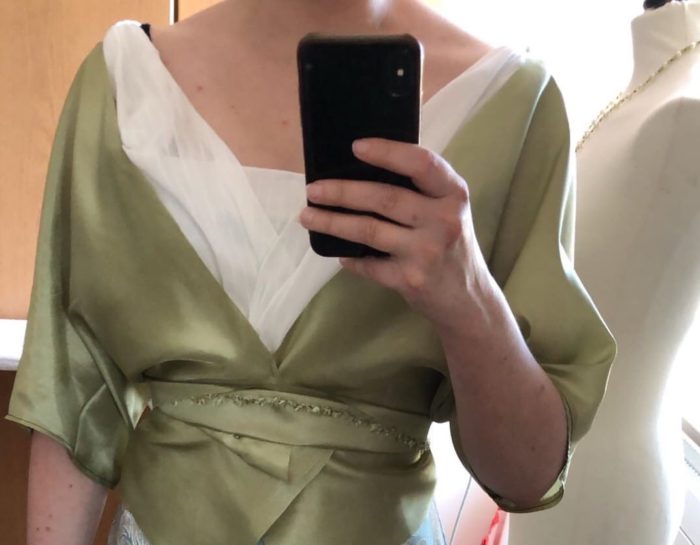
Nothing is sitting right, the upper bodice part far too long etc. So, I took it off and marked the worst things right away.
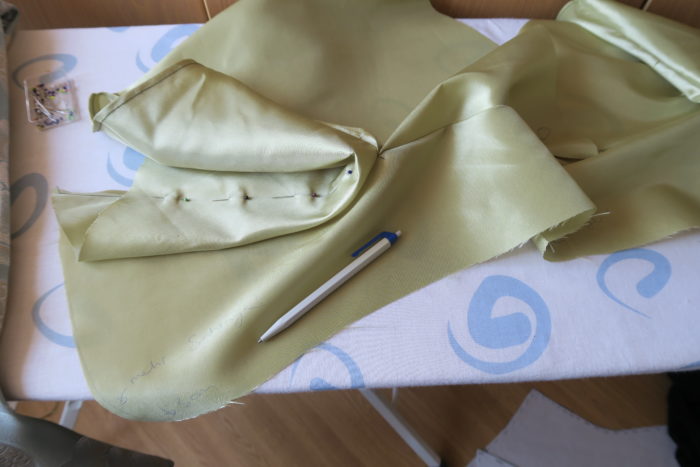
Then I decided to open the seams and use the pieces to make pattern number 2. The major change was taking some lenght away from the upper bodice part. But i did also do some minor changes to the waist part, like correcting the angle of the front etc.
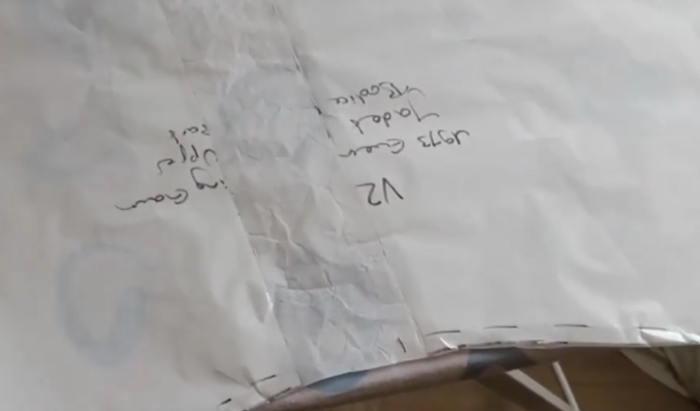
Here is pattern try number 2:
For version 2, I decided to use a different fabric, the poly taffeta I used for my first pattern test is too flimsy for this kind of garment, so I decided to use one of my cottons that has a bit more body.
It turned out, that I had taken out a bit too much length… Also, I did not like how much the pieces overlapped in the back. Also, the waistband wasn’t right, I first thought about correcting the pattern piece, but then decided against it, luckily. Otherwise I would have done more harm than good. I decided to open the seam at the waistline and reuse the waist piece.
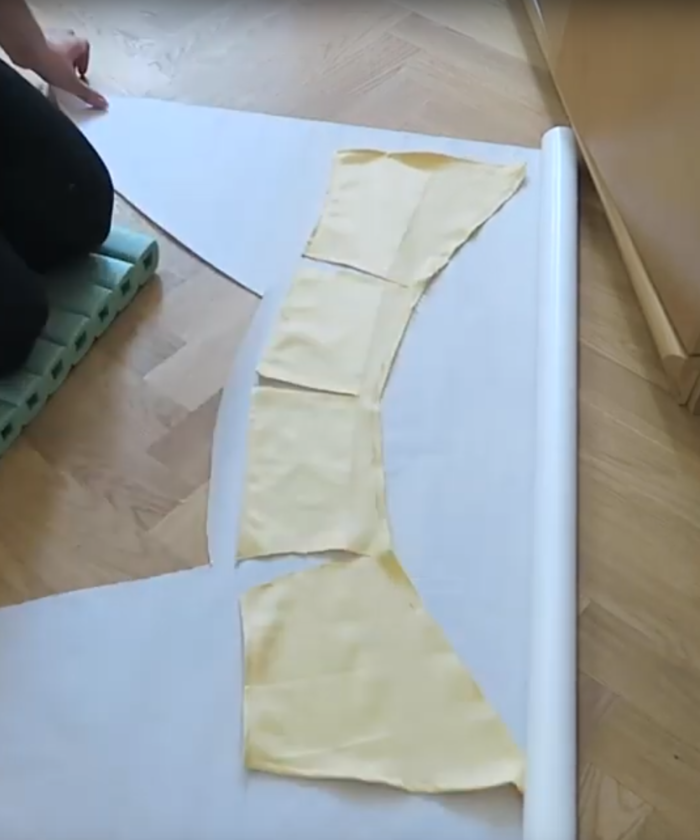
I cut the pattern piece in half and simply added 4 cemtimetres to it. It took me a bit to come up with that solution, guess i needed a break from it.
For try number three, I just cut out the upper bodice part anew.
I unfortunately have no pictures of me wearing number 3, I totally forgot to film and take pictures… Only of what I did afterwards, so let’s talk about it:

The length of the bodice was fine now, but since the waistline was now finally in the right place, I noticed that it is ill-fitting, but the other way round, instead of adding a dart and take some of the volume out, I would have to add more volume:
After correcting the waistband, I made a fourth mock up to see, if everything was right now.
And here it is! I am really happy with this. Since it is still a little bit too short in the back, I added another centimeter to the pattern.
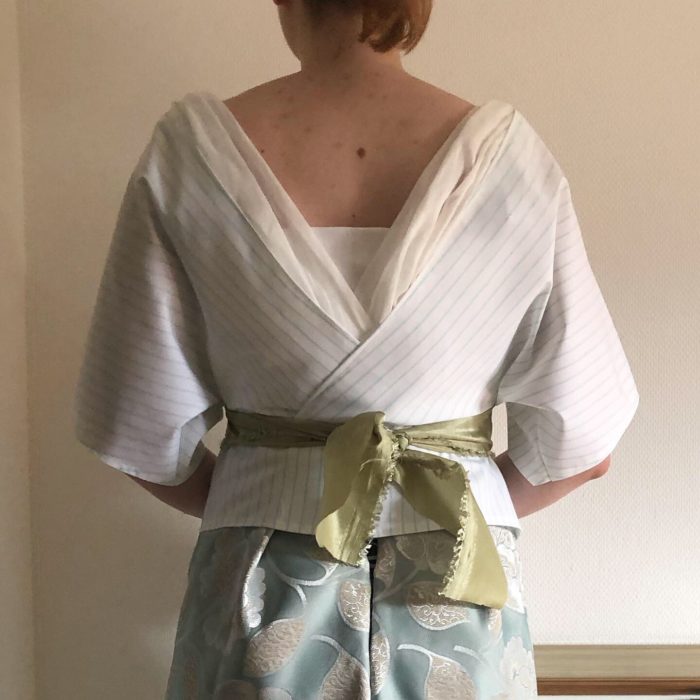
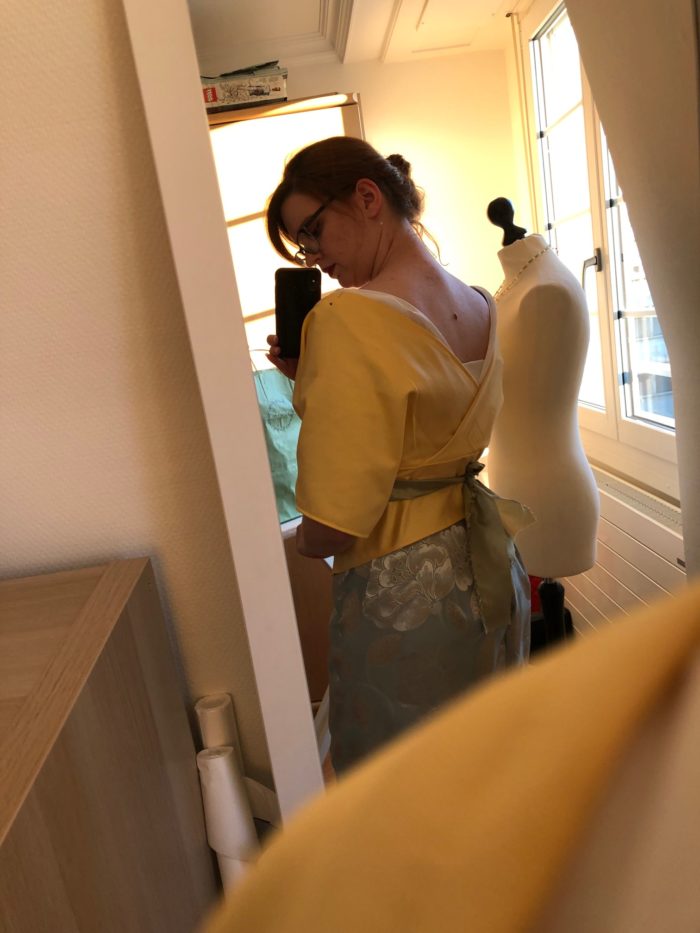
I did nothing to the front, but decided to shorten the sleeves. I like, that they are a bit longer than the sleeves of the original dress, but still, I thought they are a bit too long, the undersleeves would almost not show.

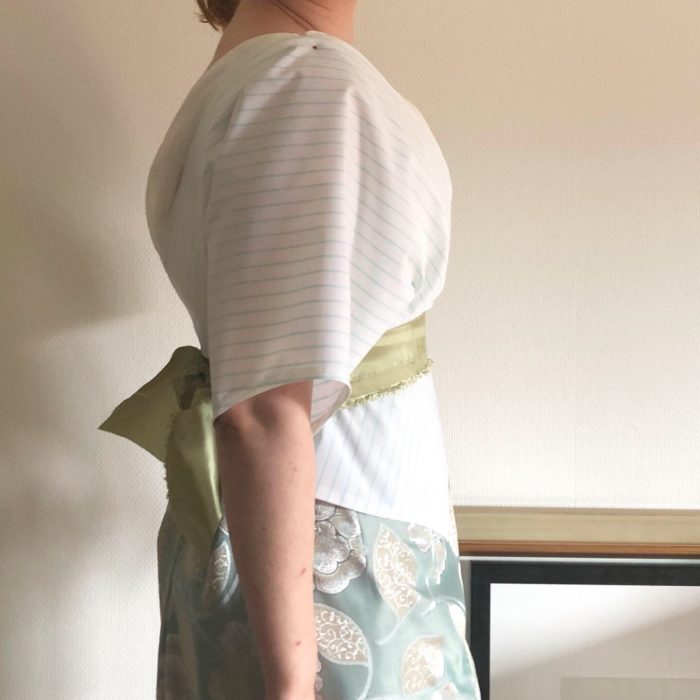
From the side… I have a few issues, but they are caused by the corset cover underneath. I may have to redo that…
And that is it! As I said, I did add another centimeter to the pattern to lenghen the back a bit, but I did not test the pattern one more time. I decided to go straigth to the final garment 😀 But that is for another post, part 2 should be up soon 😉
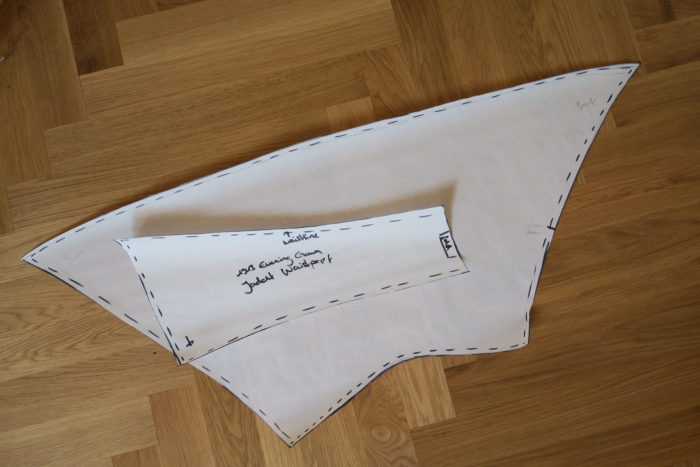
This pattern is available for download on my website by the way 🙂 You can download it for free here: https://tailoredbymrspinalzo.com/sewing-patterns/kimono-jacket-1913-evening-gown/
Thanks a lot for reading, I hope you enjoyed and I wish you a great morning, evening, whatever time it is at your place and stay healthy!
Love,
Ella