In my last post, I showed you how I drafted the pattern for my skirt, what I corrected after making my first mock up. If you are interested in my previous posts on this project, you can find them here:
In this post we will focus on assembling the skirt using the fashion fabric. I also uploaded this step as a video on my Youtube channel, should you prefer watching a video or have both, visual and textual construction notes 🙂

By loading the video, you agree to YouTube's privacy policy.
Learn more
Now, let’s start:
I started by generously cutting out all pieces from the Jaquard fabric, adding the seam allowance to the train since I did not redo the pattern piece.
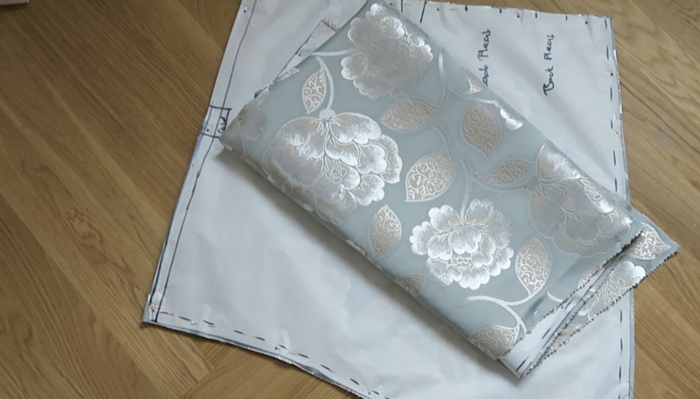
The overskirt panel as well as the front under skirt panel were cut out once each, the train piece was cut out twice since I will use the same fabric to line it to give it some weight and structure. I should have ironed all pieces at that stage, but of course forgot, I did this along the way whenever I noticed a fold. After cutting out, my knees hurt, so I decided to proceed with some sewing, instead of transferring the markings onto the two bigger skirt panels.
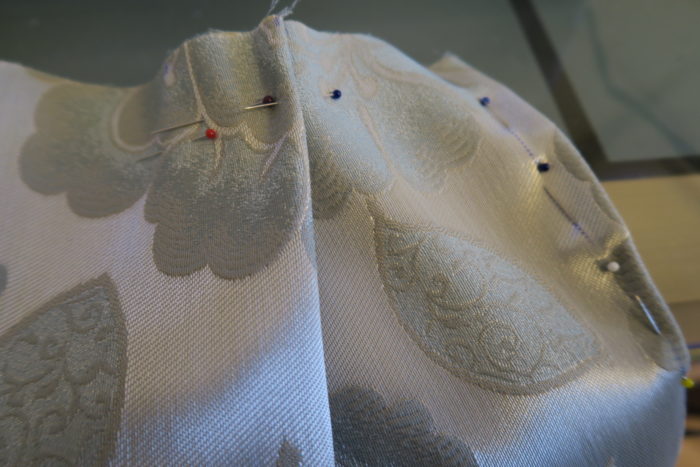
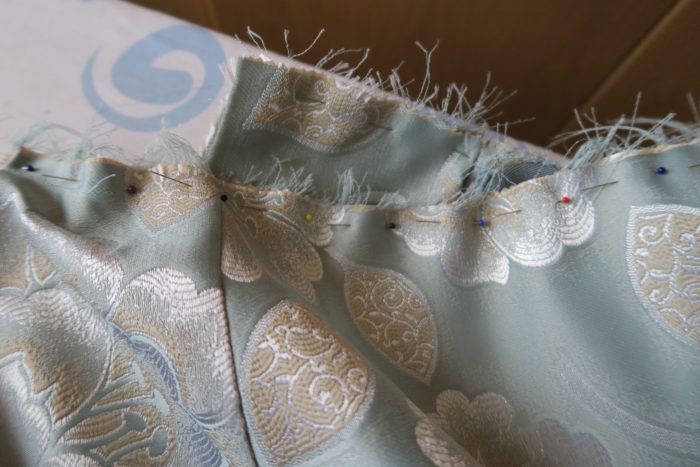
This was fairly easy, I pinned the two pieces together, right sides facing each other. At that stage I noticed a strong fold on both panels, unpinned and decided to iron it, then finished pinning the pieces together. Then sewed around with 1cm of seam allowance, leaving the top part open.

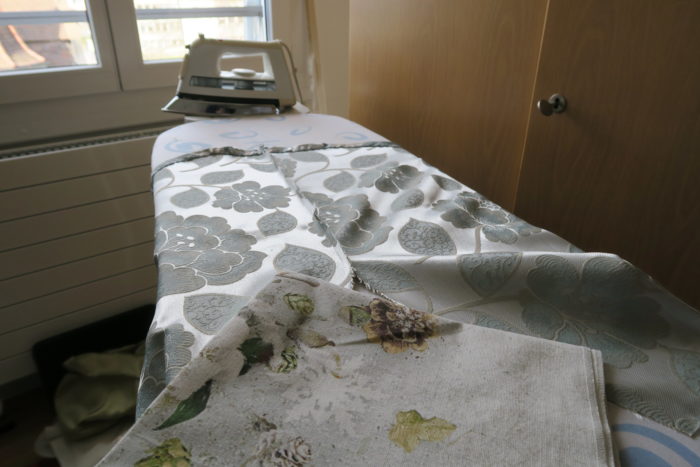
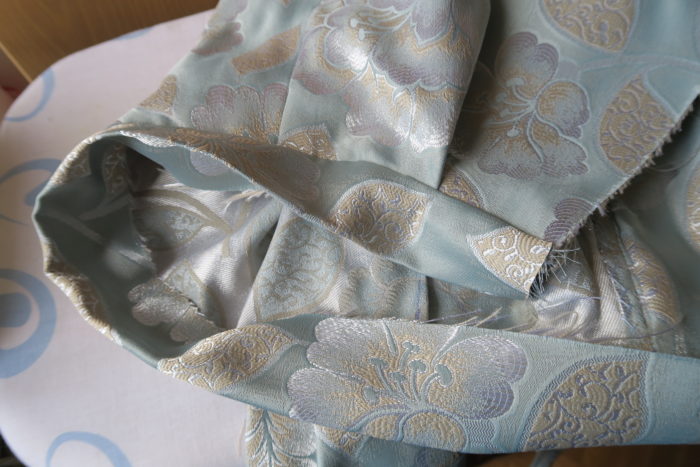
Then I turned it to the right side, using a pen to get the edges nice and pointy and then I pressed everything thoroughly, using some cotton to protect the fabric from the direct heat.

Then, it was time to work on the other two panels.
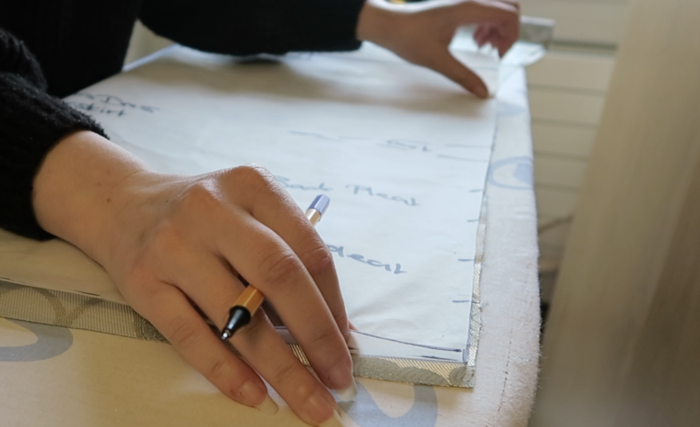
First, I transferred all the markings on the pattern to my fabric. This was really not my day, so I, of course, first picked a pen that bled a bit to the other side of the fabric. In the end not visible, but it was still frustrating.
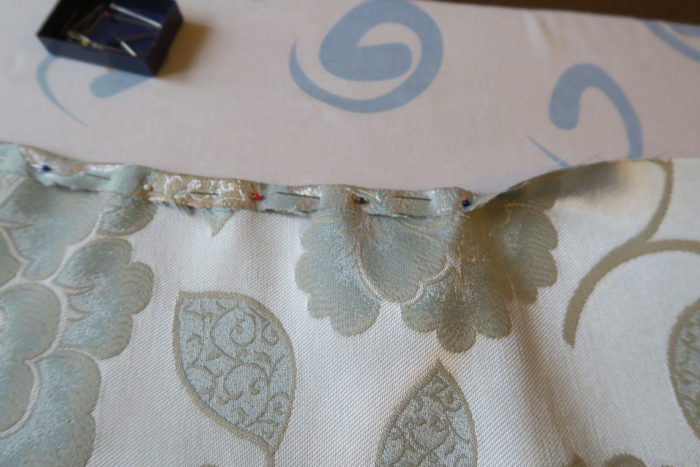
Then I folded the pleats, ironed them shortly at the top and pinned them down.
The same was done with the darts. For sewing down the dart, I just used a straight stitch about half a centimetre awai from the raw edge, it will be covered by the waistband later on. For the darts, also a straight stitch and I followed ma marking until about half a centimetre towards the end. At that point, I started “curving it a bit, which resulted in not having an “edge” sticking out at my hips like I had with the mock up, the dart now lies flat (and is a bit longer than planned on the pattern). After that I ironed and pressed everything thoroughly. I used the same method for the two small pleats at the sides of the front skirt panel, and then, it was time for some hems.
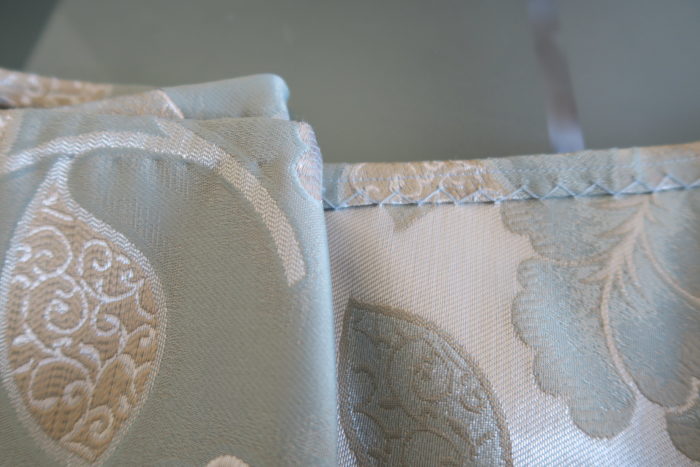
All of the hems are rolled up twice to hide the raw edges (but in two steps), the first time using the machine, the second time using a herring bone stitch that would not be visible from the outside. I could probably have rolled up the hem twice straight away and just use the herringbone stitch, but I was afraid, the fabric might be to stiff for that. Therefore, I decided to go with roll 1cm up, iron it, sew it by machine, iron again, roll 1cm up again, iron and then sew it down with the herringbone stitch.
The front panel of the underskirt was “hemmed” on three sides considering my plan for joining train and front panel.
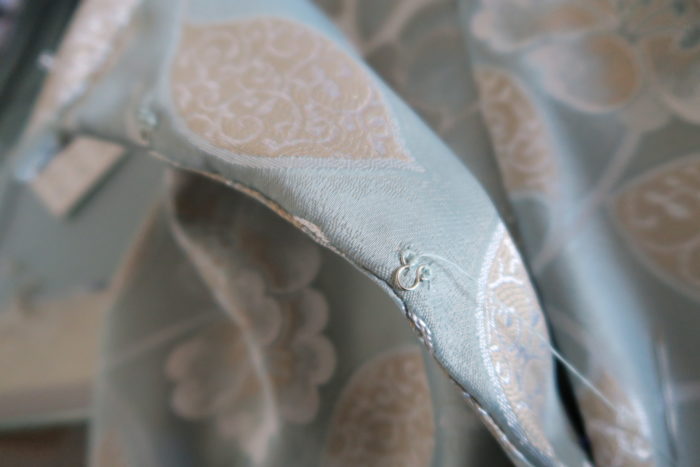
I used a ladder or slip stitch (at least, that’s the name google came up with for what I did), to join the train and front panel of the under skirt.
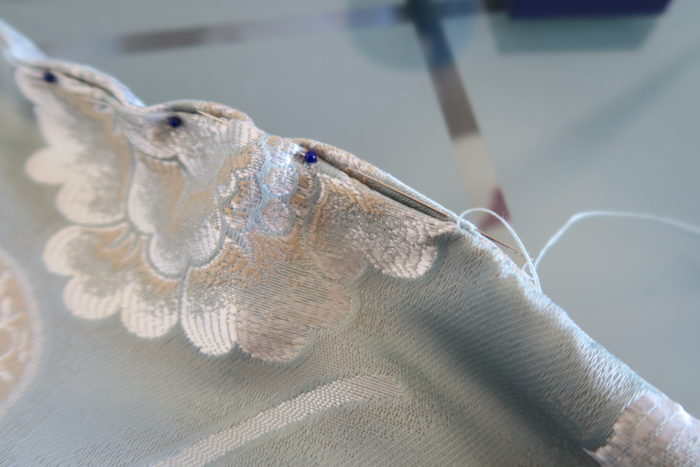
I wanted to use this stitch for several reasons:
There you go. It took hours. But it was worth it 🙂
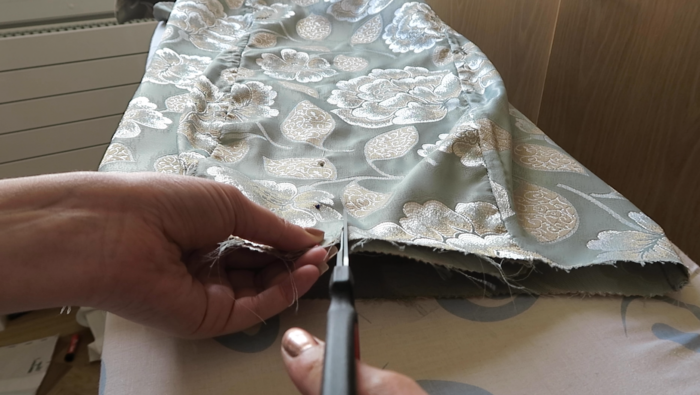
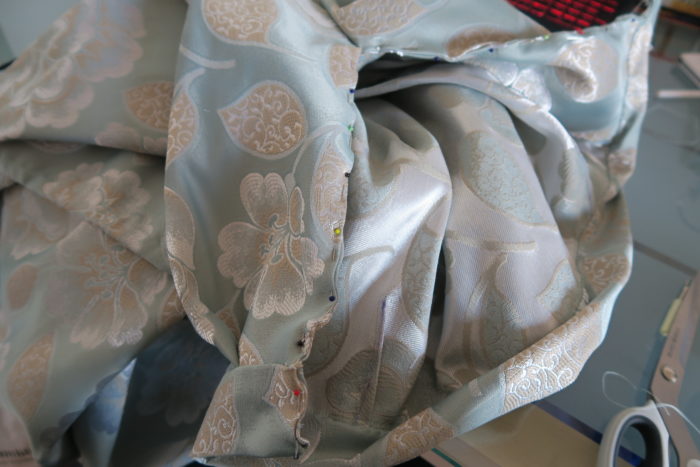
First, I had to figure out the beginnings of the closure. So I measured down to the widest circumference of my behind, marked the length on the fabric and then went on finding the middle of the train, marking it at the top and where I marked the length of the slit. Then, I pinned the two layers of the train together on one side to prevent slipping and then just cut.
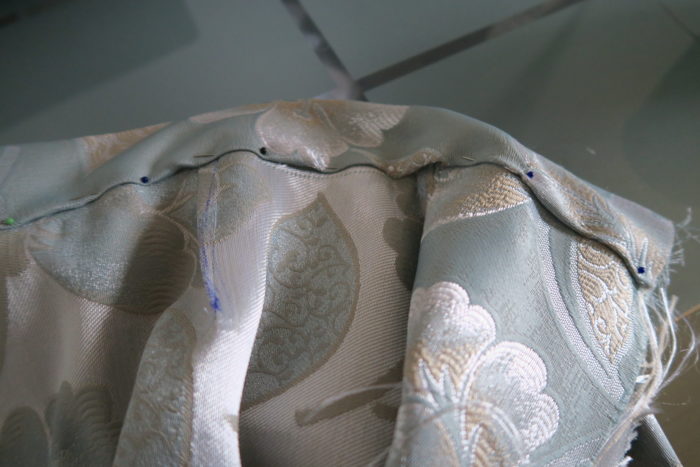
After that, I pinned the overskirt onto the underskirt around the waist to see, how far I would have to sew the backseam.
I did not have enough seam allowance to do a french seam, which would be my preferred method, so I decided to use 1 cm of seam allowance and then use fray check to “finish” the raw edges. The seam is laying on the underskirt, there will not be much movement etc. also it would not scratch me, so I felt fine with using this lazy method.
So I ironed the seam flat and then put fray check onto the raw edges.

After that, I pinned the overskirt onto the underskirt one more time and then stitched them together with my machine, 1 cm away from the raw edge.
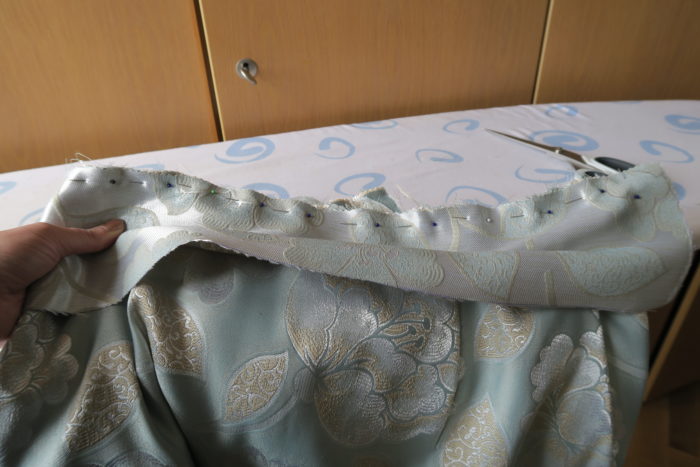
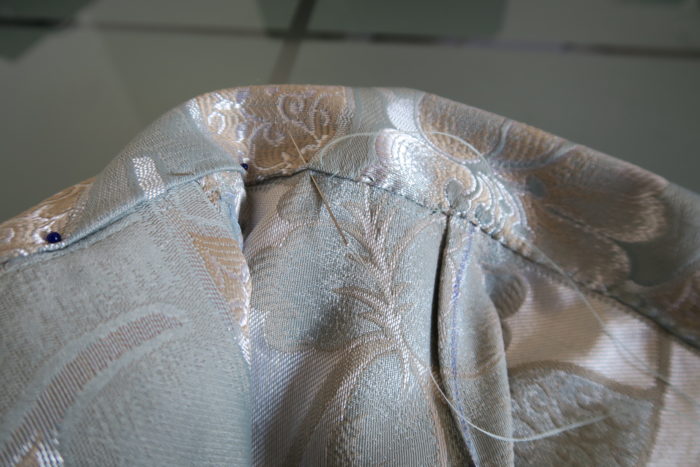
Then, it was time to do the waistband. The waistband is a bit longer than the circumference of the skirt, because i wanted it to overlap to use snaps at the waist. I went with 78cm x 12 cm (1 cm on each side included for seamallowance), so my waistband would be 5 cm wide.

I ironed it in half and then pinned it to the skirt.
After that, I attached it using my machine. I used a bit more than a cm of from the raw edge, because I had previously used 1cm to sew the pleats down and to join over and underskirt. But I still managed to have the line of stitching visible on one side, so I had to go over it one more time.
Then I pressed everything one more time and pinned the waistband doen, so it hides the raw edges.
I decided to sew it down with whipstitches, because I did not want anything to be visible from the outside. Note, that I did not turn the sides inward, I wanted to do that at a later stage when doing the closure.
Before attatching any kind of clodure, I used slip stitches to finish the raw edges that were still left.
As you can see on the following picture, the waistband overlaps, which is where I put the snaps.
Then I used pins to mark where the eyelits and hooks would go.
And after that it was just a patience game until all the hooks, eyes and snaps were sewn on.
I am pretty happy with that skirt. There are a few flaws, but I hope that these little problems will solve itself once the other layers lay on top of them.
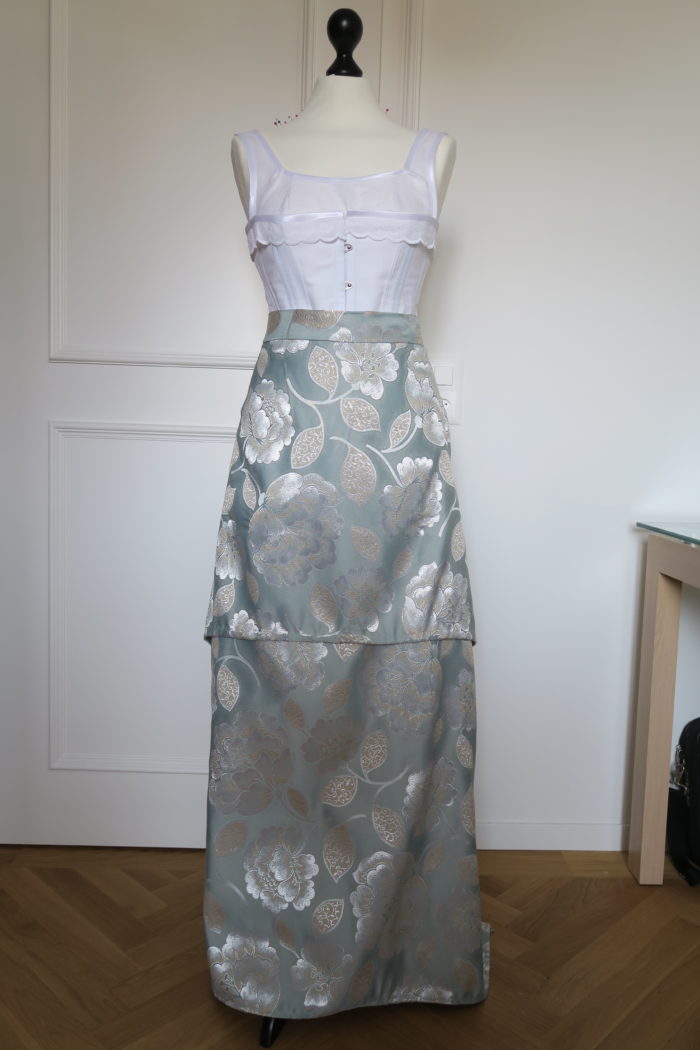
Here you see the front. I still need to finish the hem properly here.
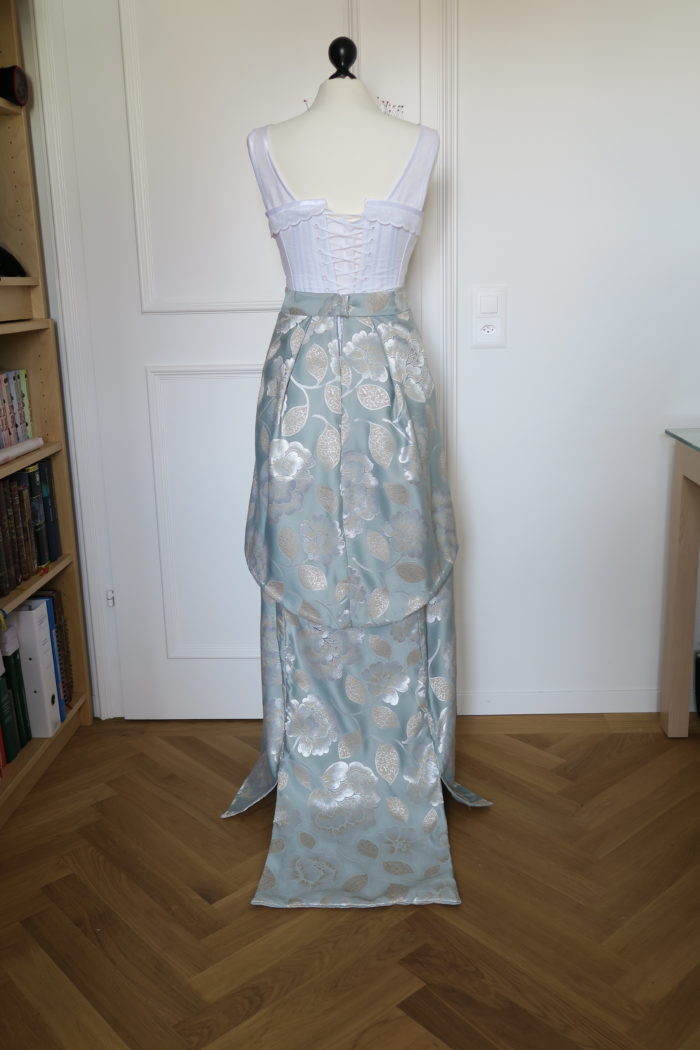
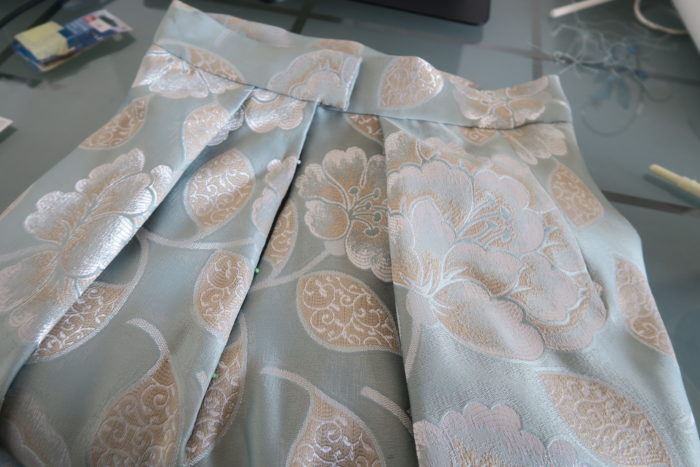
Here’s the back. The pleats are not perfect, I hope, the other layers will help and if they don’t, I will try to iron them differently. From this angle, it looks fine, from the side I am not too happy, they stick out a bit, which is weird.
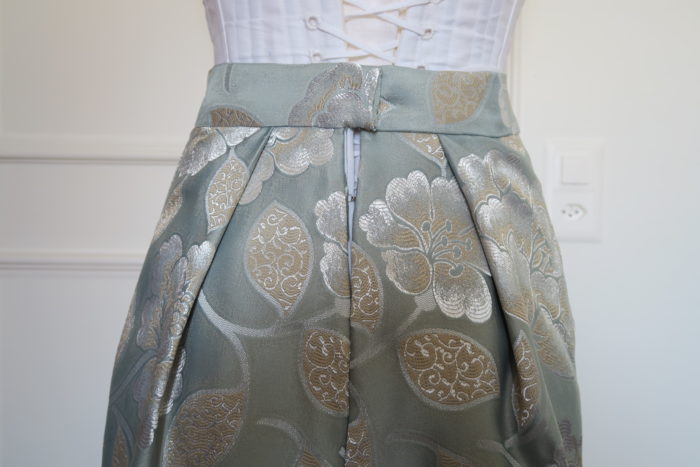
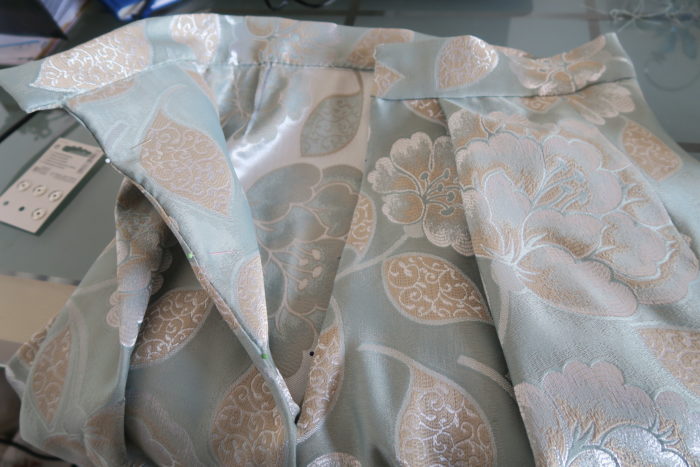
And here’s the last problem, my closing method worked well until the last five centimeters where I have this gap. Let’s see, if the other layers will cover it…
And that’s it for today’s post. Thanks a lot for reading, I hope you enjoyed.
Love
Ella